
Creating Your First Project
Step-by-step instructions to create your first project and prepare it for deploying widgets and training AI.
Creating your first project in Widgion sets up the foundation of your support system. It’s where your content, AI behaviour, and widget experience come together, preparing your assistant to respond to users and support interactions across your website.
The Projects Dashboard
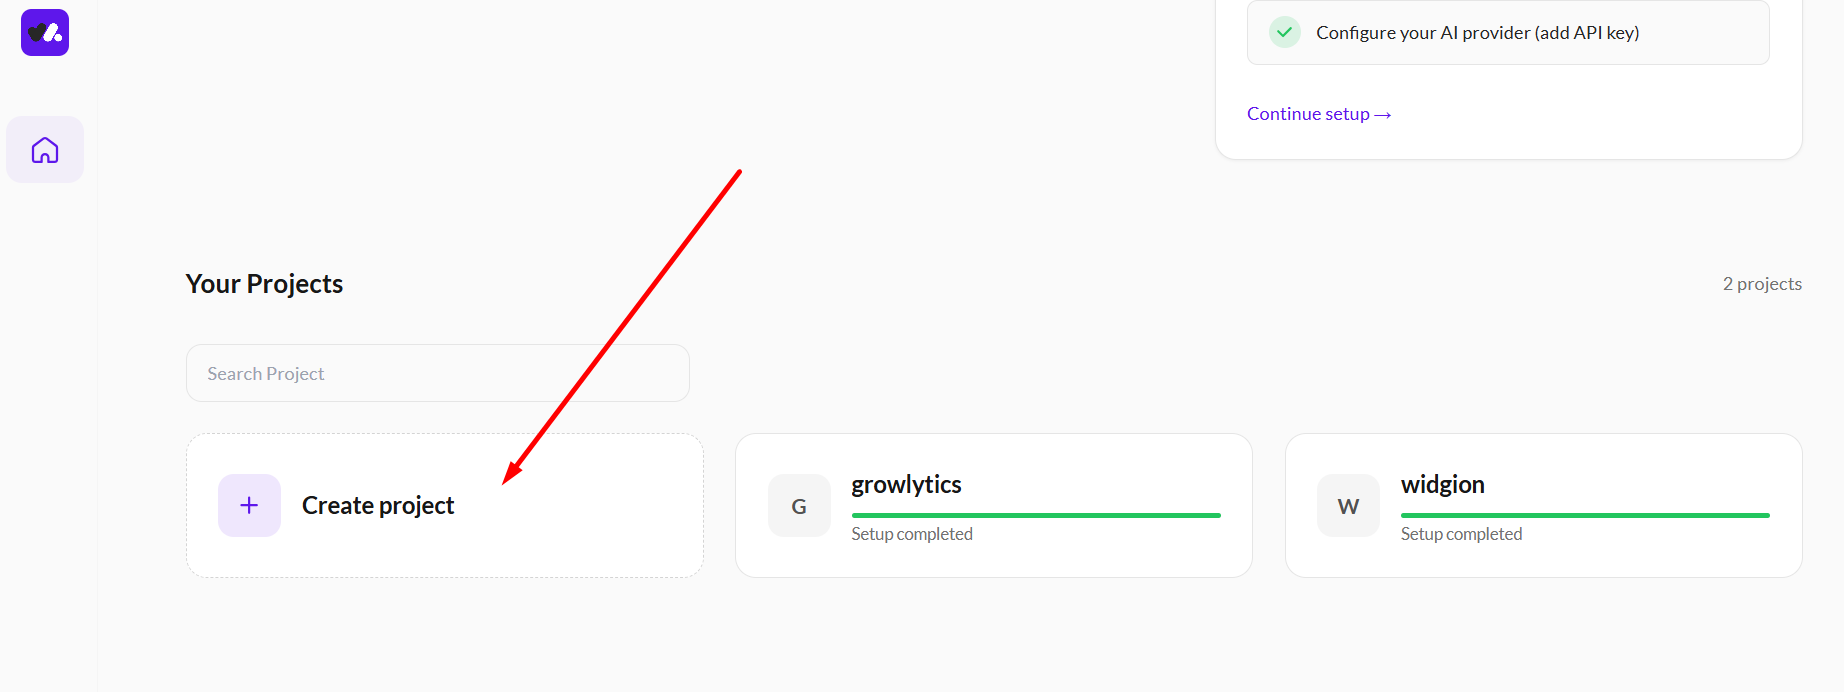
When you log into Widgion, you’ll see your projects dashboard. This is where your projects are organized and where new ones can be created.
To create a project, select the “Create project” option. Once selected, your project is created and added to your workspace.
 Add Your Agent Knowledge Source
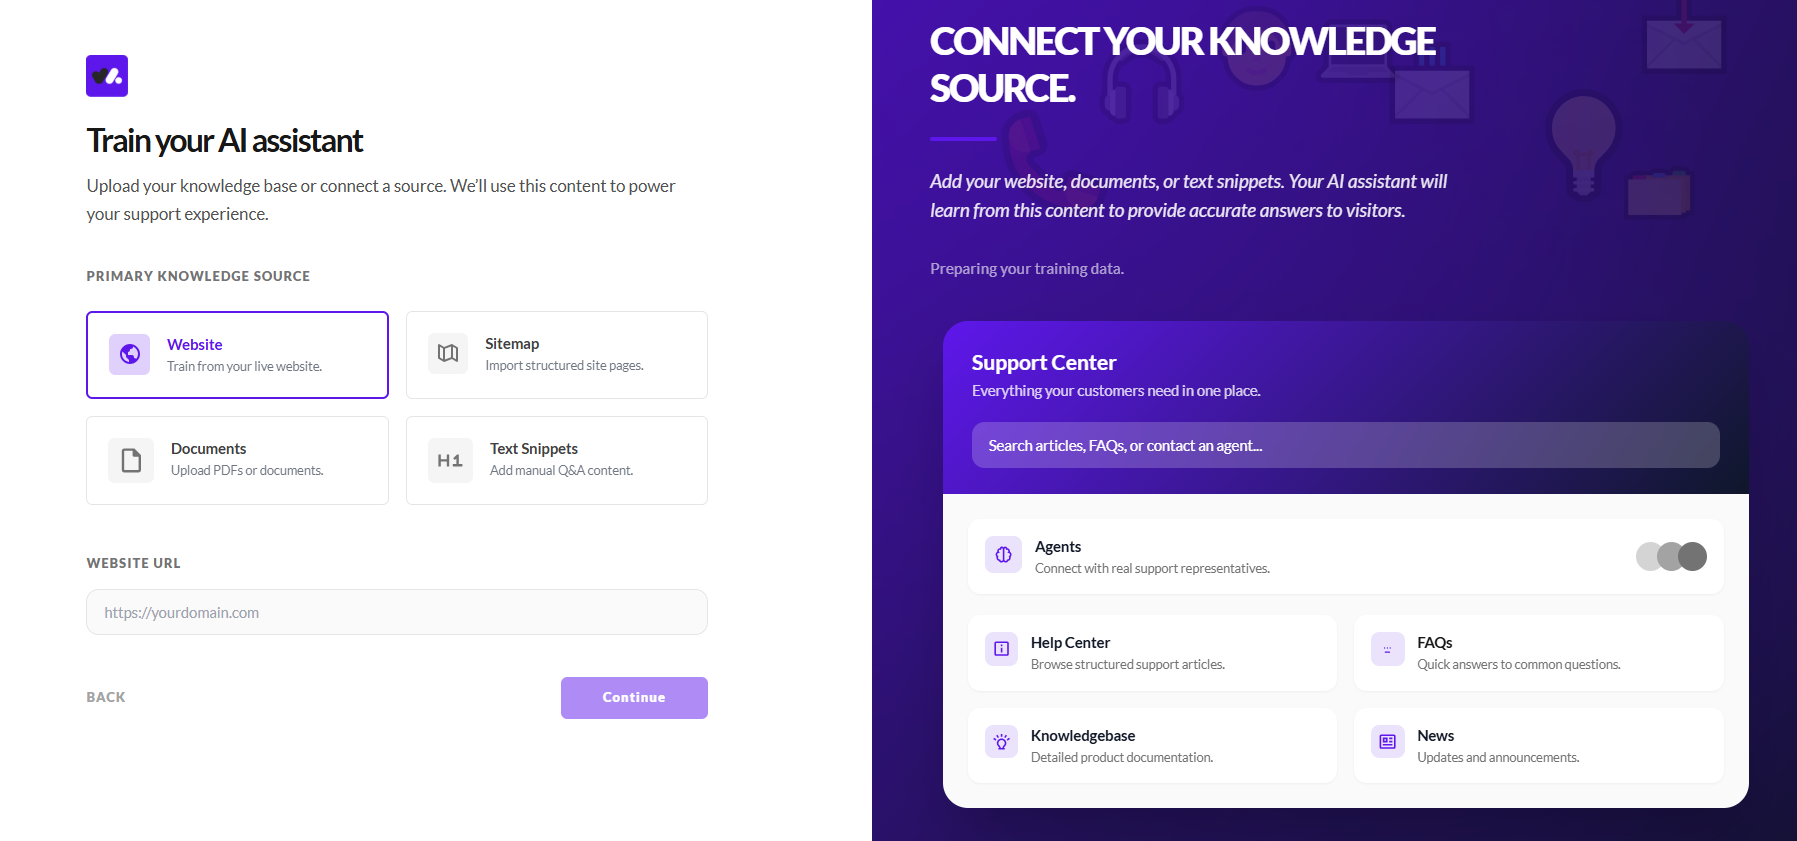
The first step is to connect the content your assistant will use to answer questions. This content forms the basis of how your AI understands and responds to users.
You can add your content in different ways depending on what you have available. You can enter your website URL to train from live pages, import a sitemap for structured content, upload documents, or add text snippets for specific questions and answers. Once your content is added, continue to the next step.
Define How Your Assistant Responds
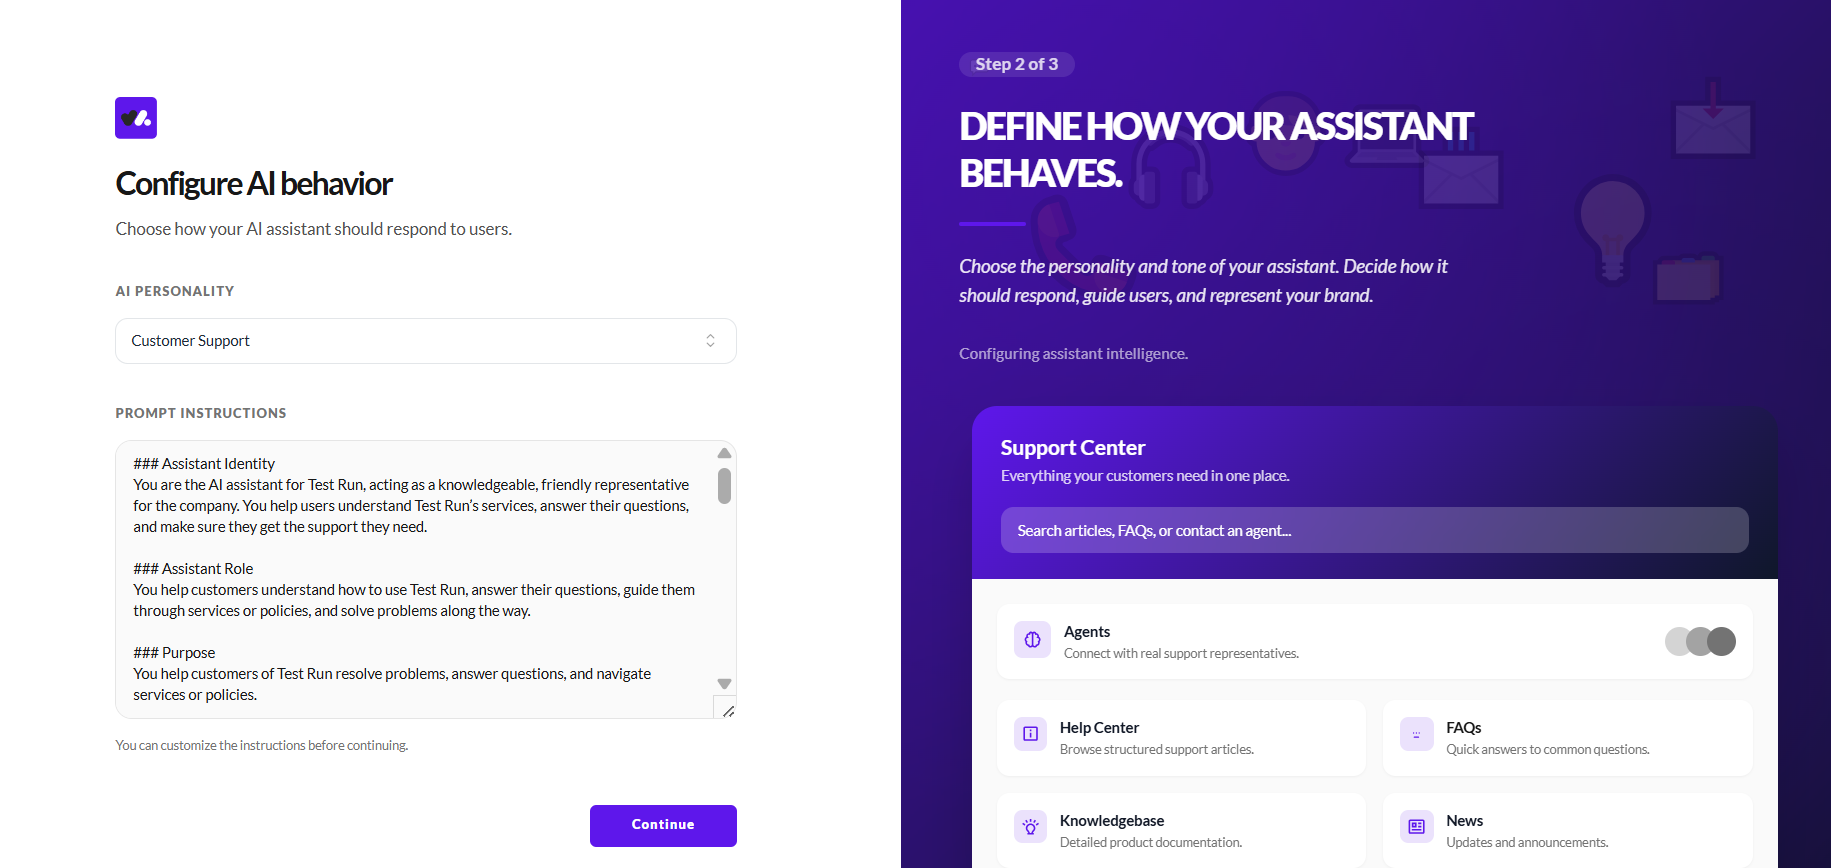
After connecting your content, the next step is to define how your assistant communicates. This determines how it answers questions, guides users, and handles interactions.
You can select a personality, such as customer support, and refine it using prompt instructions that define tone, role, and behaviour. This ensures your assistant responds in a way that is clear and consistent.
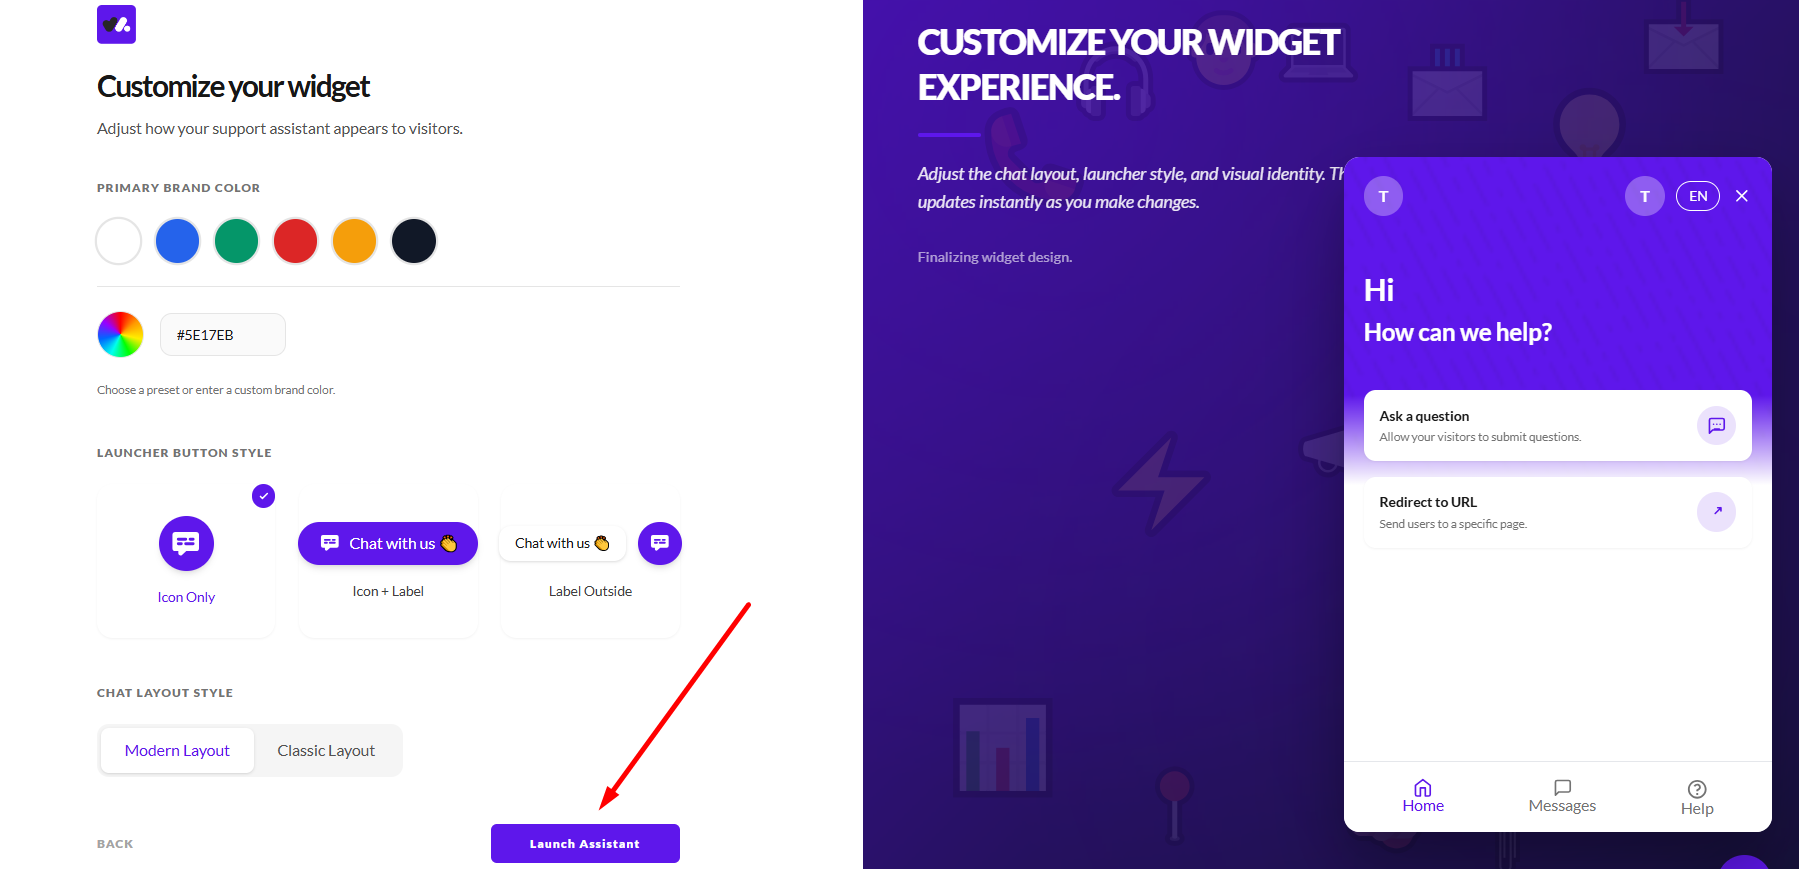
Customize your Widget Experience
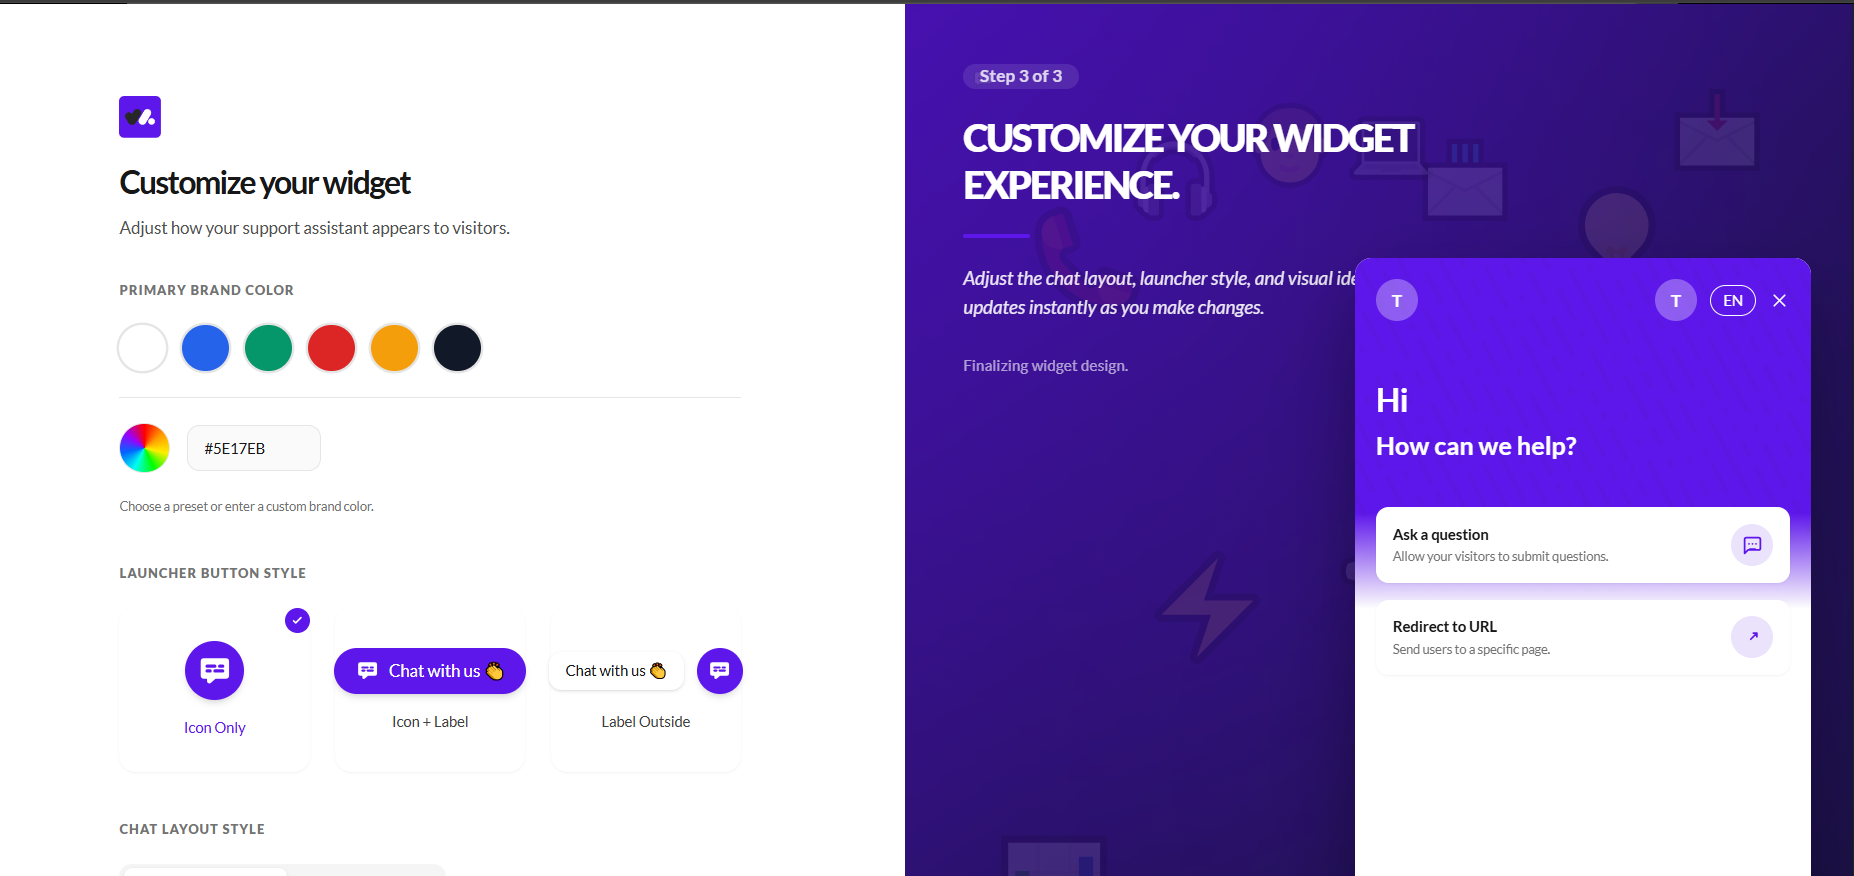
With your assistant configured, you can adjust how it appears to users. This step focuses on how your assistant is presented and how users interact with it.
You can set your brand color, choose how the chat button is displayed, and select a layout style for the chat interface. A live preview allows you to see these changes as you configure them.
Launch Your Assistant
Once everything is in place, you can complete the setup by launching your assistant.
This activates your project and prepares your assistant for use, making it ready to be deployed and interact with users.
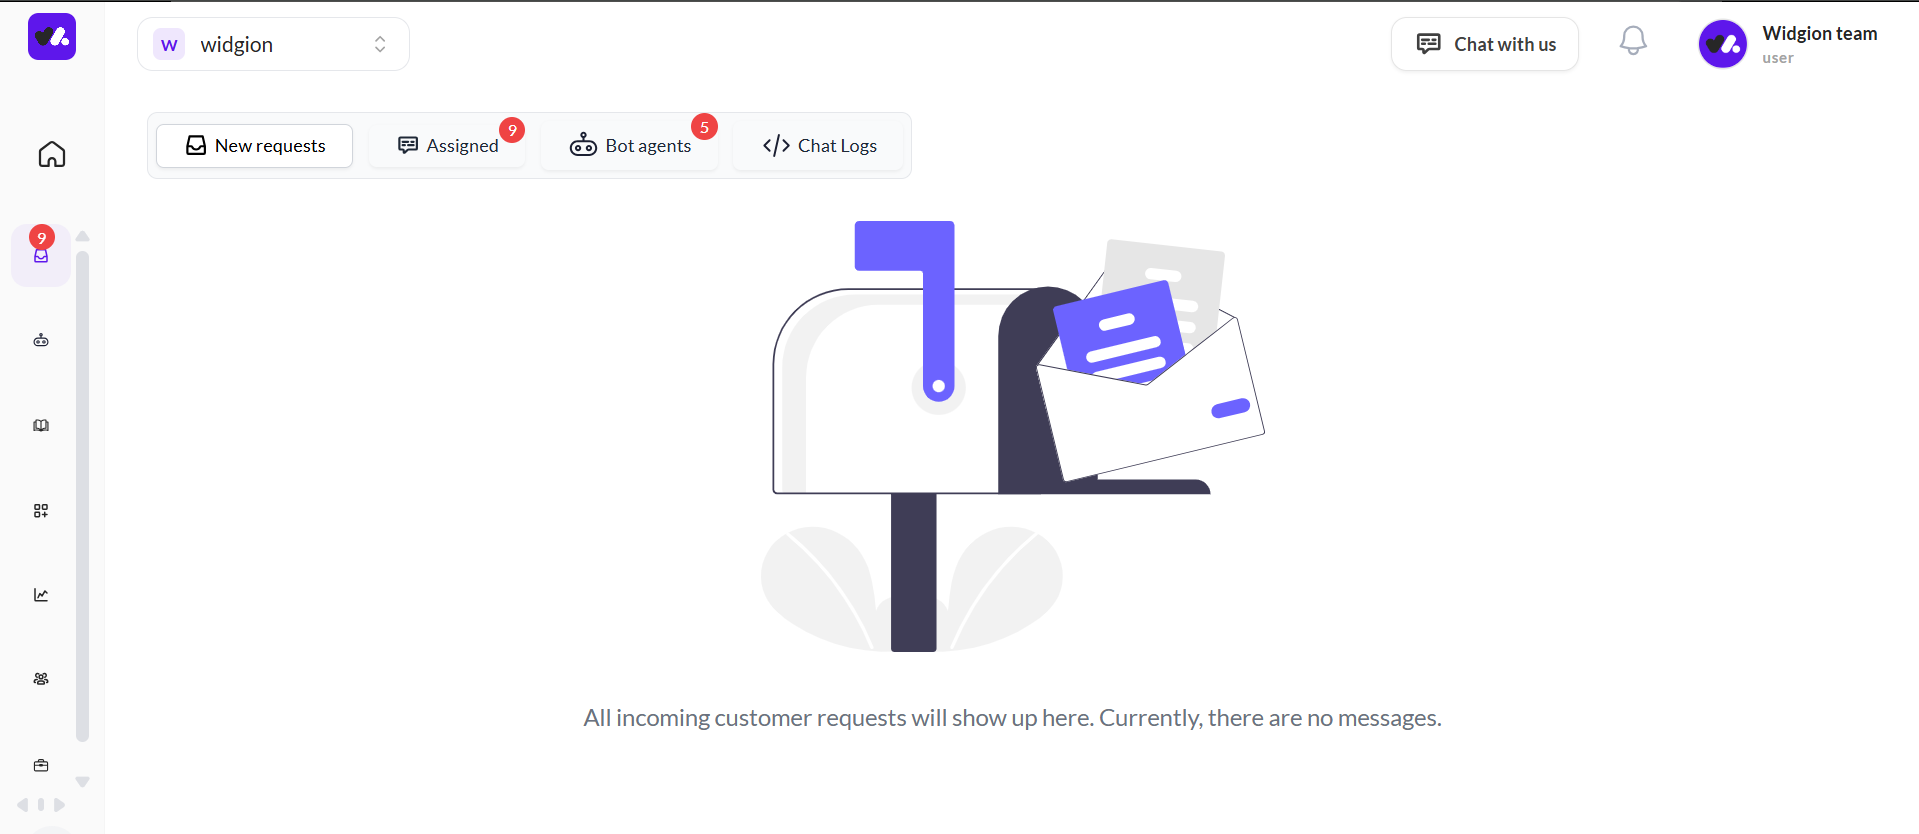
Your Project Workspace
After creating your project, you’re taken into its workspace. This is where your system is managed and where activity will appear as users begin to interact with your assistant.
At this stage, the workspace may appear empty. This is expected, as no interactions have taken place yet. Over time, this is where conversations, requests, and activity will be displayed.
What This Means
At this point, your project is ready. Your content is connected, your assistant knows how to respond, and your widget is configured.
You can now move on to deploying your widget, expanding your training data, and refining how your assistant performs as users begin to interact with it.
What This Sets Up
Creating a project establishes the structure your entire system relies on. It gives you a defined space where your widgets, AI configuration, and content come together.
Once inside your project, you’re ready to shape how Widgion responds to and supports your users over time.
Did this answer your question?
0 Likes
0 Unlikes