
Creating and Editing Articles
Creating and Editing Articles
Articles are the core of your Help Center. They’re where you provide detailed answers, guides, and resources for your users. Creating well-structured articles ensures that your audience can easily understand and resolve their questions without needing additional support.
When creating an article, focus on clarity and usefulness. Use clear titles, organize your content logically, and write in a way that is easy to follow. Editing articles is just as important, allowing you to keep your content accurate, up-to-date, and aligned with your users’ needs. Regularly reviewing and improving your articles helps maintain a high-quality Help Center experience while ensuring your documentation remains relevant over time.
Creating a New Article
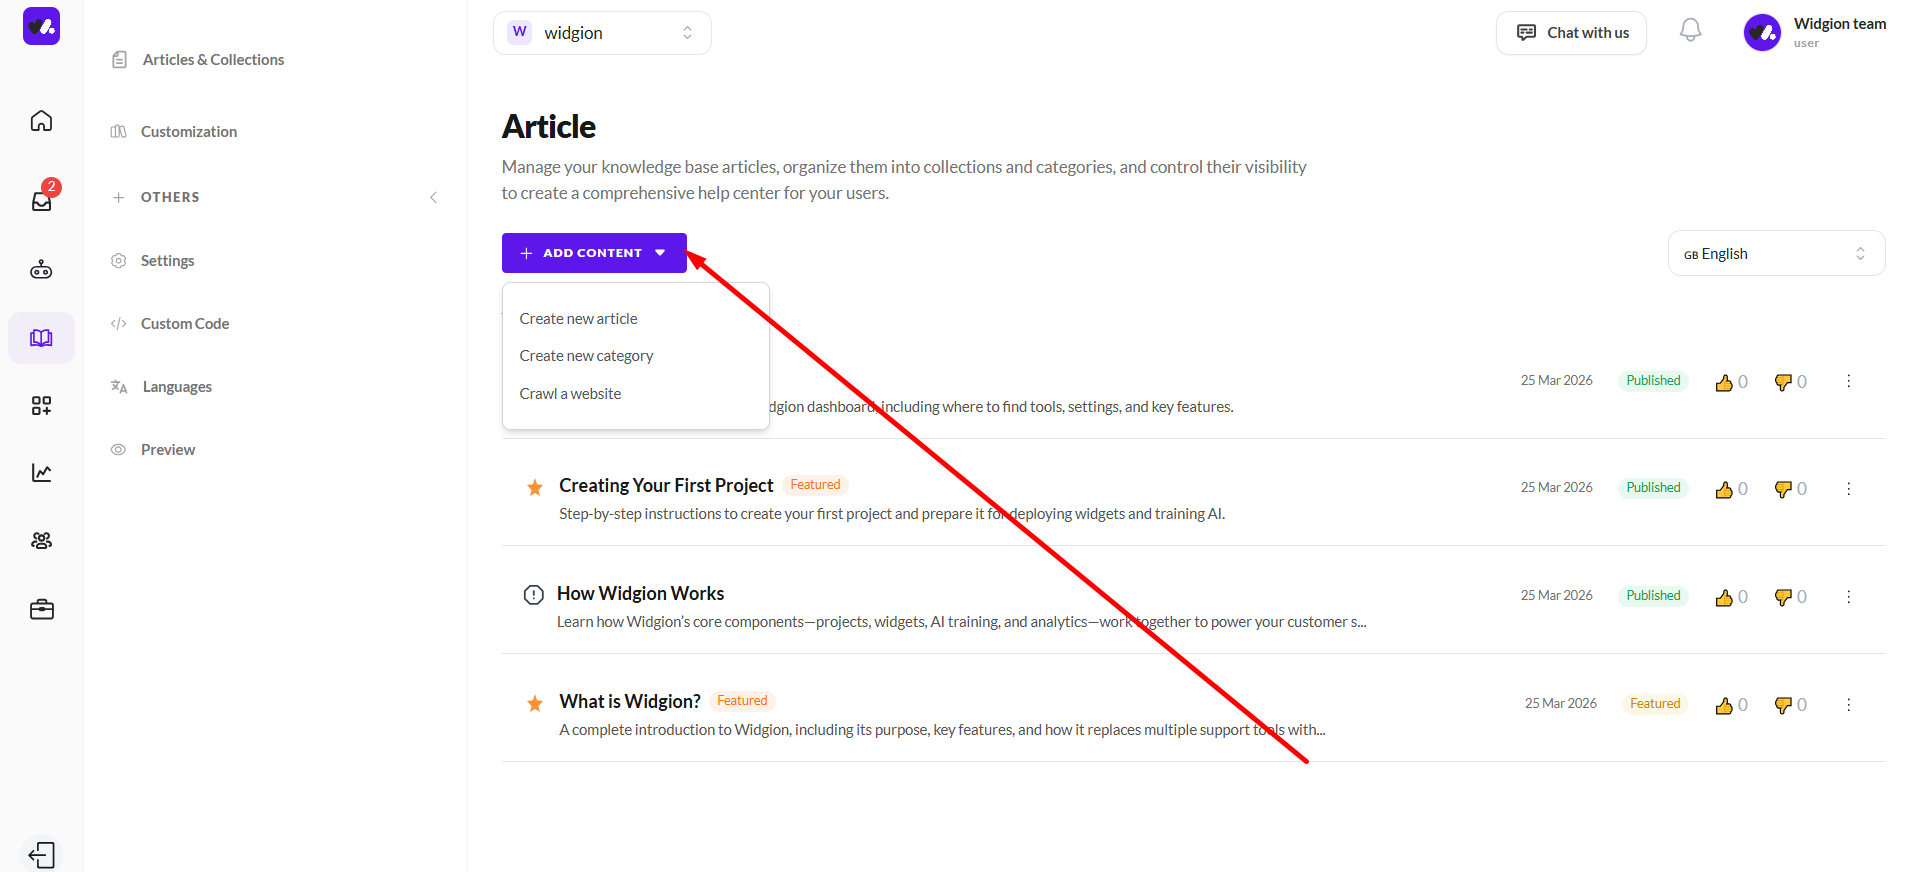
To create a new article, start by selecting the collection you want to add content to from the Manage Collections & Categories page. Clicking on a collection opens the Article screen, where all articles within that category are listed and managed.
From here, click on the Add Content button and select Create new article from the dropdown. This action takes you to the article creation flow, where you can begin writing and structuring your content. This ensures every article is properly organized within its collection, making it easier for users to find relevant information.
Writing Your Article Content
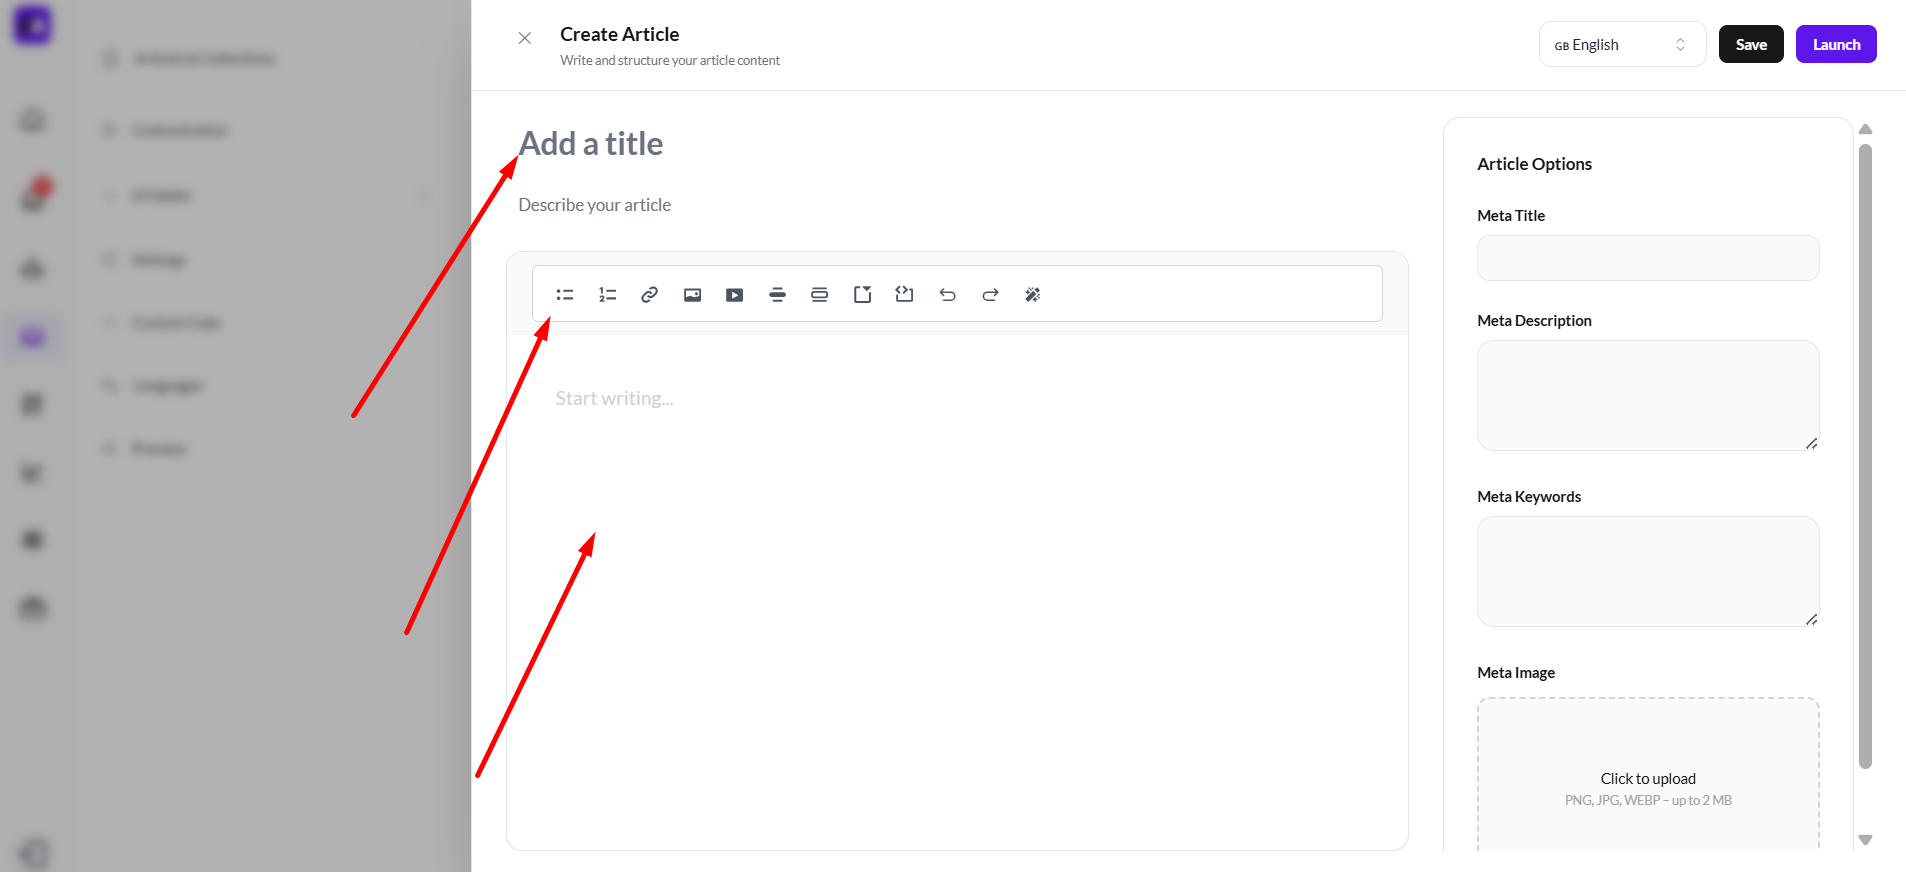
The article editor is made up of three main parts that help you create clear and effective content. The first is the article title, where you define what the article is about. This should be concise and descriptive so users can immediately understand its purpose.
Below that is the formatting toolbar and the content editor area. The toolbar allows you to structure and enhance your content using headings, lists, links, and media, while the editor is where you write the main body of your article. Using both effectively ensures your content is well-organized, easy to read, and helpful for users.
Configuring Article Options
On the right side of the editor, the Article Options section allows you to define additional details that improve how your article appears and performs outside the Help Center.
Meta Title
The Meta Title field is where you set the title used for search engines and browser tabs. While it can be similar to your article title, it’s best to make it more optimized and descriptive for discoverability. Properly configuring this helps improve visibility, especially when users are searching for answers online.
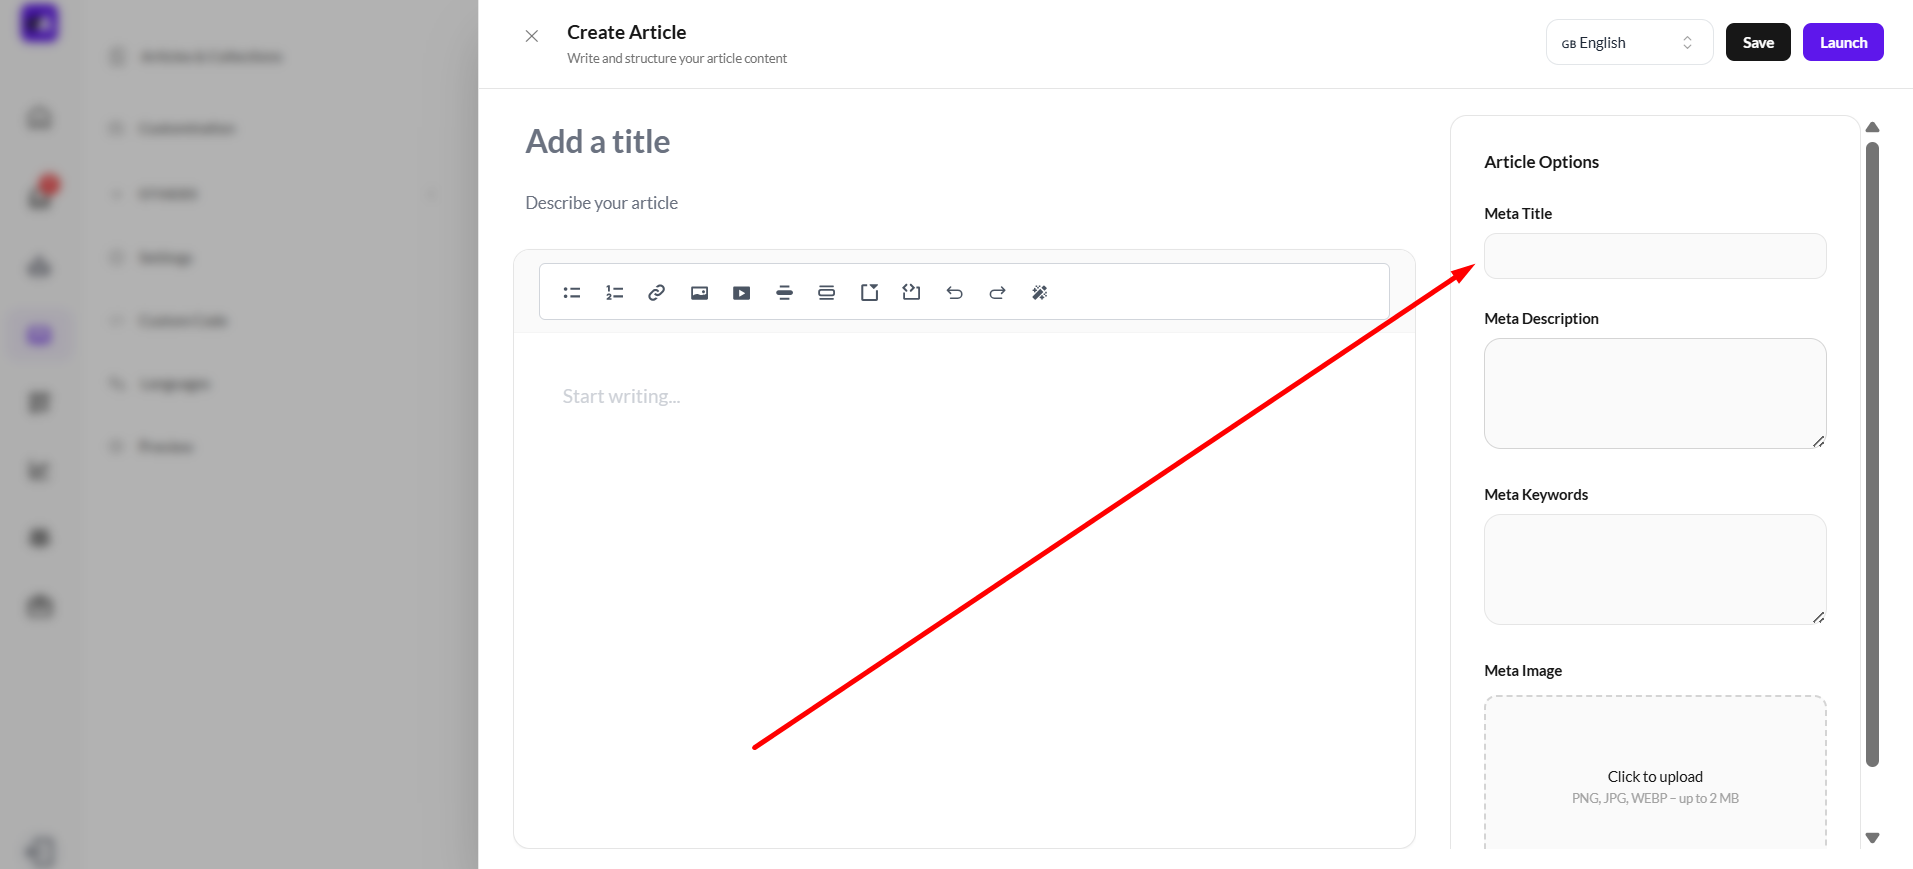
Adding a Meta Description
The Meta Description field allows you to write a short summary of your article that appears in search engine results. This description gives users a quick preview of what the article is about and helps them decide whether it’s relevant to their needs.
A well-written meta description should be clear, concise, and informative. It should highlight the key value of the article while naturally including important keywords. Optimizing this section improves your article’s visibility and increases the chances of users clicking through to read it.
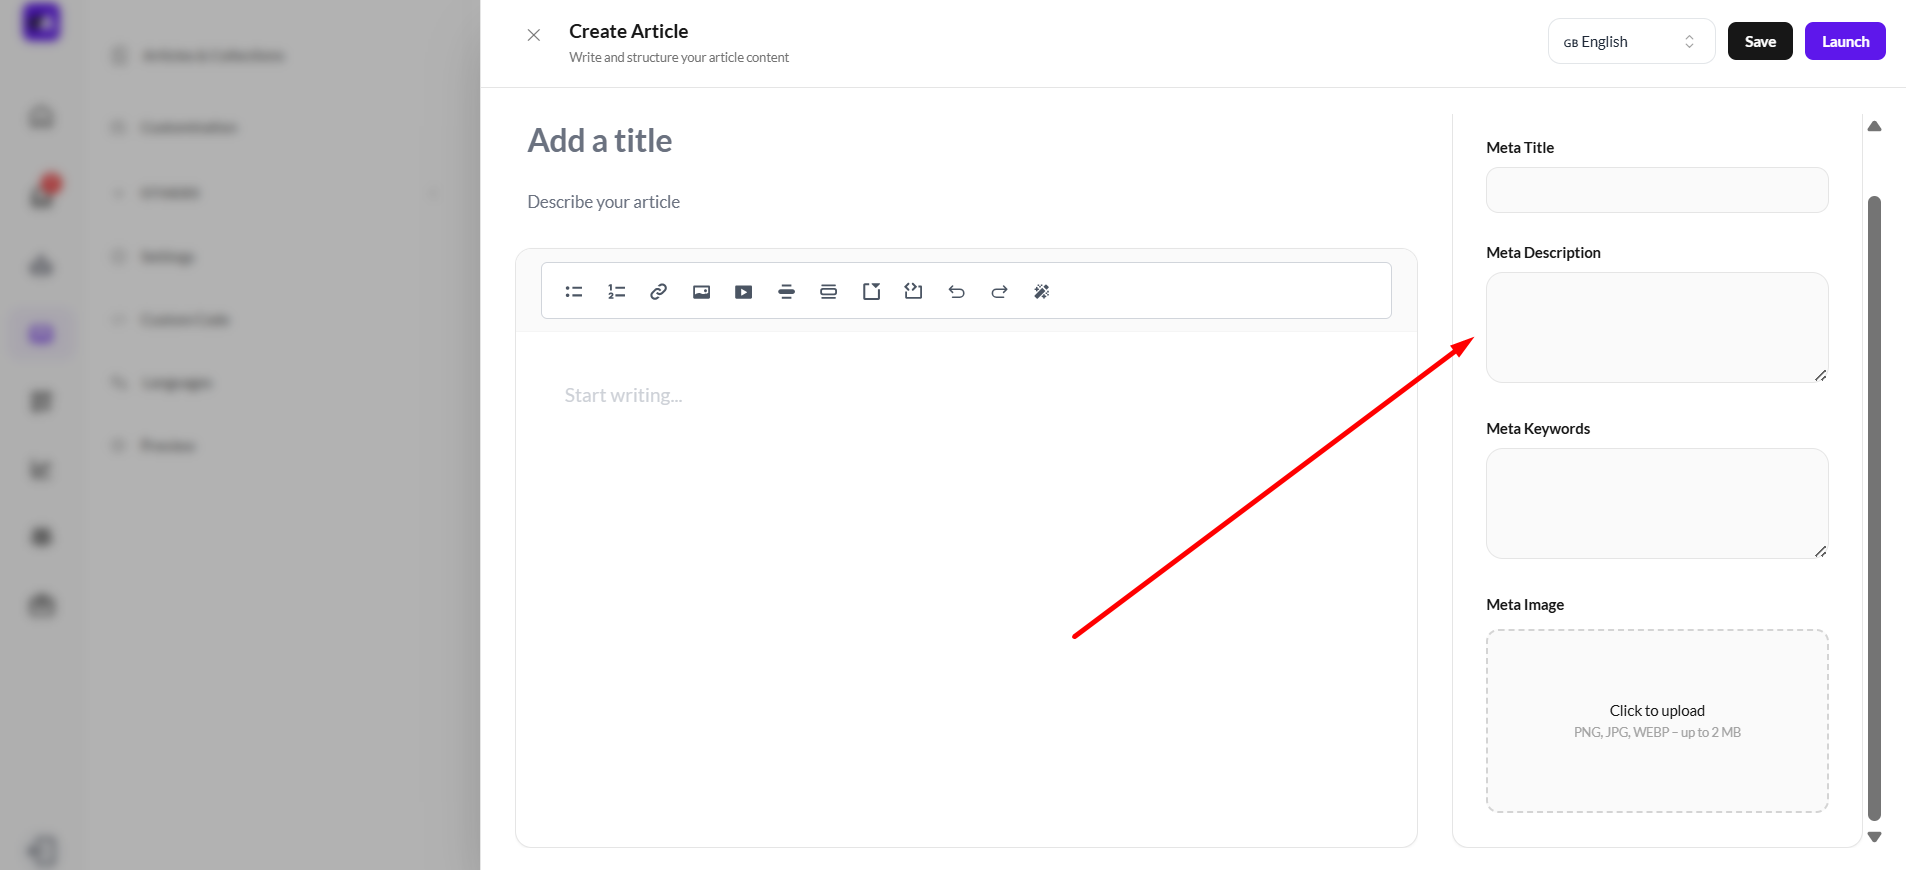
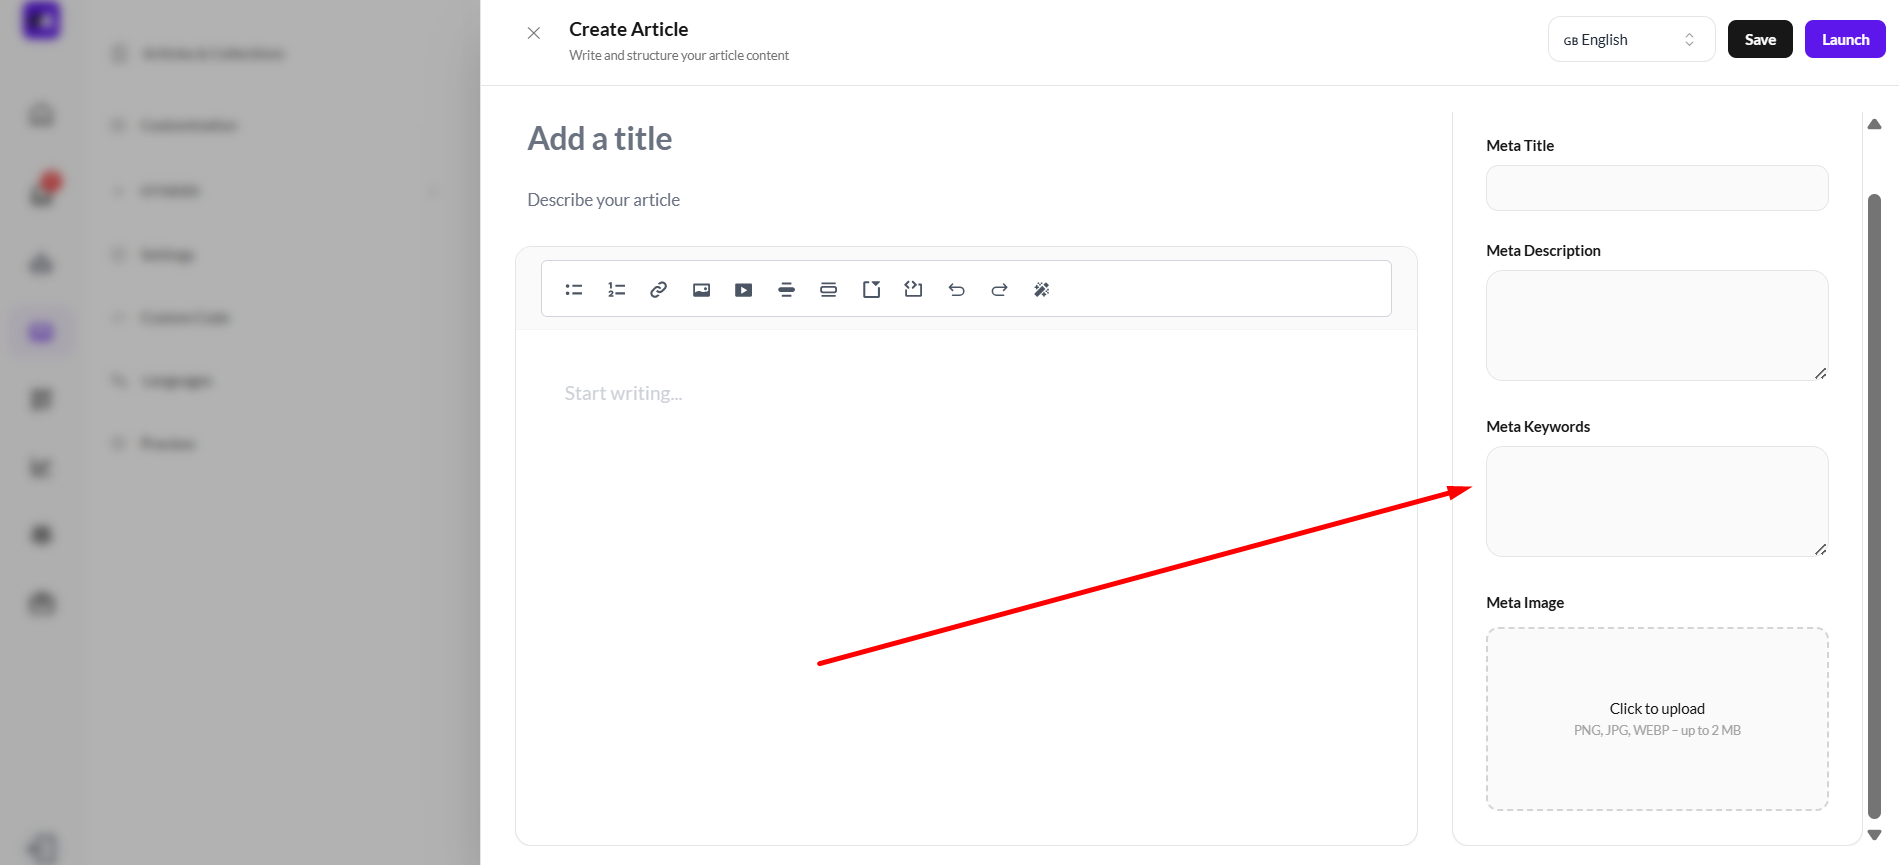
Adding Meta Keywords
The Meta Keywords field allows you to include relevant words and phrases that describe the content of your article. These keywords help organize your content and can support search optimization by signaling what topics your article covers.
When adding keywords, focus on terms your audience is likely to search for. Keep them specific and relevant to the article’s content, avoiding unnecessary or repetitive words. Well-chosen keywords make your articles easier to categorize and improve their overall discoverability within your help center and search engines.
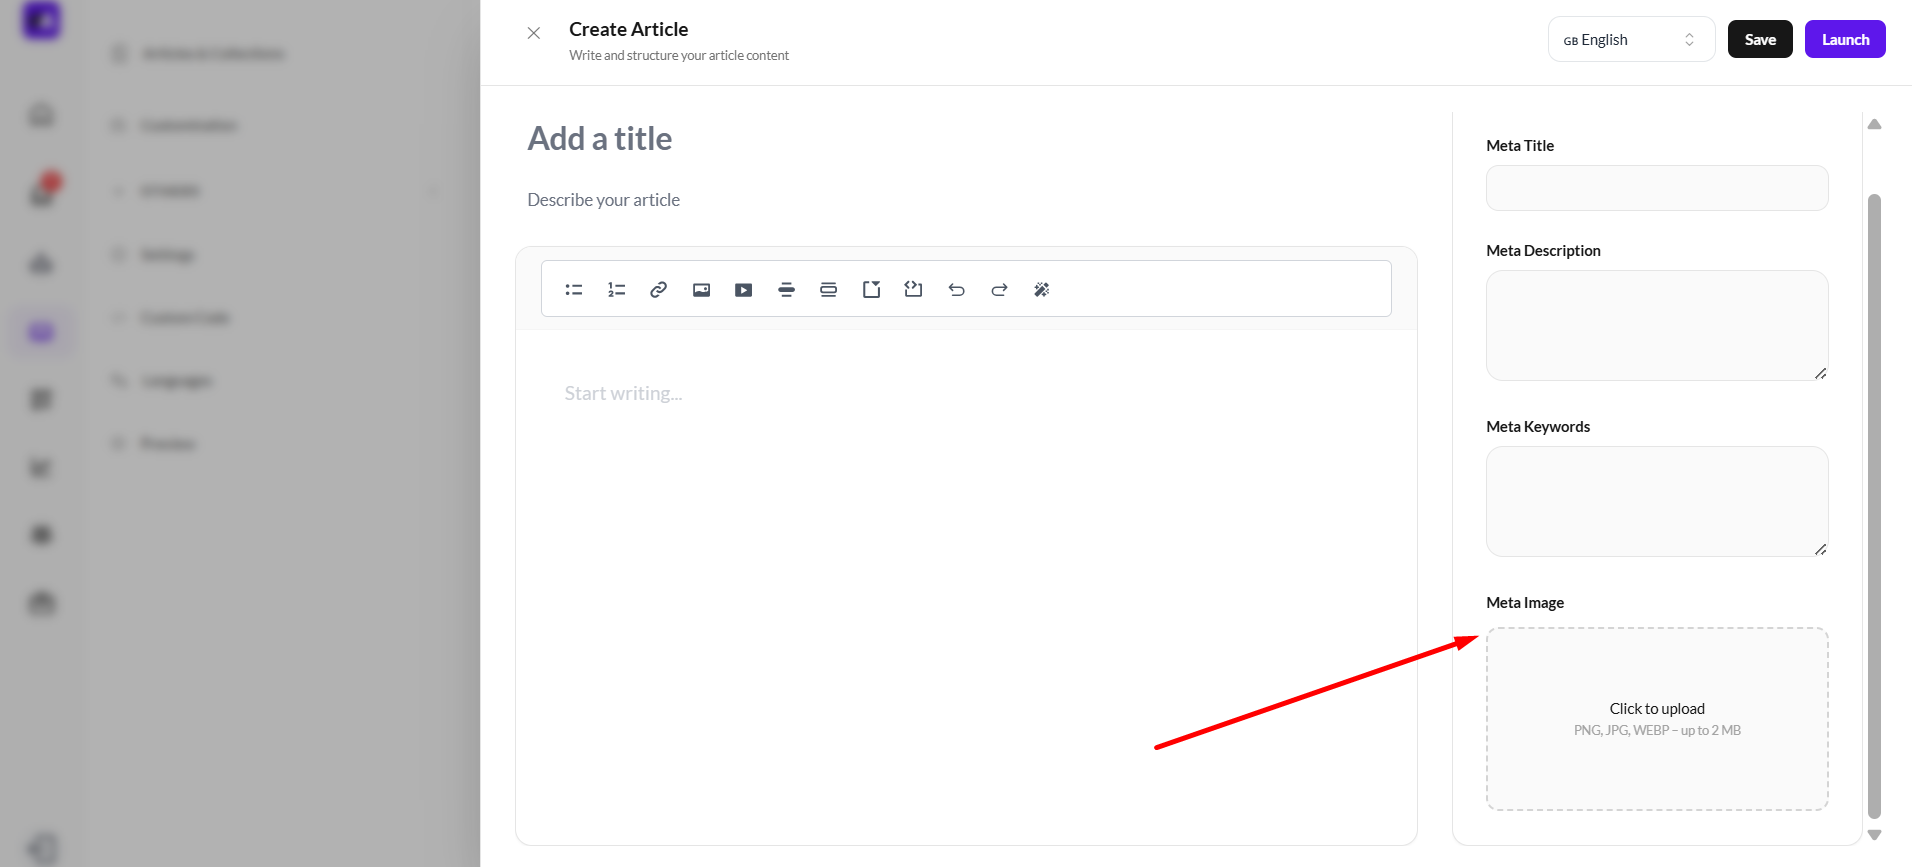
Adding a Meta Image
The Meta Image field allows you to upload a visual that represents your article when it is shared or displayed across platforms. This image is commonly used in link previews on social media, messaging apps, and sometimes in search results, helping your content stand out visually.
To use this feature, simply click the upload area and select an image file (PNG, JPG, or WEBP, up to 2MB). For best results, choose a clear and relevant image that reflects the topic of your article. A well-selected meta image improves engagement by making your content more appealing and recognizable at a glance.
Saving and Publishing Your Article
At the top right of the editor, you’ll find the Save and Launch buttons, which control how your article is stored and published.
The Save button allows you to keep your progress without making the article publicly available. This is useful when you’re still drafting, reviewing, or making updates before finalizing your content. On the other hand, the Launch button publishes the article, making it live and accessible in your help center. Once launched, users can view and interact with the article as part of your documentation.

Managing and Updating Your Articles
After publishing, your articles remain fully editable, allowing you to keep your help center accurate and up to date. As your product evolves or customer needs change, you can revisit any article to refine its content, improve clarity, or add new information. Regular updates ensure your documentation continues to provide value and reduces the need for repetitive customer support.
You can also reorganize articles within collections, making it easier for users to navigate and find what they need. Keeping your content structured and current plays a key role in delivering a seamless self-service experience.
Best Practices for Effective Articles
To get the most out of your help center, focus on creating articles that are clear, concise, and user-focused. Use simple language, break content into sections, and include formatting elements like lists or media where necessary to improve readability.
It’s also important to write with your audience in mind—address common questions, anticipate user challenges, and provide actionable guidance. Well-crafted articles not only educate users but also reduce support workload by empowering users to find answers on their own.
Did this answer your question?
0 Likes
0 Unlikes