
Customizing Help Center Design
Apply branding, layouts, and styling.
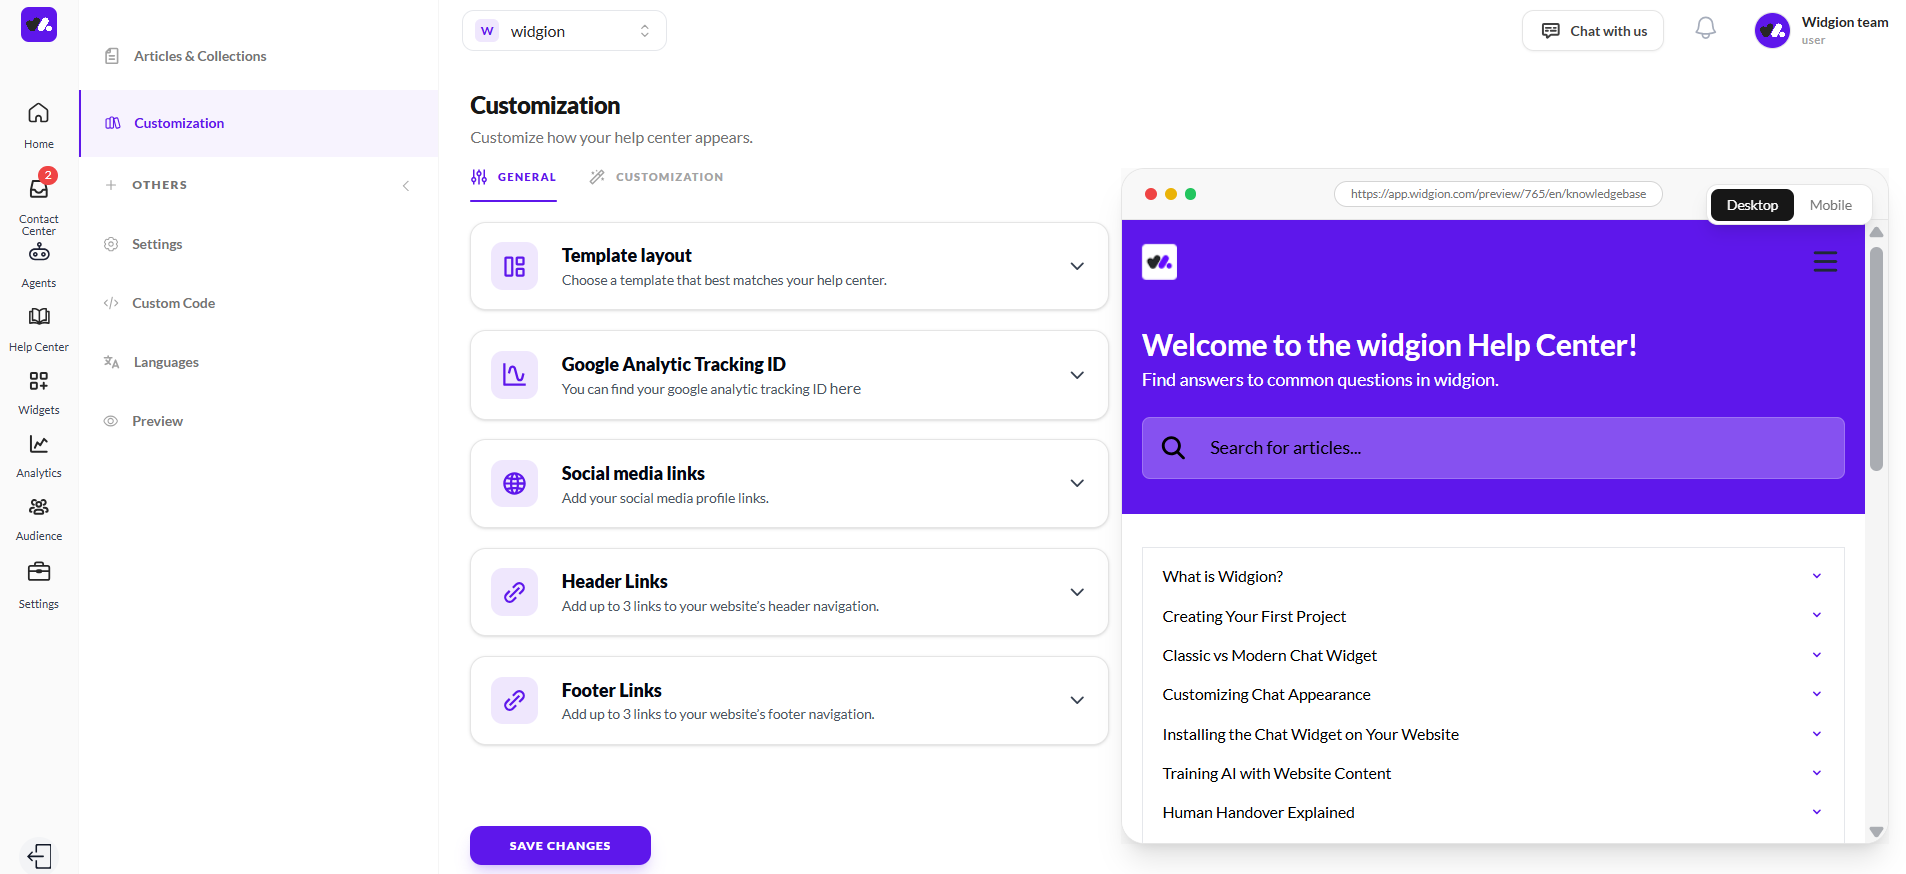
Widgion gives you full control over how your Help Center looks. From colors and logos to layout templates and social media links, everything is configurable from the Customization section of your Help Center settings. A live preview on the right side of the page updates as you make changes, so you can see exactly how your Help Center will appear to visitors before saving anything.
To access this, navigate to Help Center in the left sidebar and click Customization.
The Customization Tab
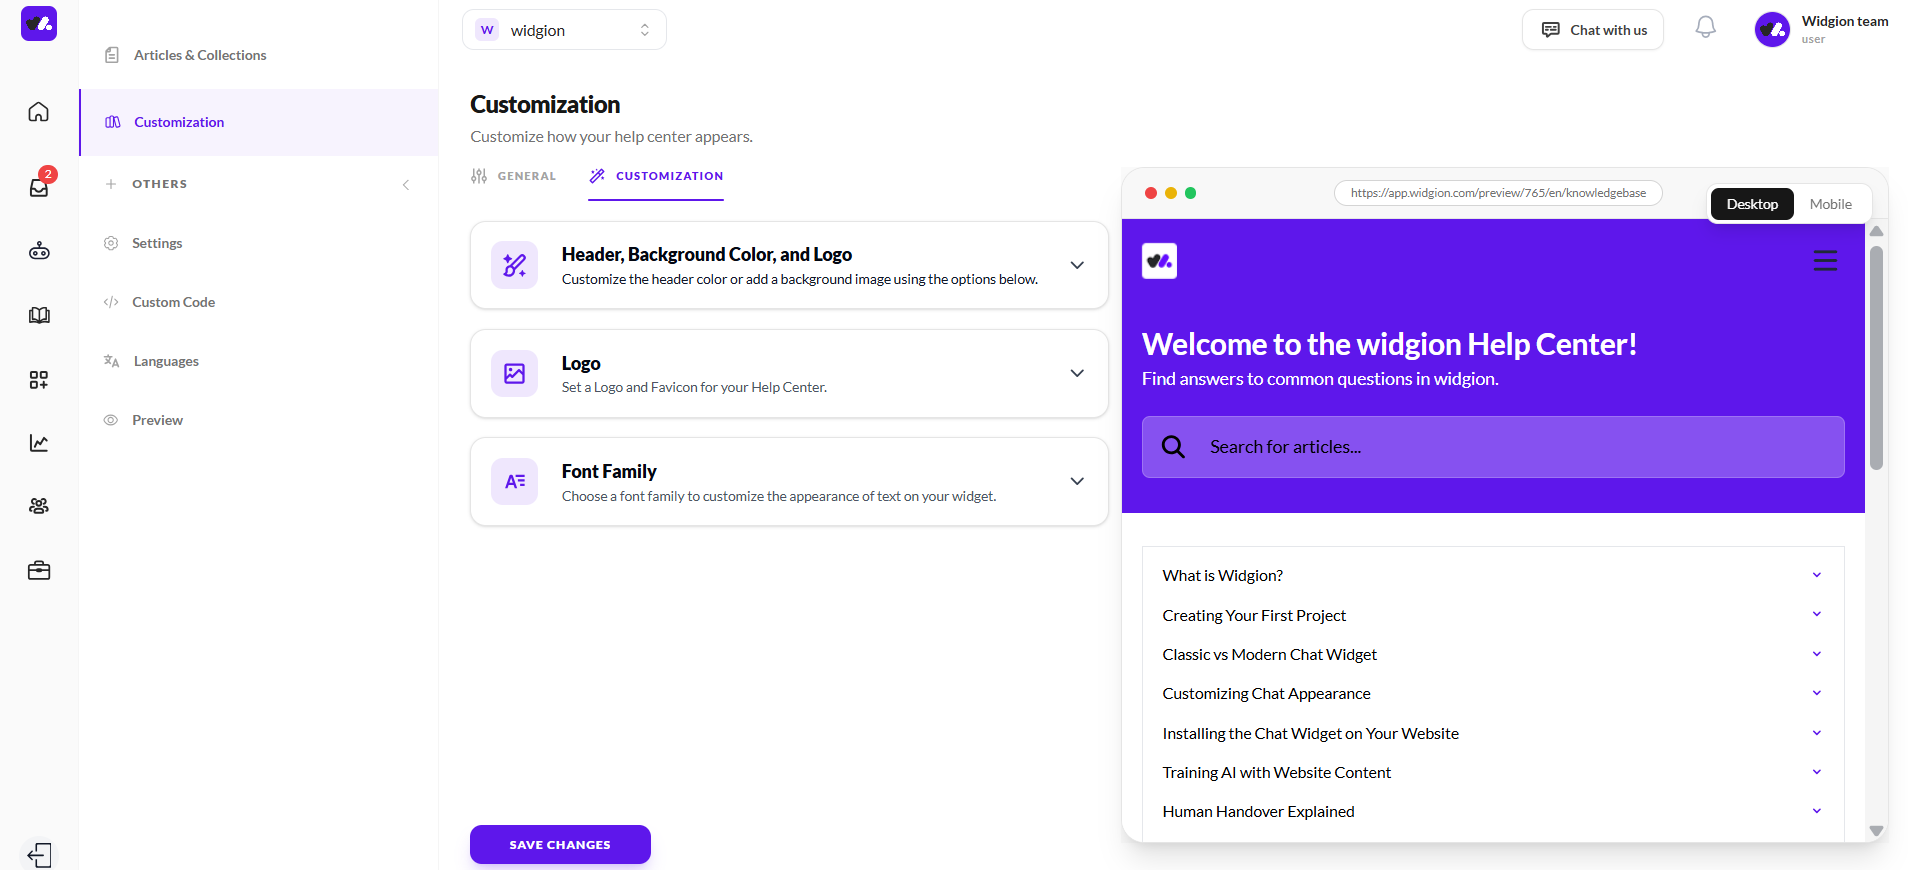
The Customization page has two tabs at the top — General and Customization. The settings across both tabs work together to shape the full look and feel of your Help Center.
Header, Background Color, and Logo
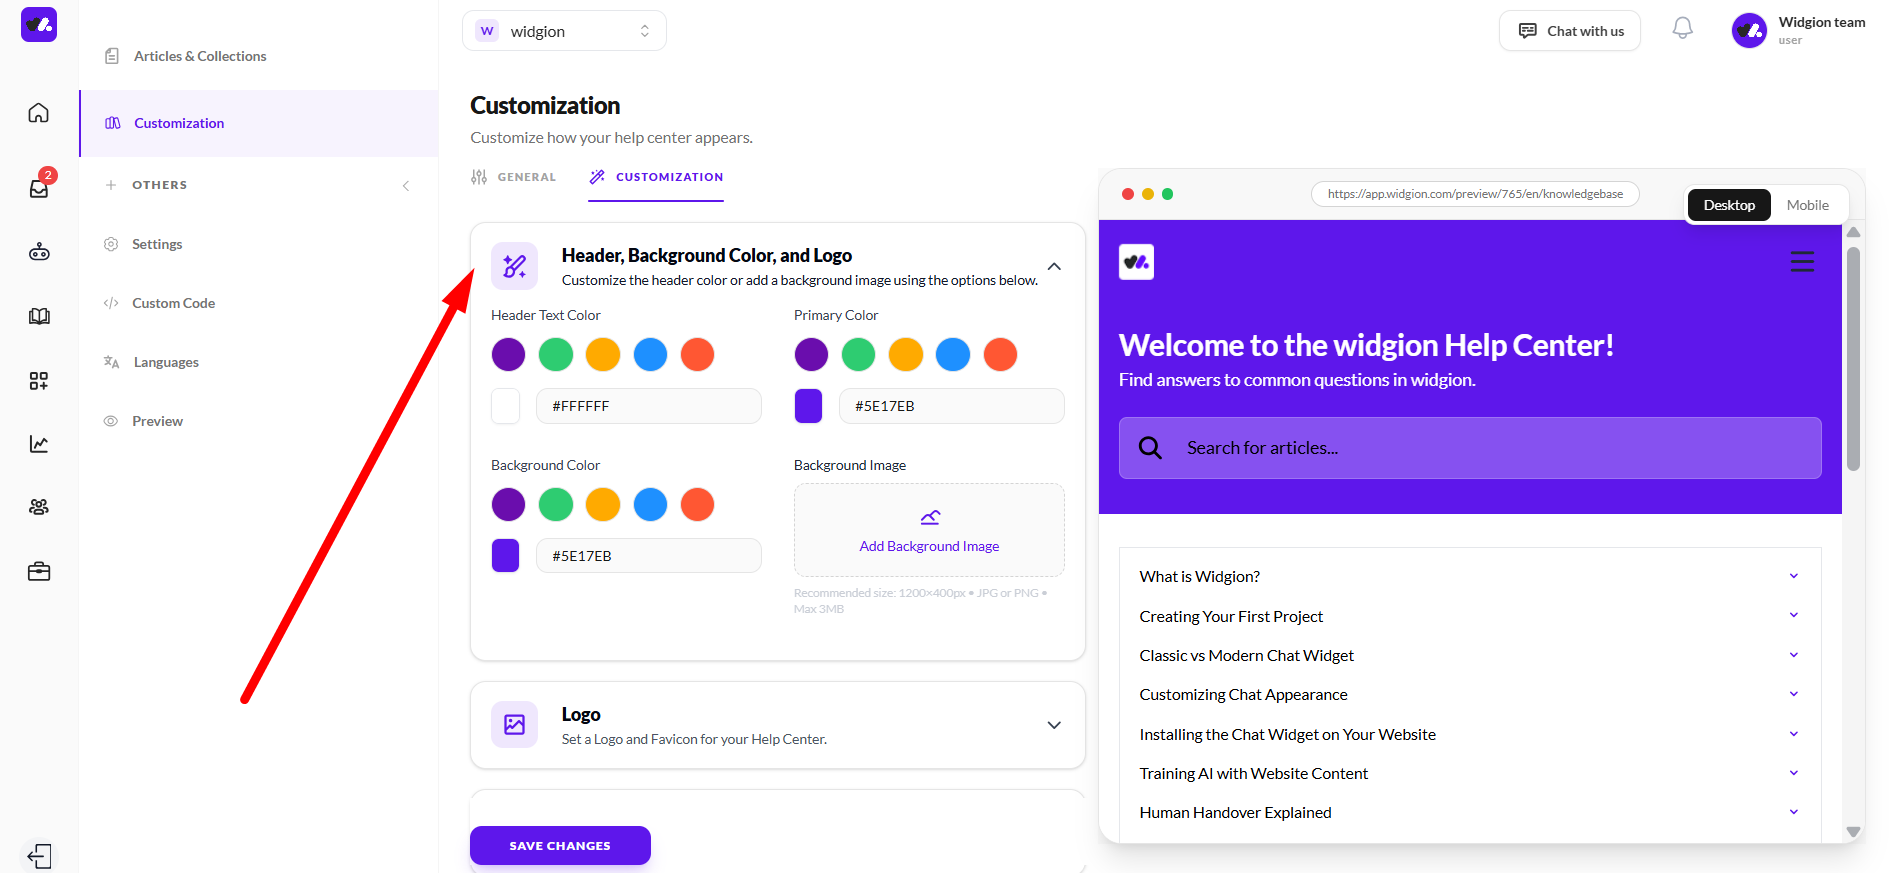
Under the Customization tab, the first section is Header, Background Color, and Logo. Here you can set your Header Text Color, Primary Color, and Background Color by selecting from the preset color swatches or entering a custom hex code in the field below each swatch row.
You can also upload a Background Image by clicking the Add Background Image area — the recommended size is 1200x400px in JPG or PNG format, with a maximum file size of 3MB.
Logo and Favicon
Below the color settings, the Logo section lets you upload a Header Logo and a Favicon Icon for your Help Center. The Header Logo supports SVG, PNG, and JPG formats, while the Favicon Icon supports PNG and JPG. Click on either upload circle to add your images.

Font Family
The Font Family section lets you choose the typeface used across your Help Center. Click the dropdown to select from the available font options. The default font shown is Lato.

Template Layout
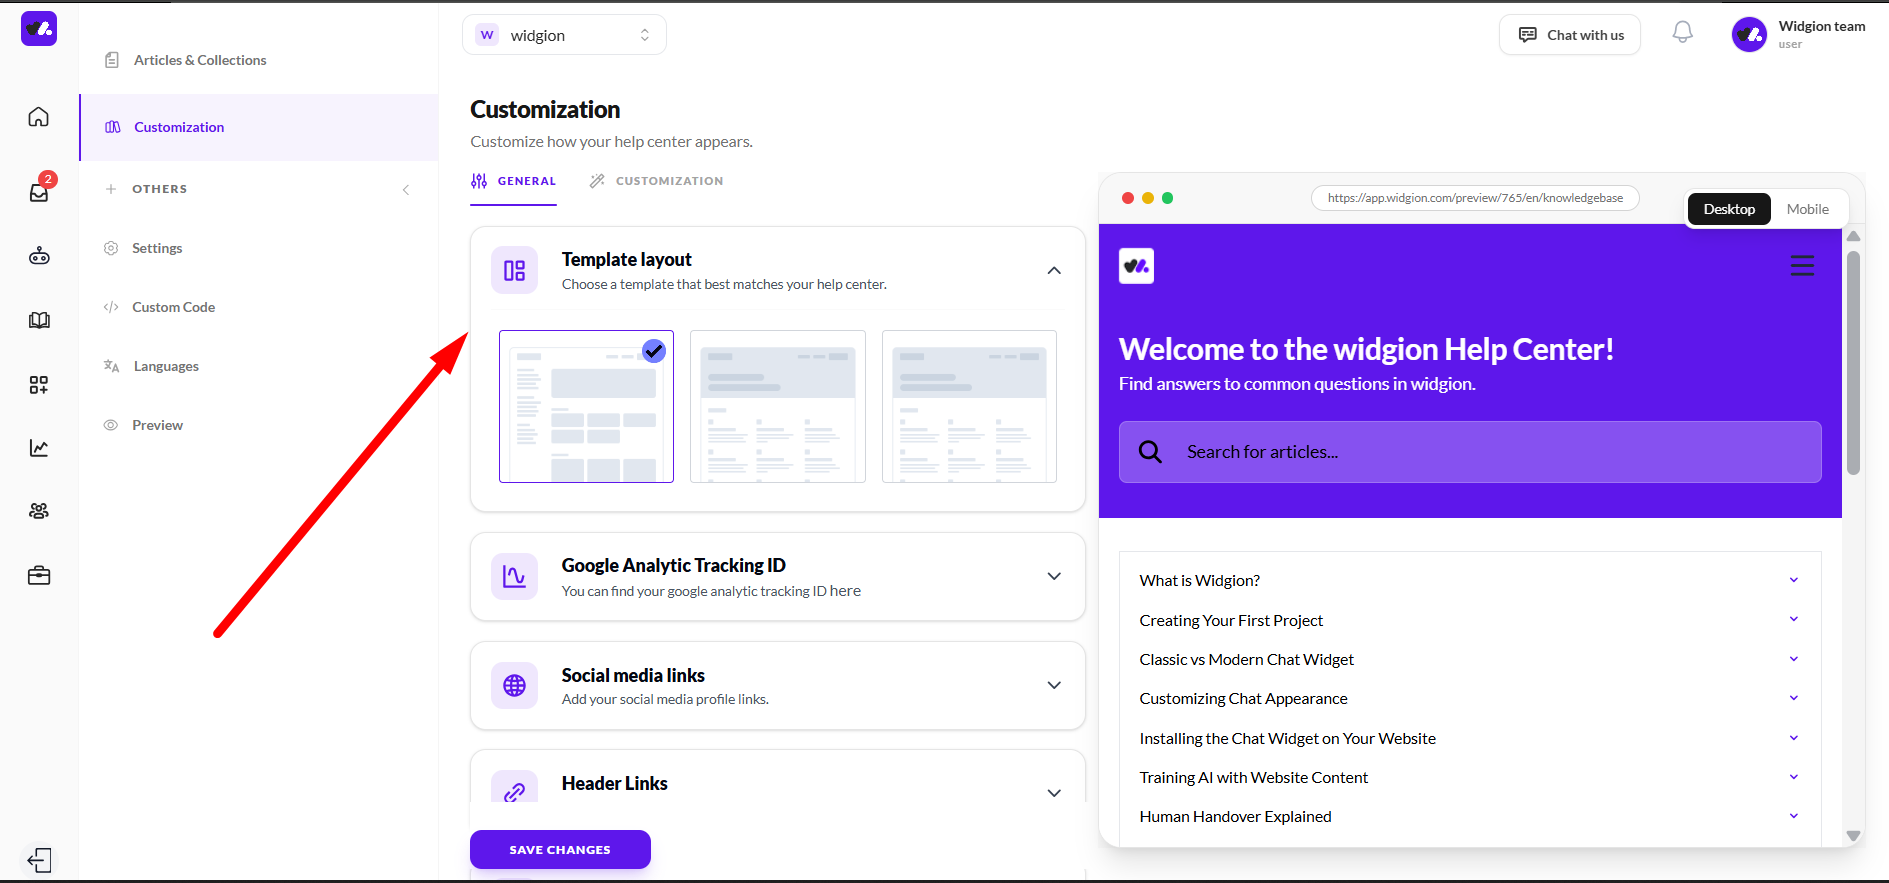
Under the General tab, the Template Layout section lets you choose from three different layout options for your Help Center. Each option is shown as a visual preview card.
Click on the layout that best matches how you want your content displayed, and the live preview on the right will update immediately to reflect your choice.
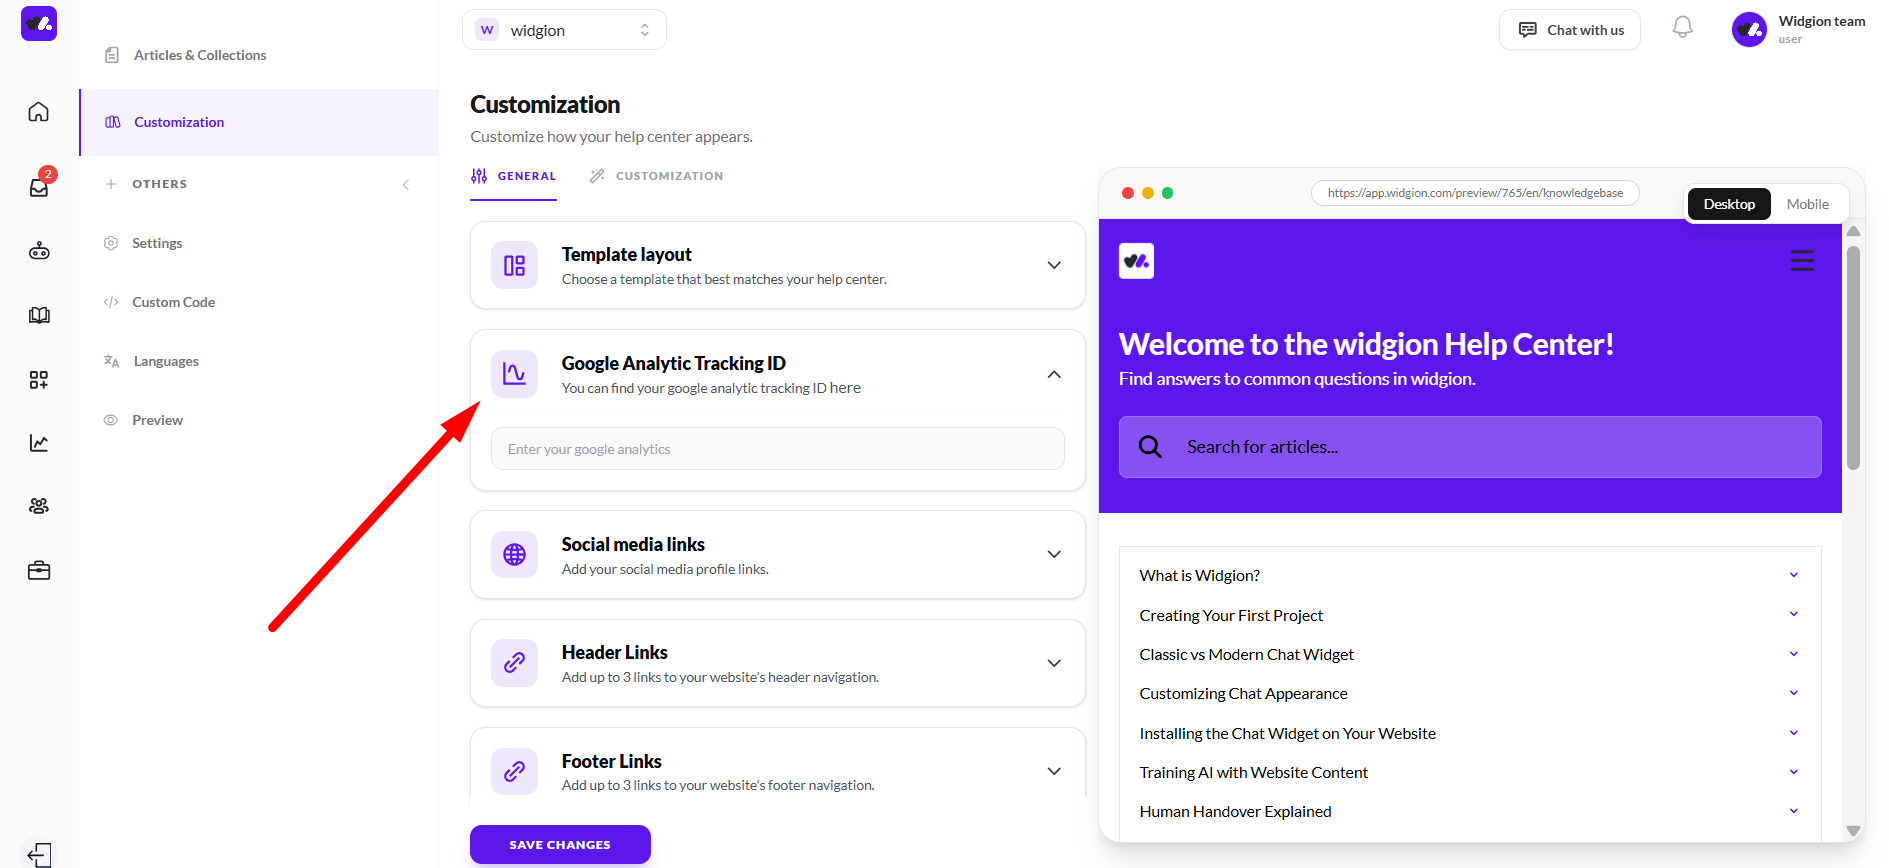
Google Analytics Tracking ID
Also under the General tab, the Google Analytics Tracking ID section lets you connect your Help Center to Google Analytics. Enter your tracking ID in the field provided to start tracking visitor behavior on your Help Center.
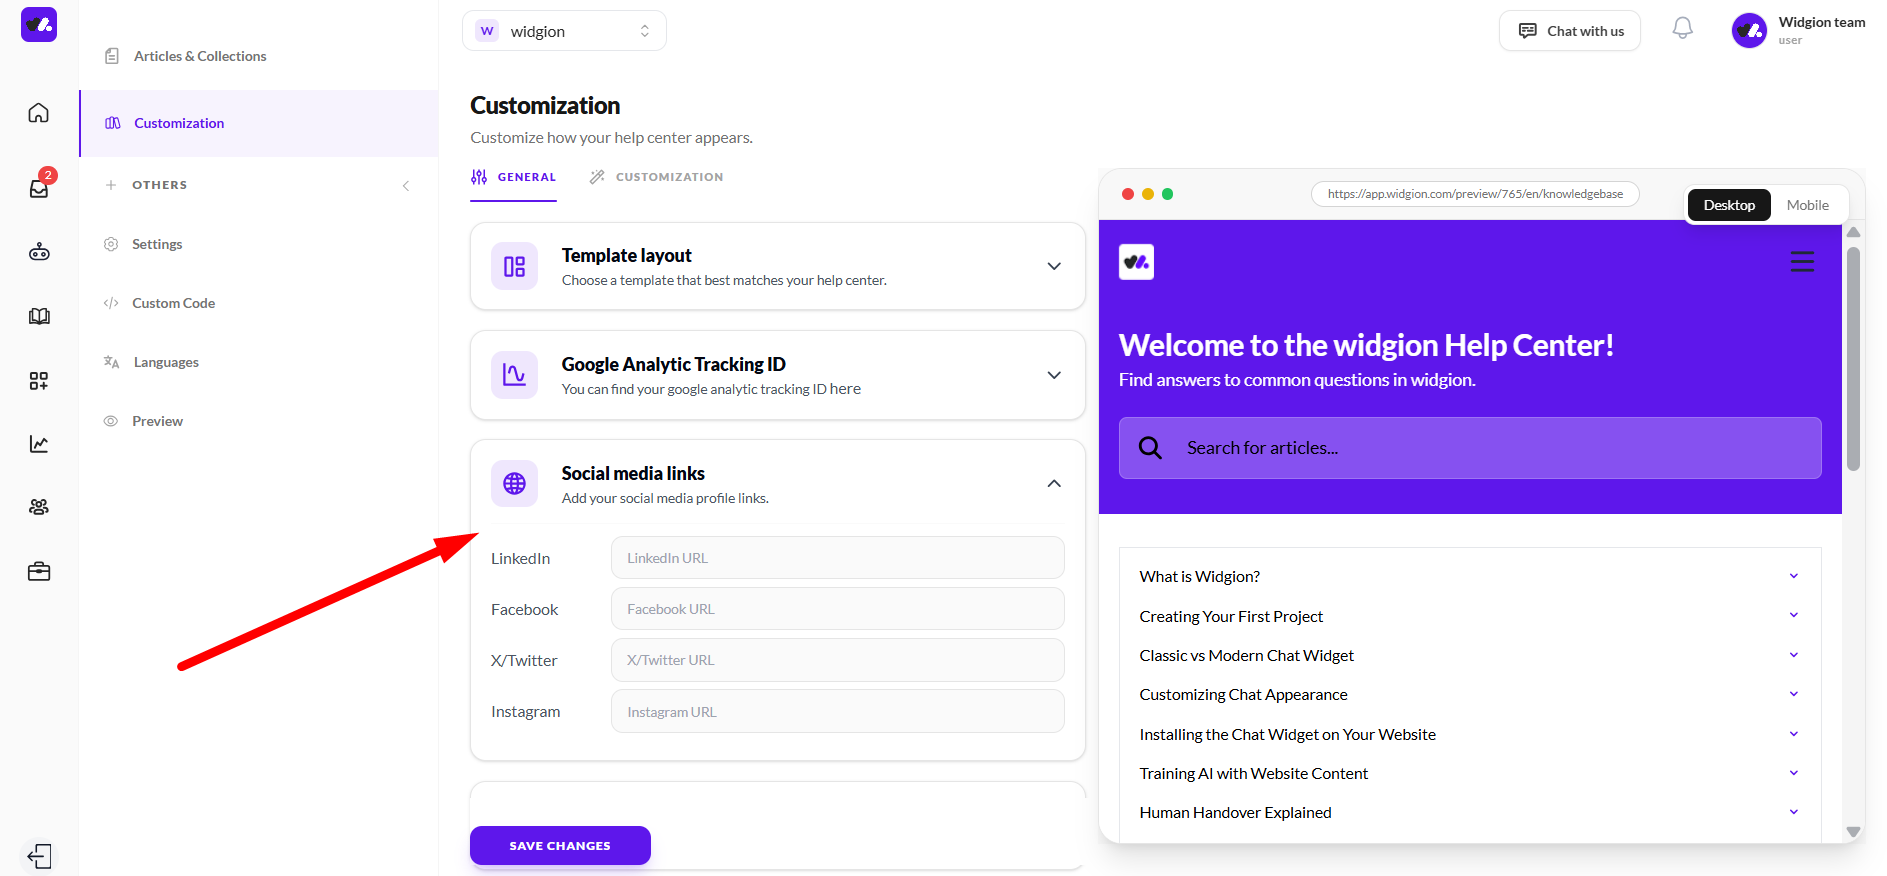
Social Media Links
The Social Media Links section lets you add links to your social profiles. You can add URLs for LinkedIn, Facebook, X/Twitter, and Instagram. These links will appear on your Help Center so visitors can find and follow your brand.
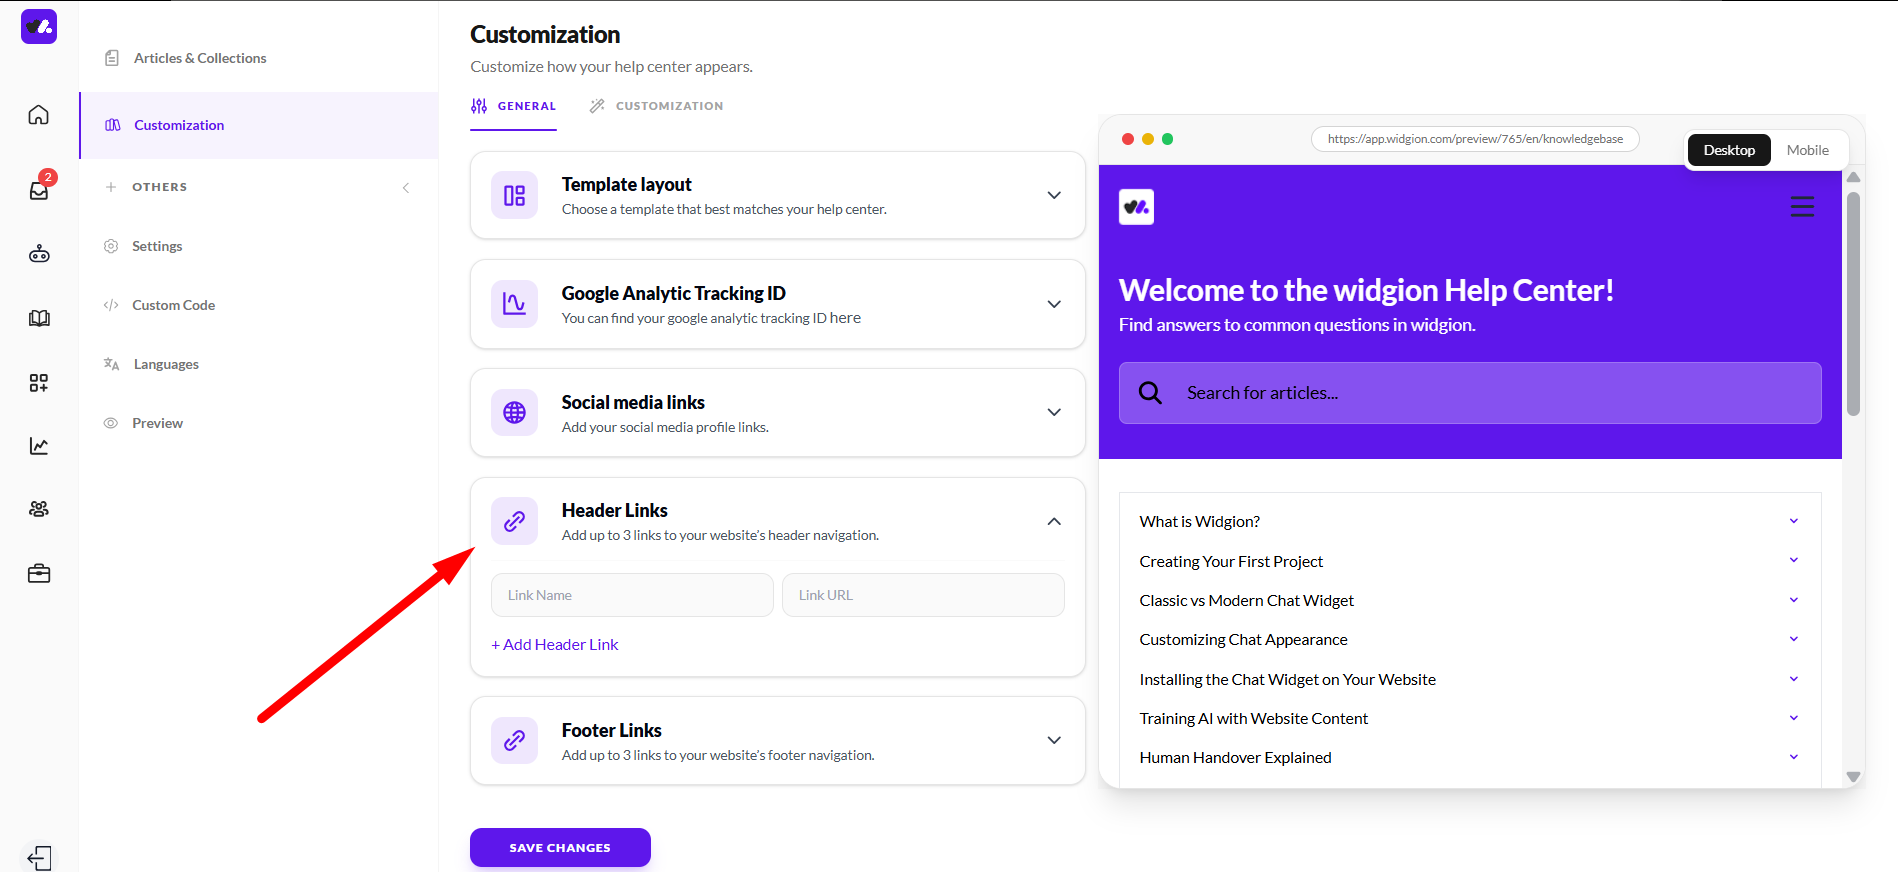
Header Links and Footer Links
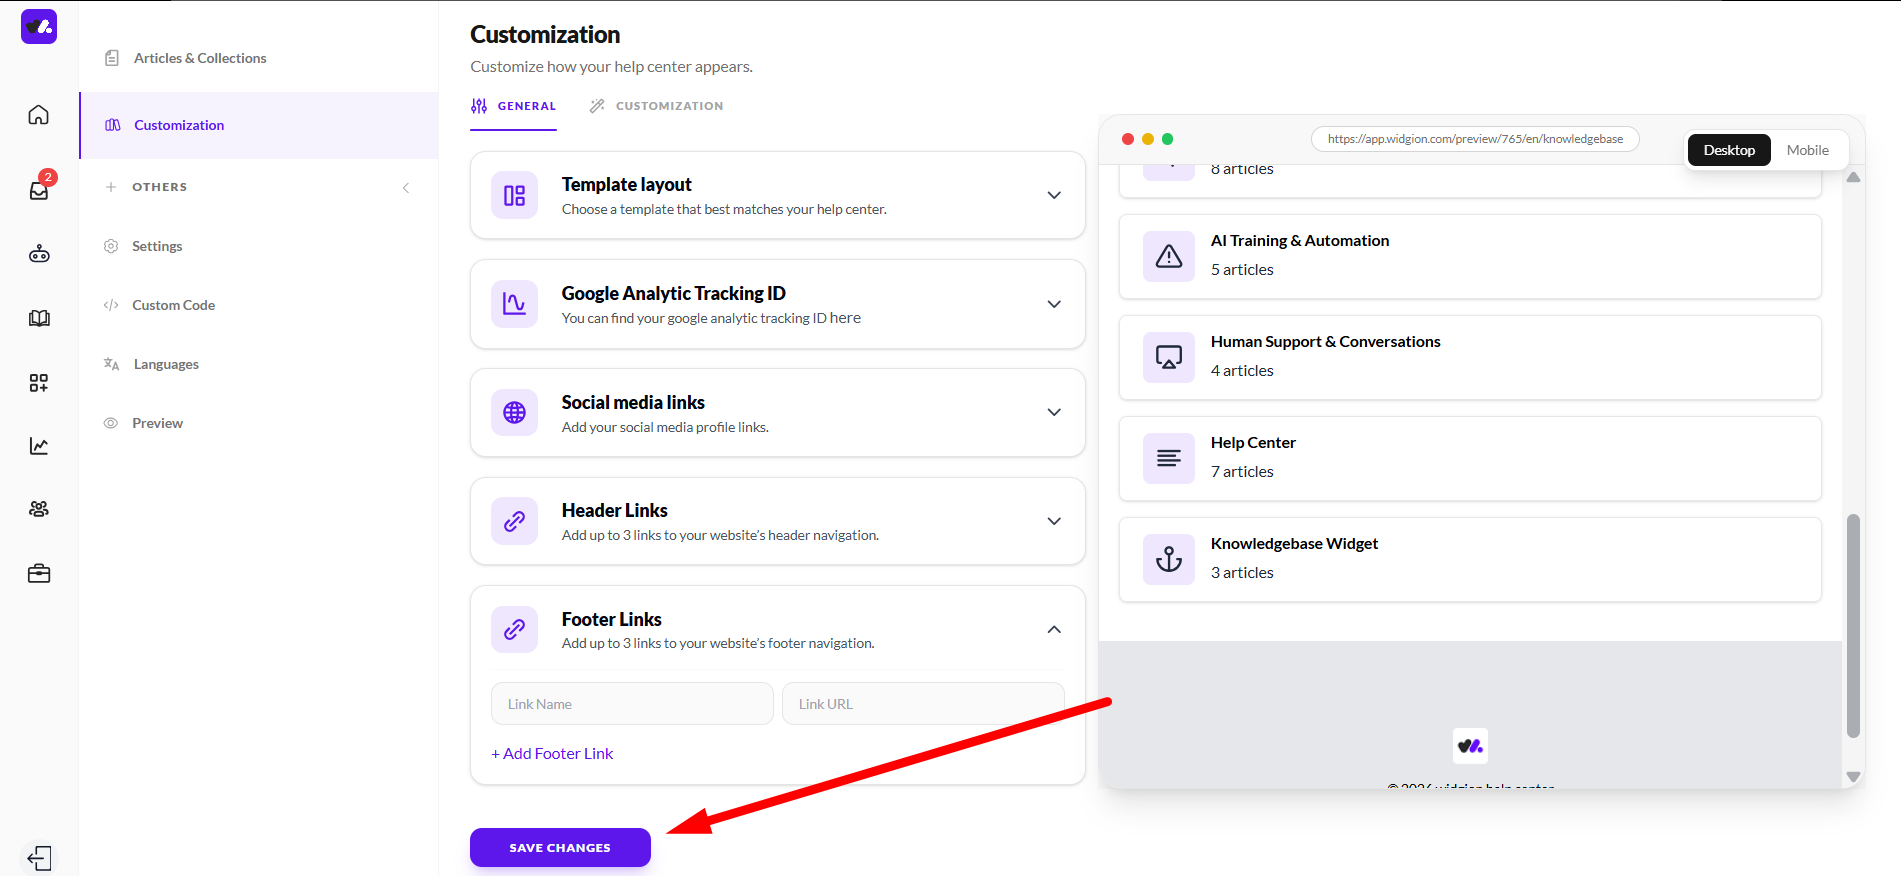
The Header Links section lets you add custom navigation links to your Help Center header, while the Footer Links section lets you add links to the footer. For both sections, enter a link name and the corresponding URL, then click + Add Header Link or + Add Footer Link to include them.
Previewing and Saving
As you make changes, the live preview panel on the right side of the page updates in real time. You can toggle between Desktop and Mobile views at the top of the preview panel to see how your Help Center looks across different devices.
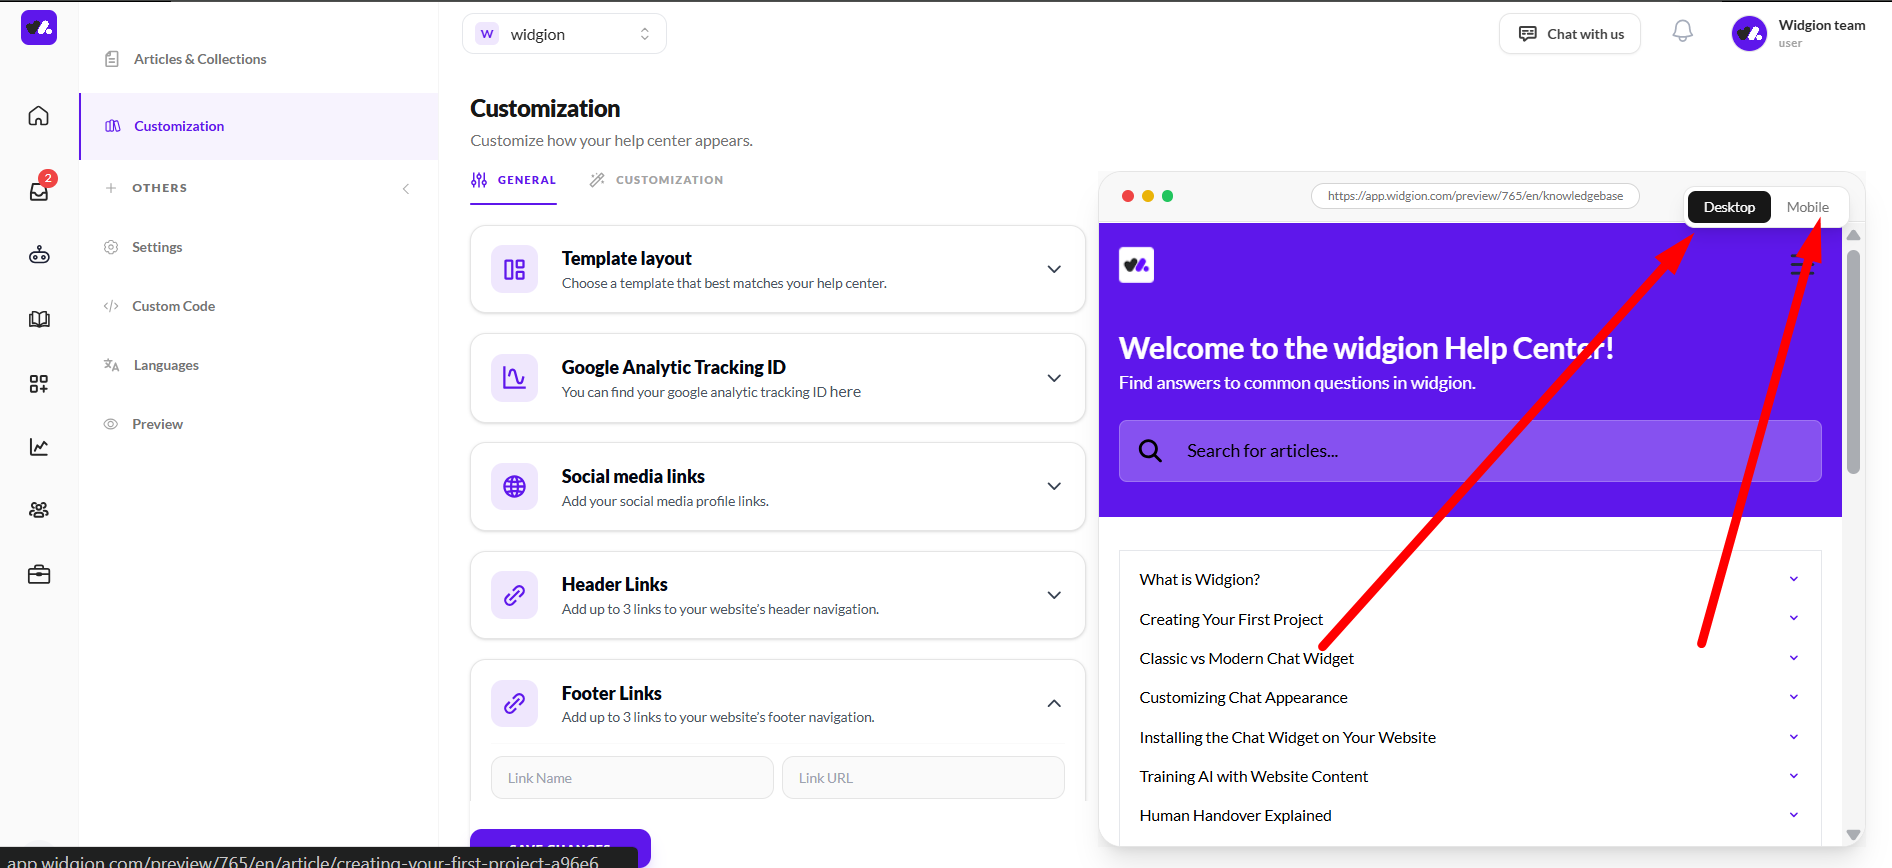
Once you're happy with everything, click Save Changes at the bottom of the page to apply your settings.
Your Help Center, Your Brand
A well-branded Help Center builds trust before a visitor even reads a single article. Taking the time to match your colors, upload your logo, choose the right layout, and add your social links ensures that every visitor lands on a page that feels like a natural extension of your website.
Did this answer your question?
0 Likes
0 Unlikes