
Creating Workflow Actions (API Calls)
Trigger external APIs directly from chat to perform real-time actions.
Workflow Actions allow your assistant to go beyond responding to messages by performing tasks automatically. With actions, you can connect your assistant to external systems, trigger workflows, and execute API calls directly from conversations.
This makes it possible to handle real-time operations such as sending data, retrieving information, or integrating with other tools—all within the chat experience.
Actions
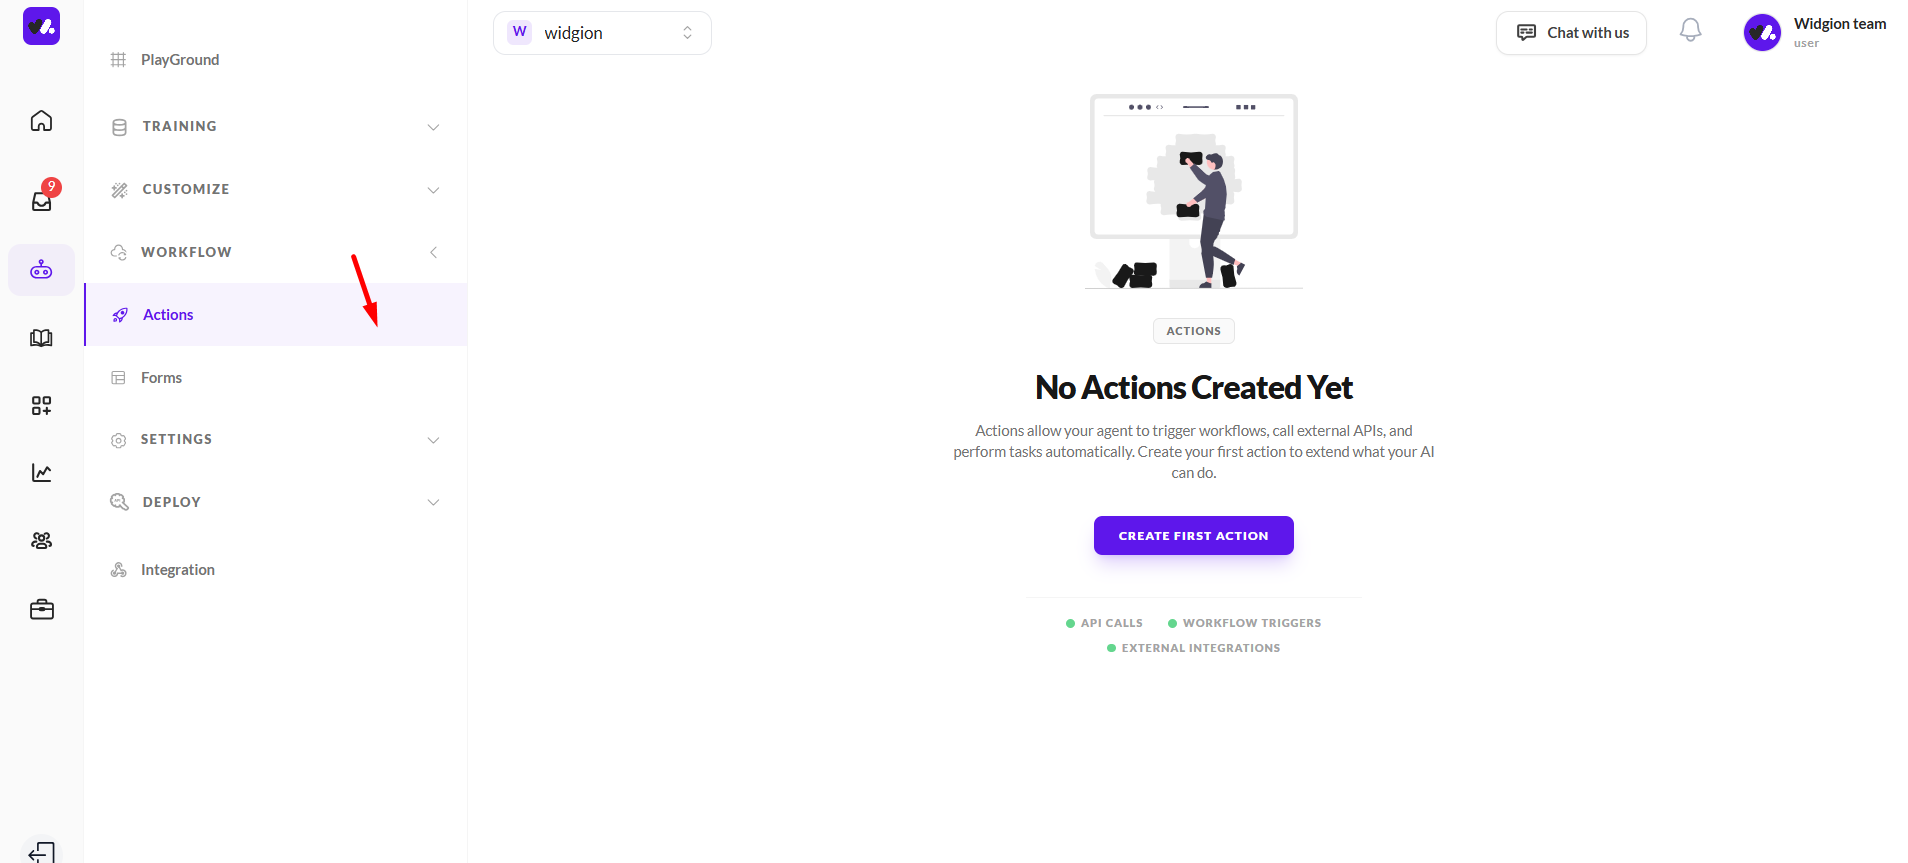
The Actions section is where you create and manage all workflow actions for your assistant. When no actions have been set up, an empty state is displayed along with a Create First Action button, which serves as the entry point for adding new actions.
From here, you can begin configuring actions that allow your assistant to trigger workflows, connect with external APIs, and perform automated tasks directly within conversations.
Add Custom Action
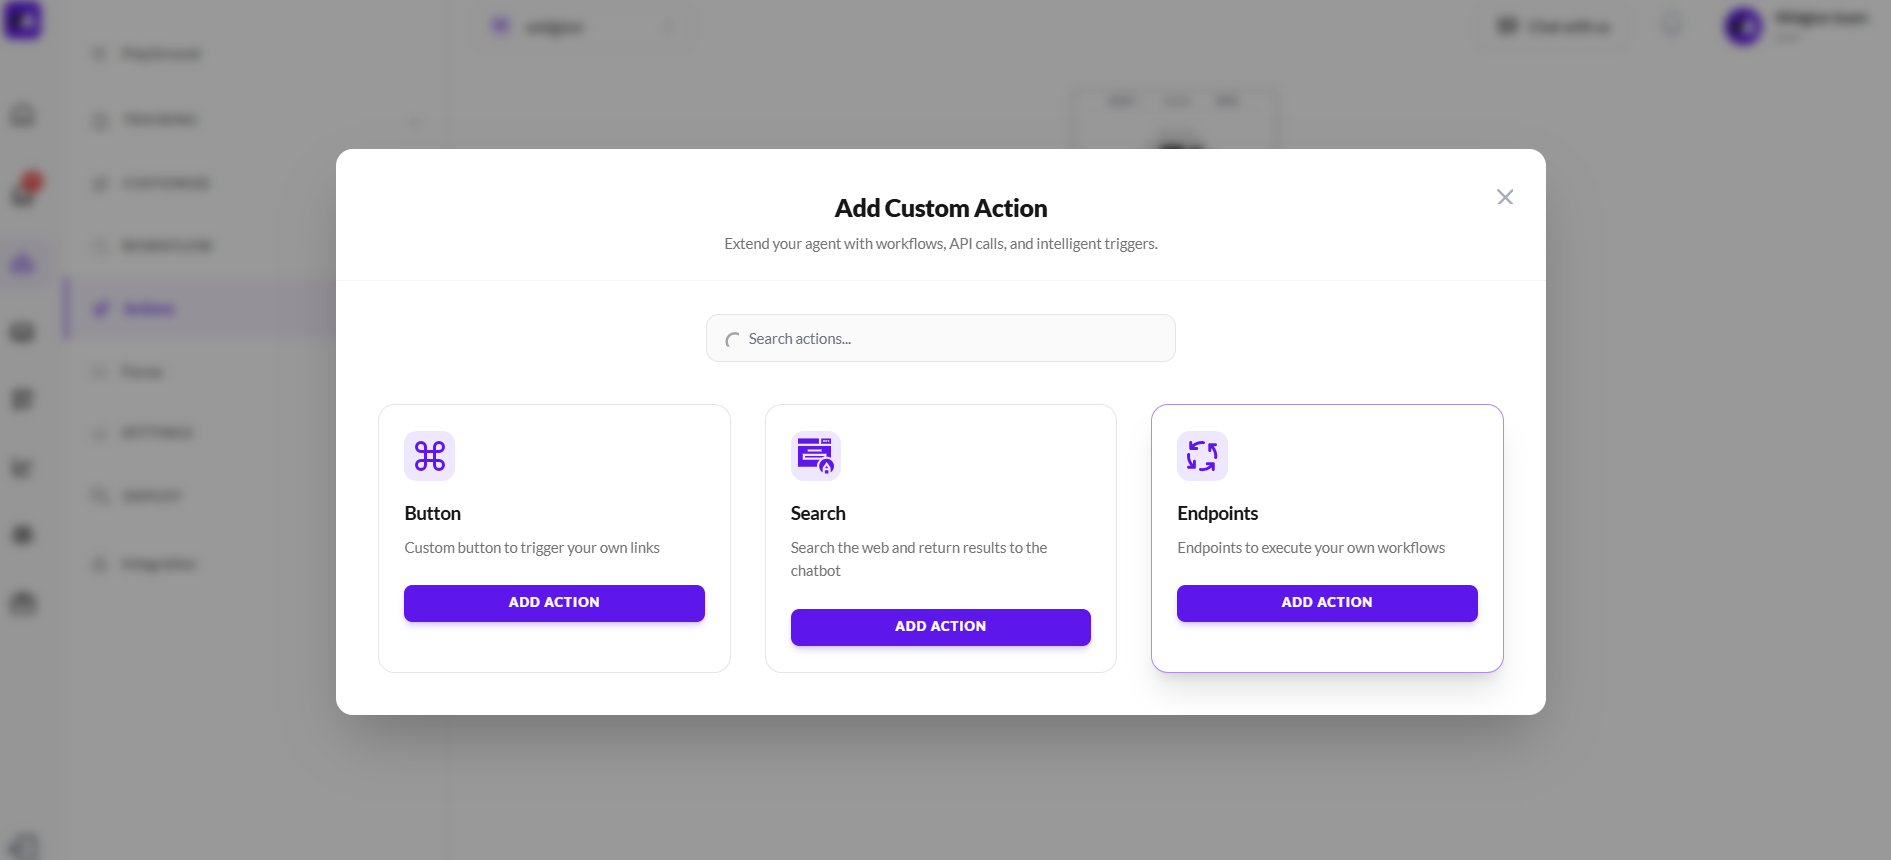
When you click to create a new action, a modal appears where you can choose the type of action you want to add. This interface provides different options for extending your assistant’s capabilities, including Button, Search, and Endpoints.
Each option serves a different purpose—Button allows you to trigger custom links, Search enables web-based responses within the chatbot, and Endpoints lets you execute your own workflows through API calls. Select the appropriate option and click Add Action to begin configuring it.
Button Action
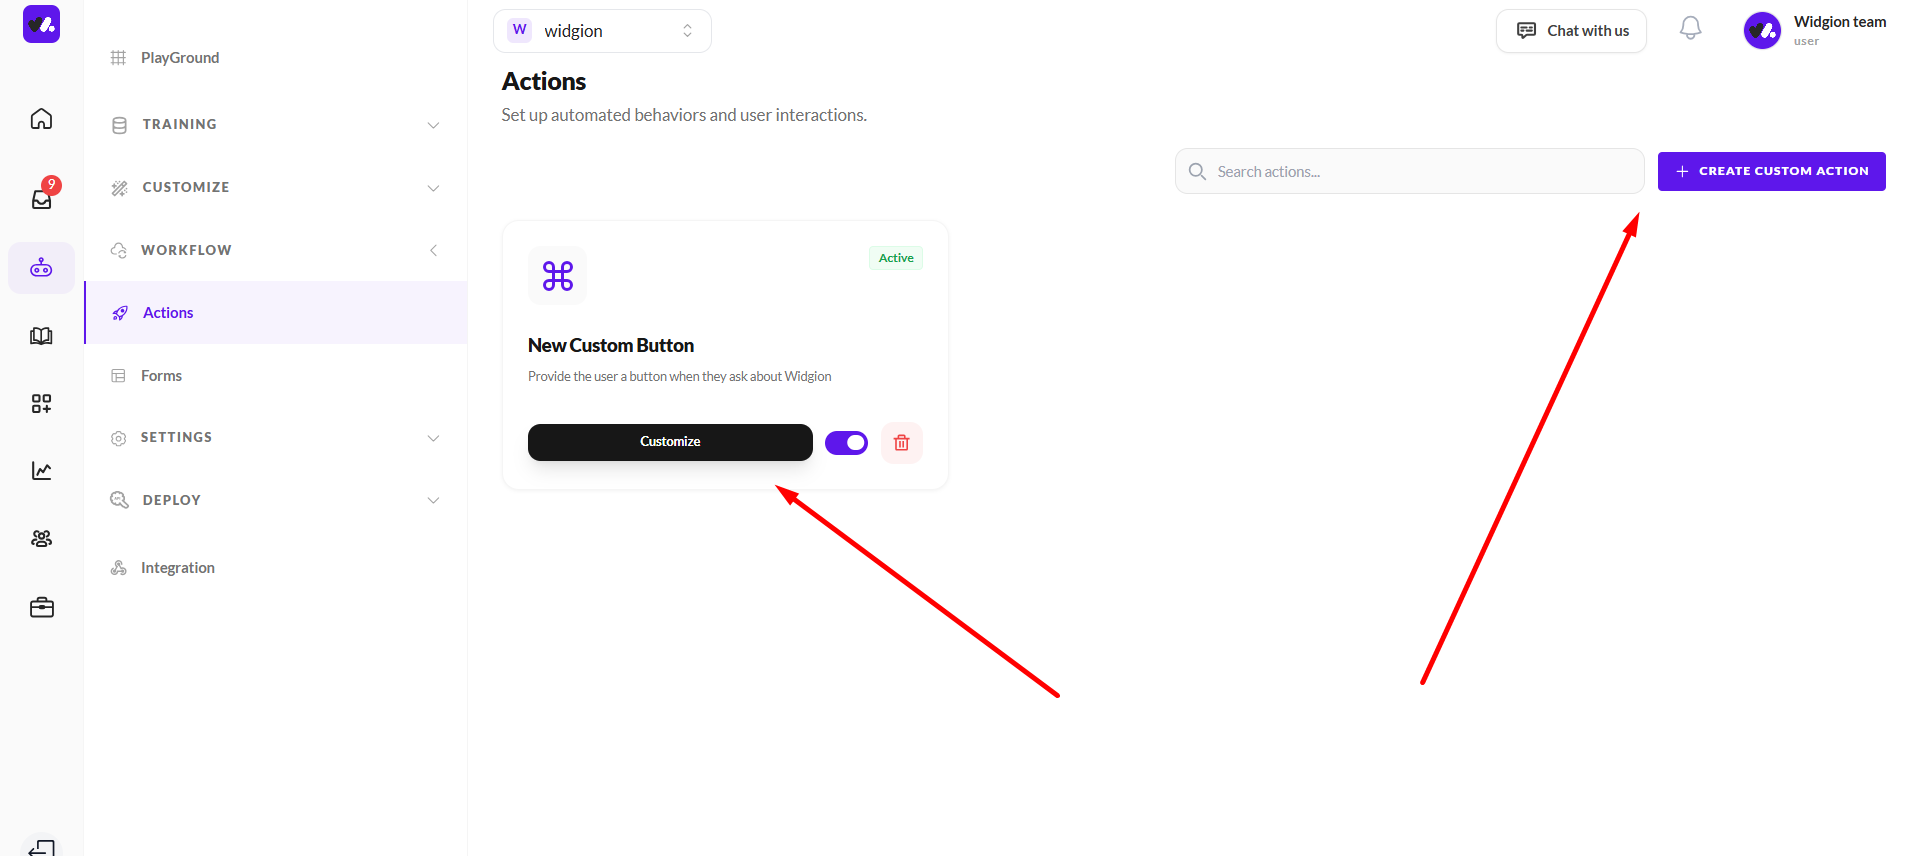
After selecting Button and clicking Add Action, the action is created and appears in the Actions list. It is displayed as a card showing the action name, a short description, and its current status.
From here, you can click Customize to configure the button’s behavior, use the toggle to enable or disable it, or delete it if needed. This allows you to control how the button action appears and functions within your assistant.
Customizing Button Action
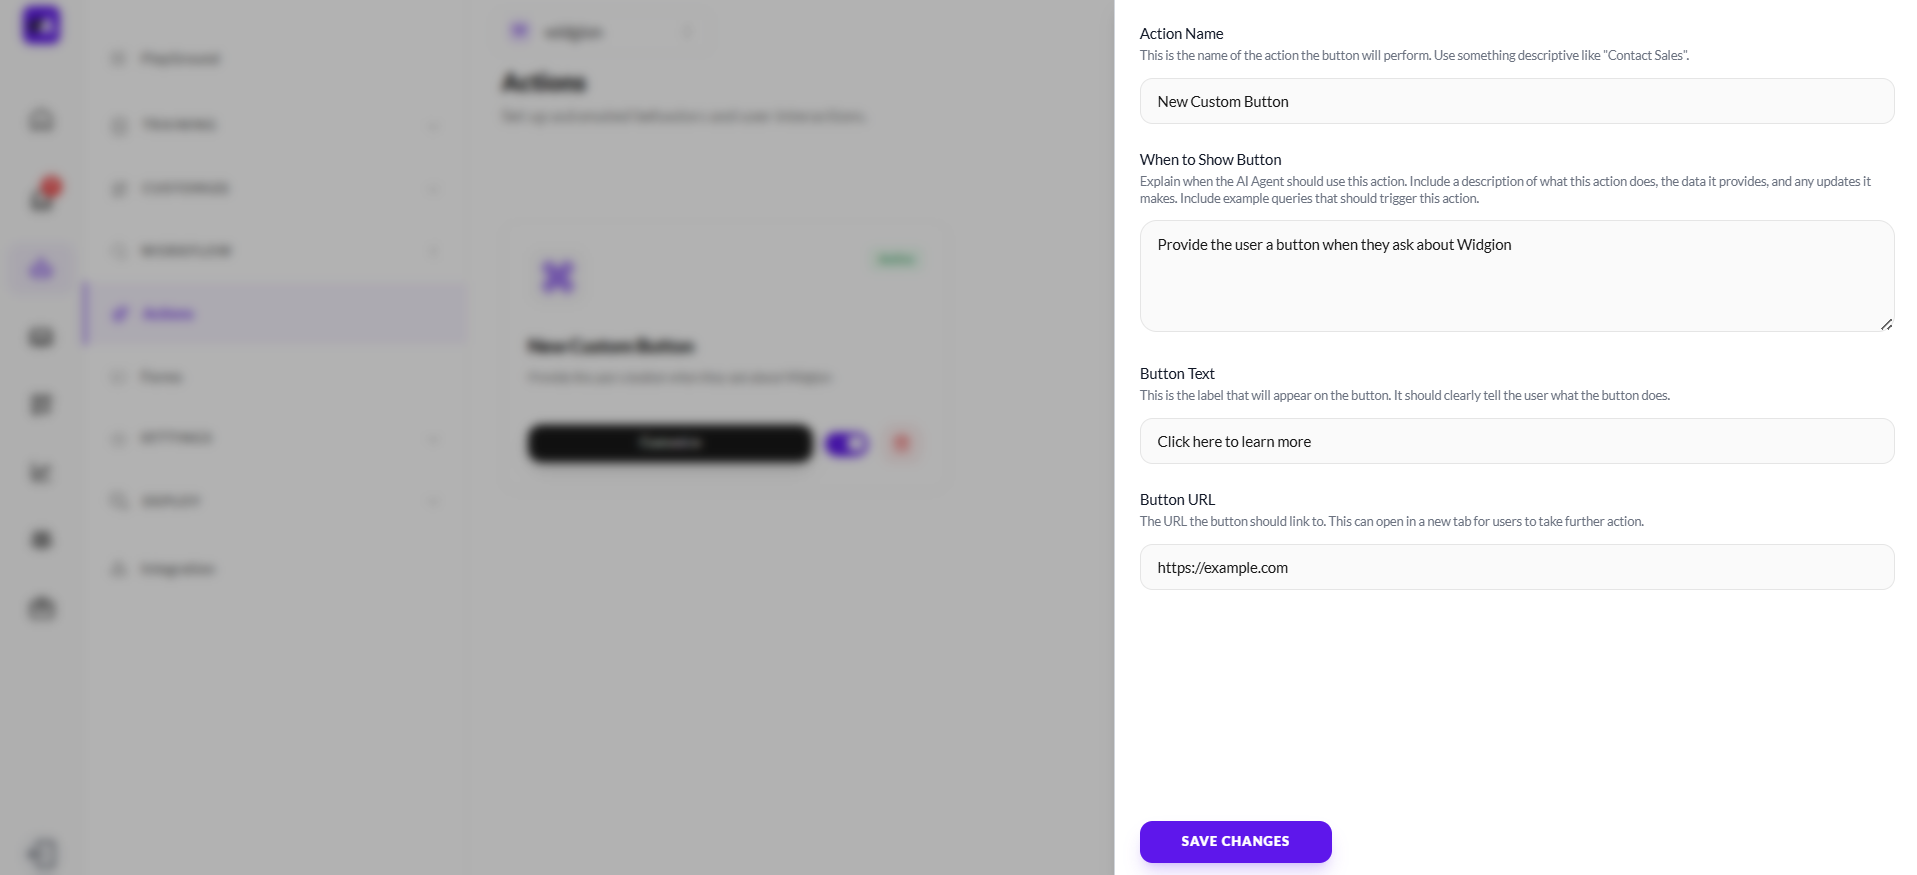
When you click Customize on a button action, a configuration panel opens where you can define how the button behaves and when it appears.
You can set the Action Name to identify the action, define When to Show Button to control when the assistant should display it, and customize the Button Text that users will see. You’ll also provide a Button URL, which is the destination the button links to when clicked. Once configured, click Save Changes to apply your updates.
Adding a Search Action
When creating a new action, selecting Search allows your agent to retrieve information from the web and return relevant results directly within the chat. This is useful in situations where the assistant may not have sufficient or up-to-date knowledge, enabling it to provide more accurate and helpful responses in real time.
Once added, the search action appears in your Actions list with an active status. From here, you can toggle it on or off, edit its behavior using the Customize option, or remove it entirely. This ensures you maintain full control over how and when external information is introduced into conversations.
Customizing the Search Action
When you click Customize on a search action, a configuration panel appears where you define how and when the agent should use web search. You can set an Action Name to clearly identify the action and use the When to Show Button field to describe the exact scenarios where the assistant should trigger a search—such as when it doesn’t know an answer or needs more up-to-date information.
You also have the option to control where results come from using Included Domains (Optional). This allows you to restrict searches to specific websites, ensuring more relevant or trusted results. Once everything is configured, click Save Changes to apply and activate the behavior.

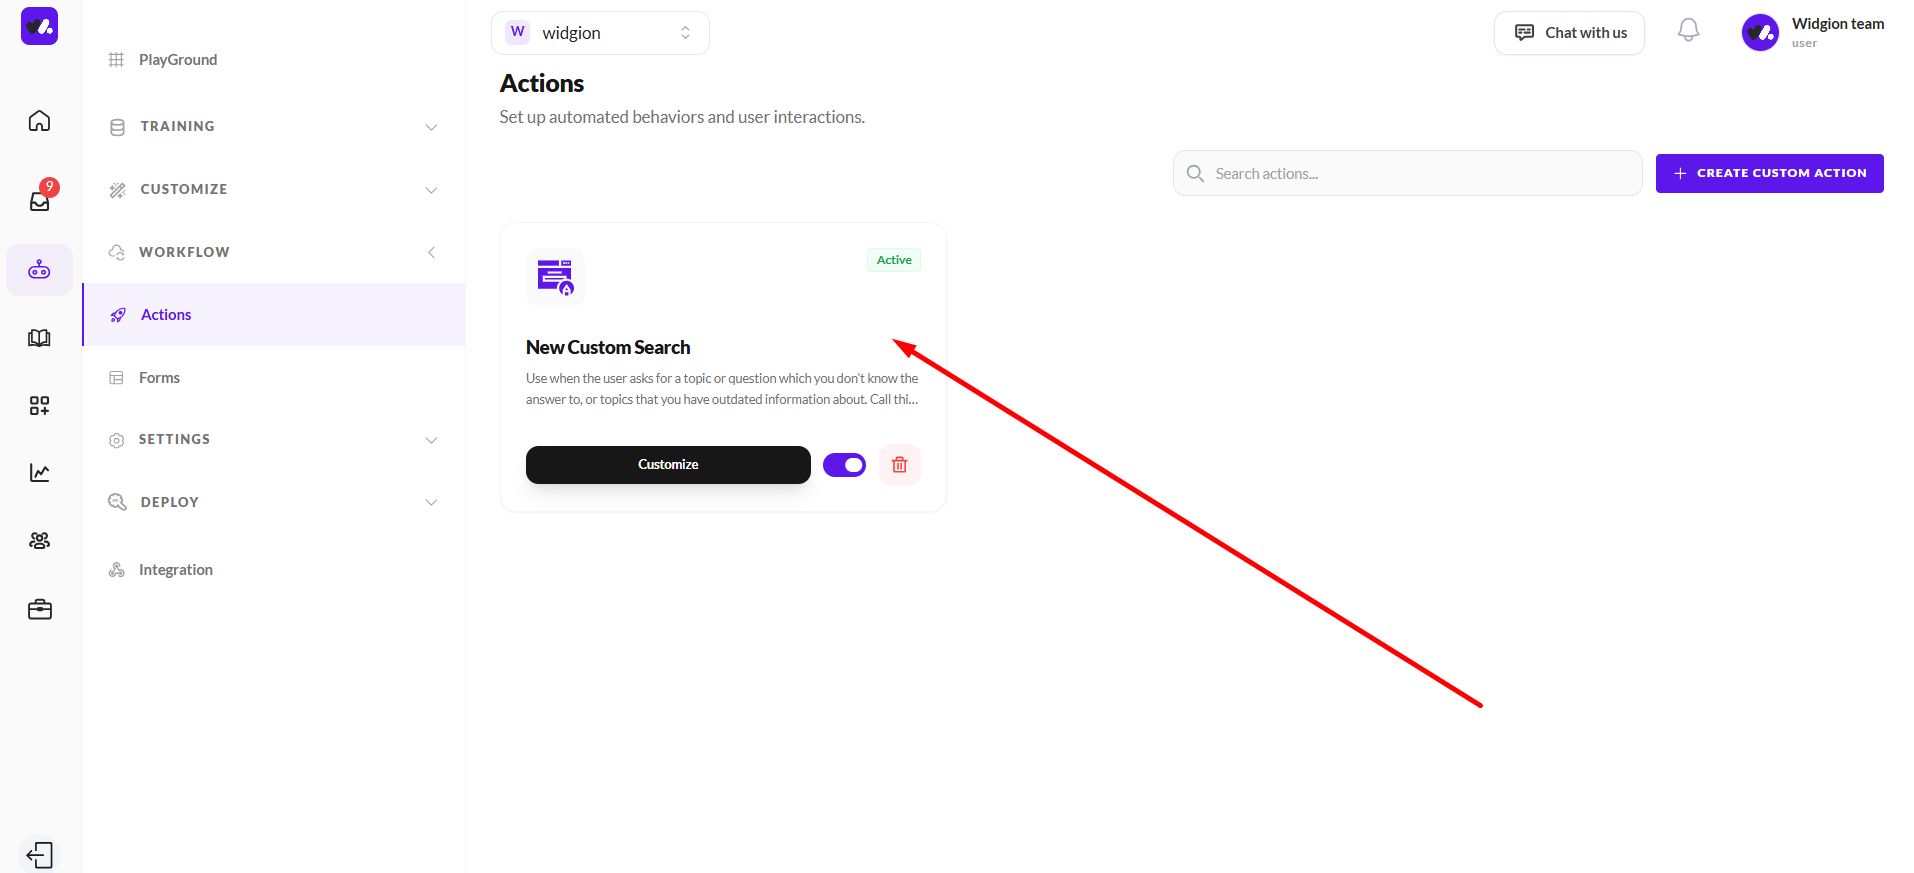
Adding an Endpoint Action
Selecting Endpoints allows you to connect your agent to external APIs, enabling it to fetch or send real-time data during conversations. This is useful for dynamic use cases such as retrieving live information, triggering backend processes, or integrating with third-party services.
Once added, the endpoint action appears in your Actions list with an active status. You can manage it just like other actions—toggle it on or off, click Customize to define how the API call works, or remove it if no longer needed.

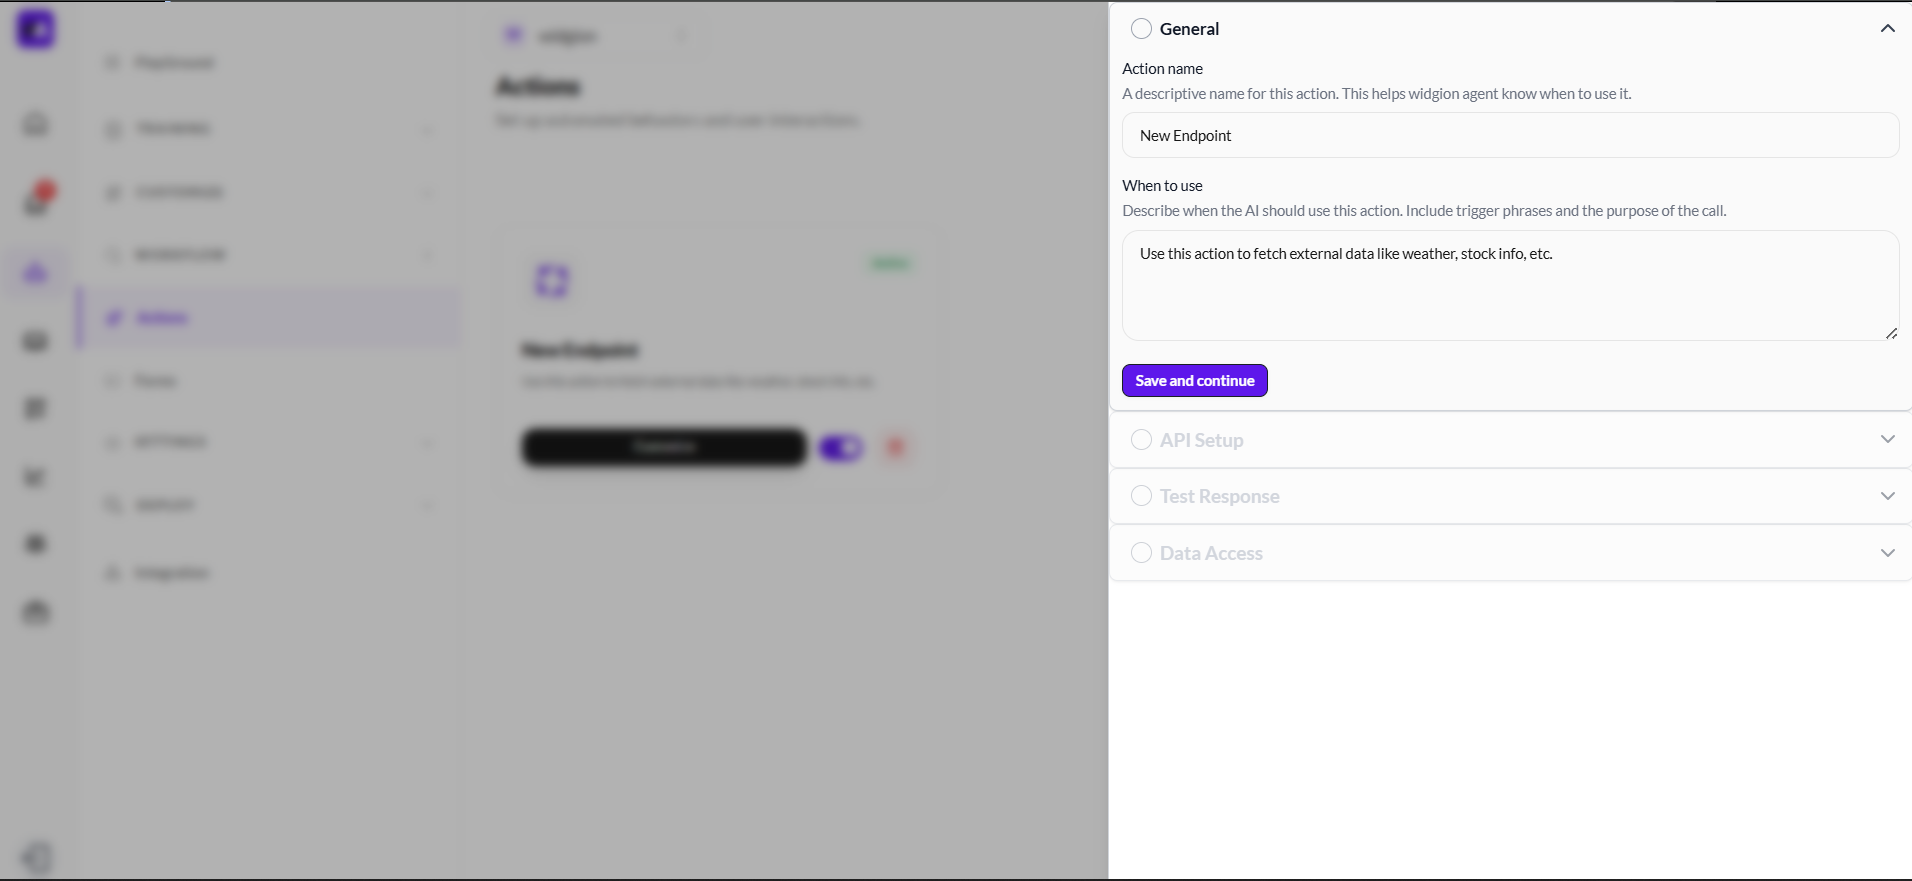
Customizing the Endpoint Action
When you click Customize on an endpoint action, a structured setup panel appears to help you define how the API interaction works. In the General section, you can set the Action name and describe When to use, guiding the assistant on when to trigger the API call and what it should achieve.
Below this, additional sections like API Setup, Test Response, and Data Access allow you to configure the request details, validate responses, and control how returned data is used within the conversation. After completing each step, click Save and continue to move forward and finalize the setup.
Bringing Actions to Life
With actions in place, your agent moves beyond simple conversations to actively performing tasks and retrieving real-time information. Whether you're linking users to resources, searching the web for updated answers, or connecting to external APIs, each action helps create a more responsive and capable experience.
As you configure and refine these actions, focus on clarity and relevance, ensuring each one is triggered at the right moment and delivers meaningful value to the user. With the right setup, your chatbot becomes not just a guide, but a powerful tool that can take action on behalf of your users.
Did this answer your question?
0 Likes
0 Unlikes