
Navigating the Dashboard
A detailed walkthrough of the Widgion dashboard, including where to find tools, settings, and key features.
The Widgion dashboard is where your entire support system comes together. It gives you a clear view of your conversations, content, widgets, and settings within a single workspace, allowing you to manage how your system operates and evolves over time.
The Dashboard Structure
The dashboard is organized into three main areas: the sidebar, the top bar, and the main workspace. Each area plays a distinct role, making it easier to understand where things are located and how different parts of the system connect.
The Top Bar
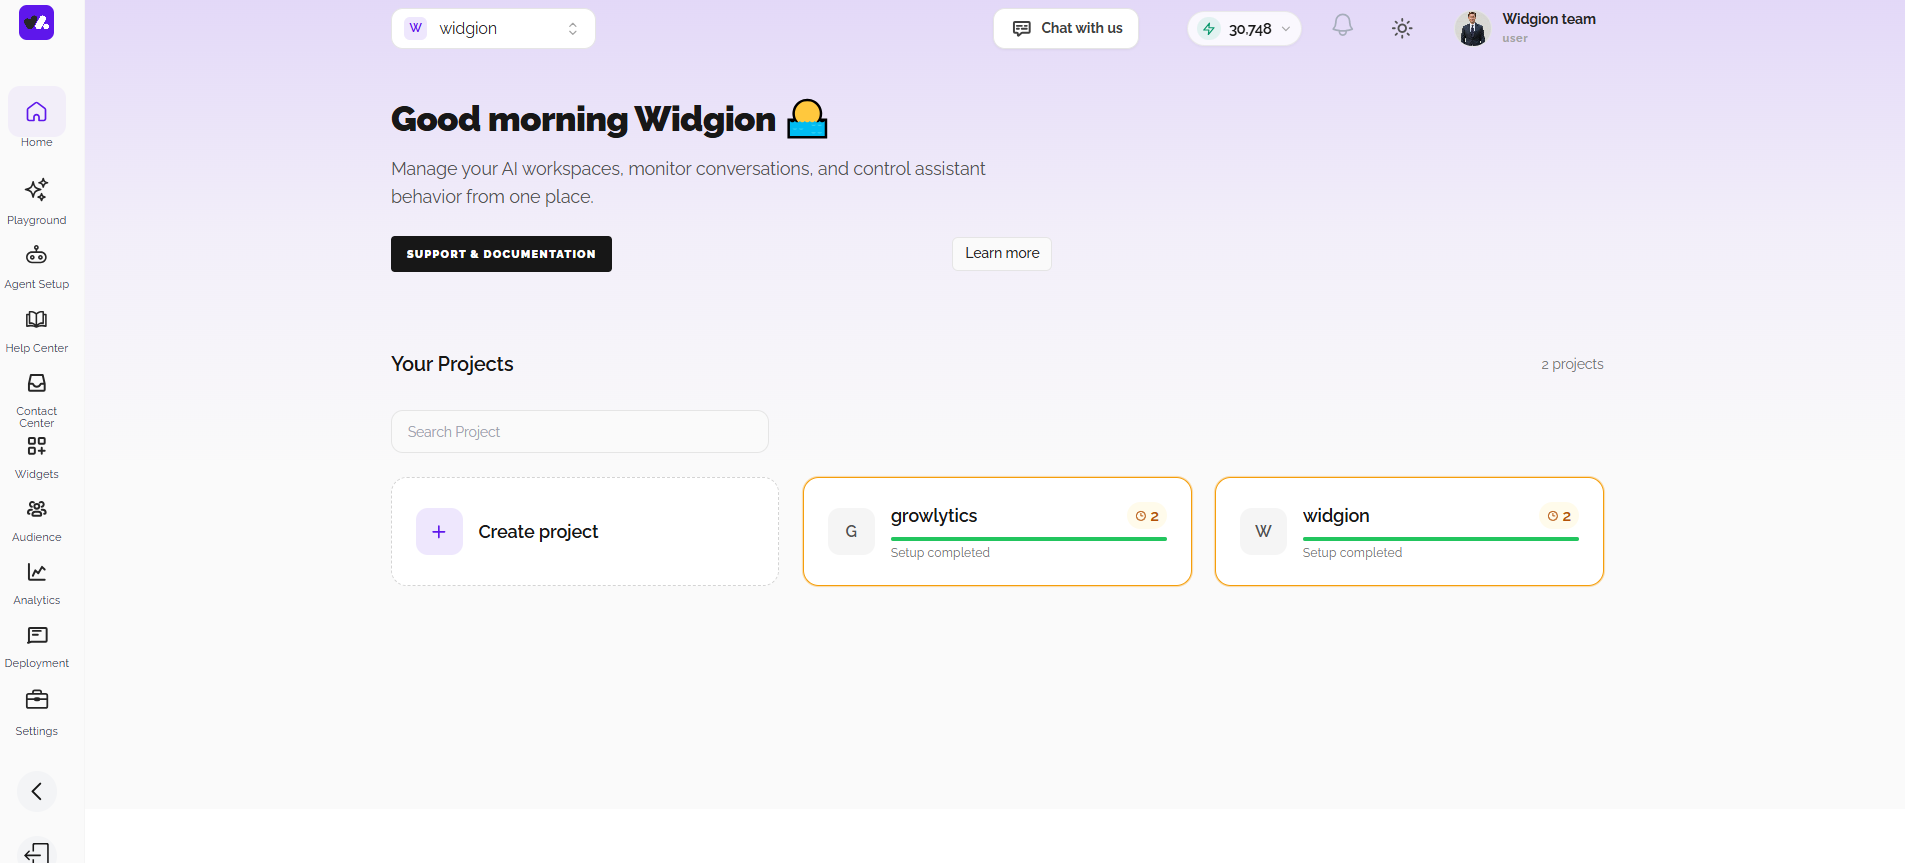
The top bar provides quick access to project-level controls and essential actions. It allows you to move between projects, access support, and stay updated on activity without leaving your current view.
The project switcher is used to navigate between different projects, while the Chat with us option provides direct access to support. Notifications keep you informed about system activity, and your profile gives access to account-related settings.
The Sidebar
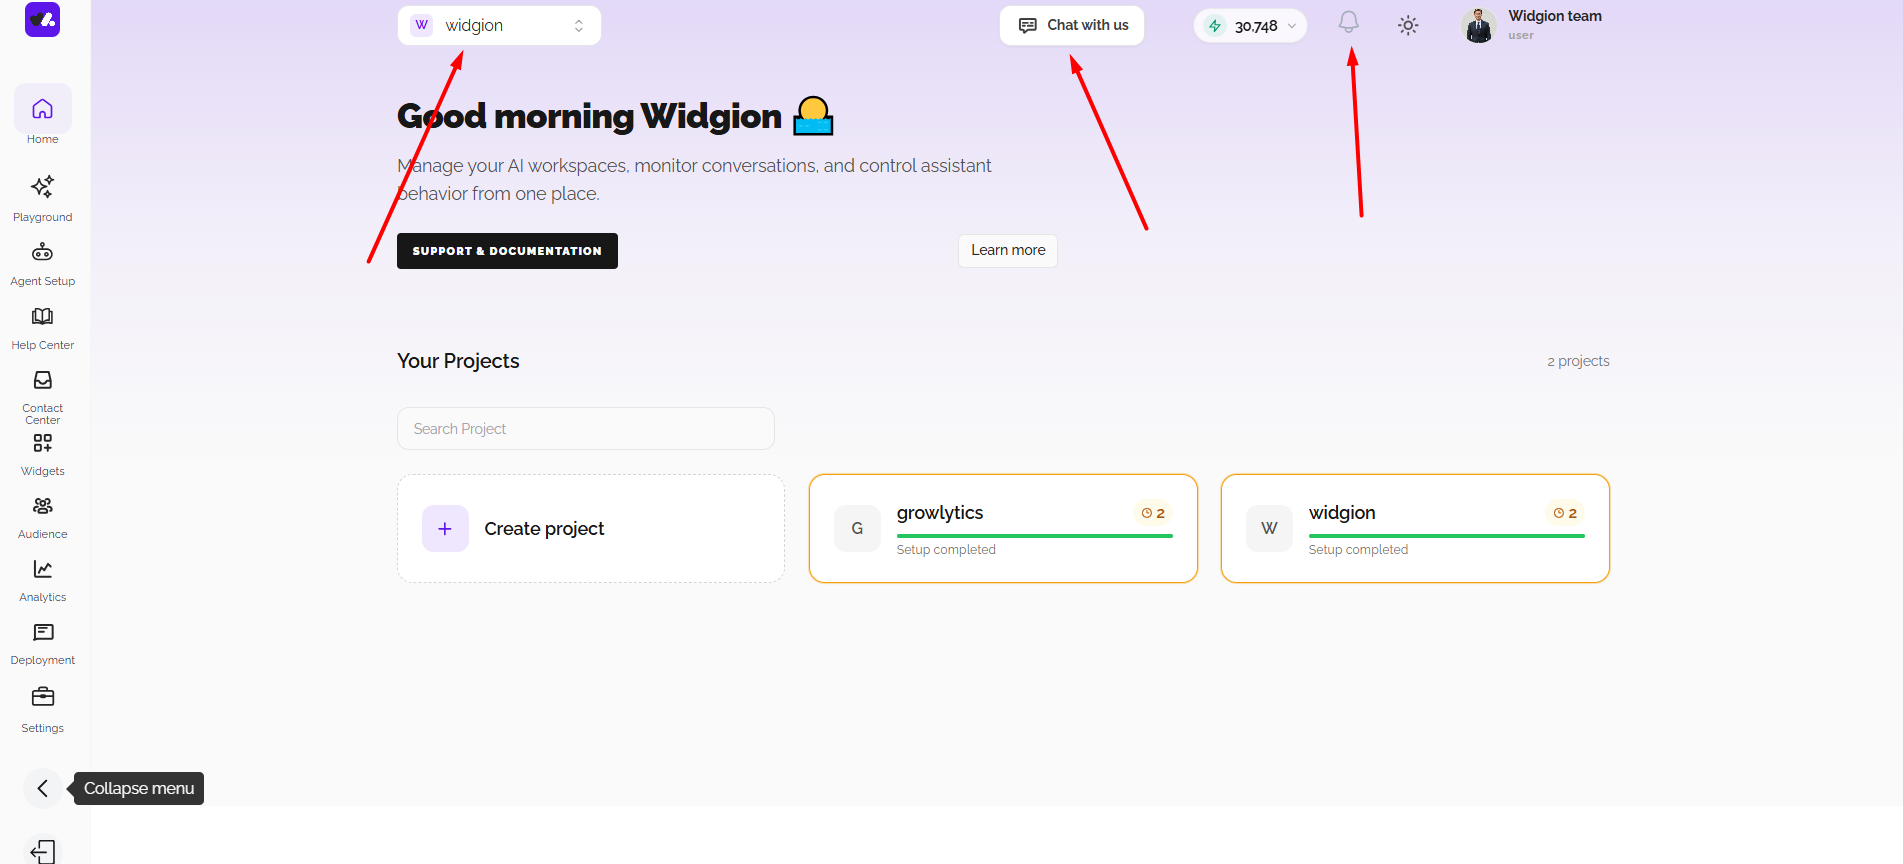
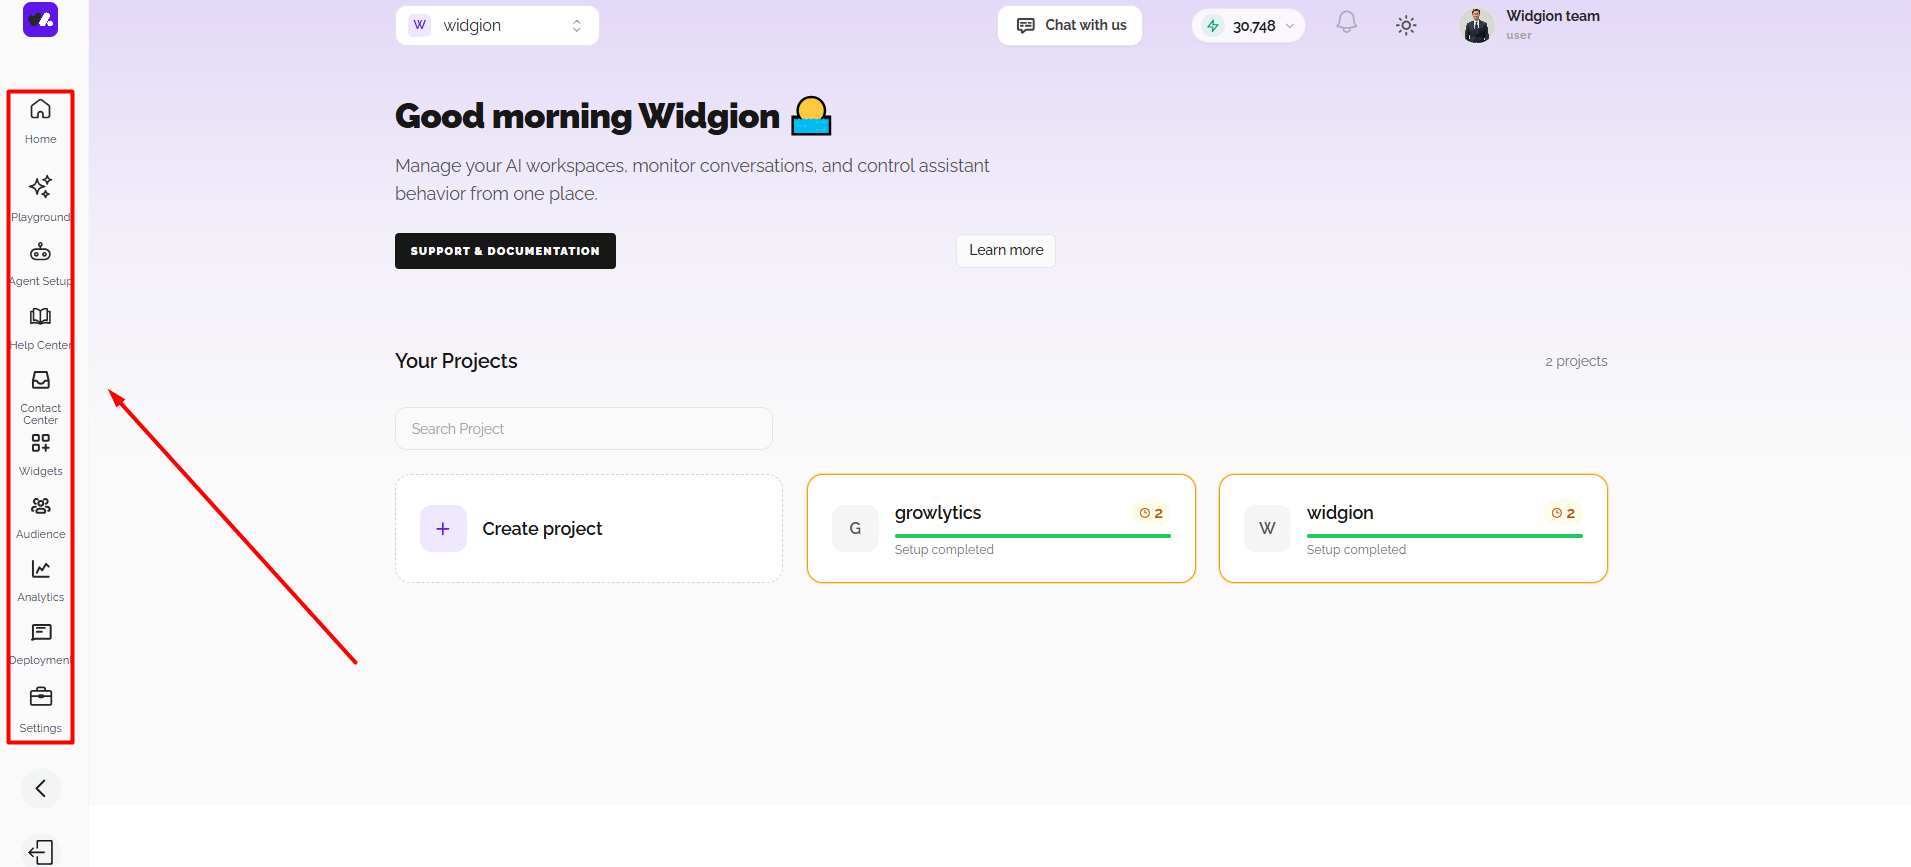
The sidebar is your primary navigation and provides access to all the core areas of your project. Each section represents a key part of your system, allowing you to move between your project overview, conversations, content, widgets, and settings while maintaining a clear view of how everything is structured.
Within the sidebar, Playground is your project's starting point, Agents is used to train and configure your AI, and Help Center allows you to organize your knowledge base. Contact Center is where incoming conversations are managed, and Widgets gives you access to your Knowledgebase, FAQs, and News & Release tools. Audience and Analytics provide insight into your users and your system's performance, while Deployment and Settings bring everything together by allowing you to install your widget and manage your project configuration.
The Playground
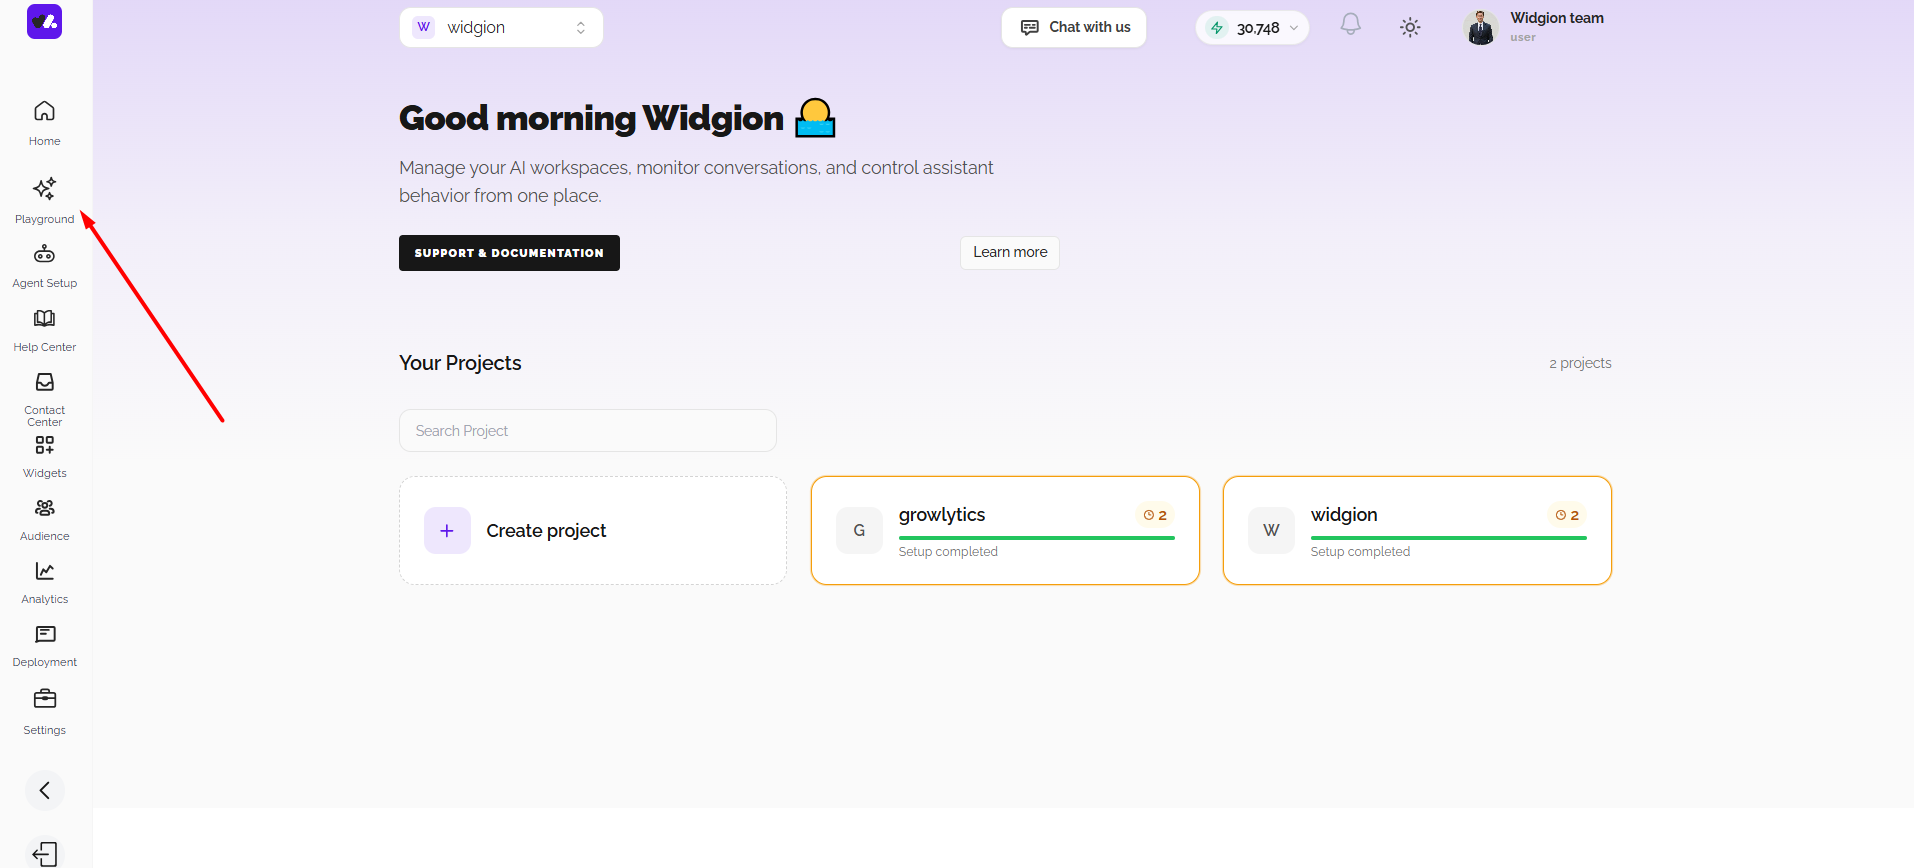
Playground is the first thing you see when you open a project, and it works as your starting point for everything else. It gives you a quick view of how your AI agent has been trained, along with checklists and shortcuts to help you set up and manage your support system without needing to hunt through every section individually.
Within Playground, the Train AI Agent panel shows how many websites, documents, Notion pages, snippets, and Q&As your AI has been trained on. The Getting Started checklist walks you through core setup steps, such as installing your widget, adding help center articles, building FAQs, and publishing your first news update. The Quick Access panel gives you direct shortcuts to commonly used tools like Forms, Chat Buttons, Integrations, AI Prompt, Look & Feel, and Workflow, so you can jump straight to configuring a specific feature. Playground also includes a shortcut into your Contact Center, along with a live preview of your widget as it currently appears to visitors.
Agents Section
The Agents section is where you configure how your AI assistant behaves and interacts with users. It brings together the core tools needed to shape responses, connect your system to external platforms, and control how conversations are handled across your support experience.
Within this section, you can manage training data sources such as websites, documents, and text snippets, as well as adjust how the AI responds through prompt settings and behavioral instructions. It also includes options for integrations, installation, and design customization, allowing you to control not just how your AI thinks, but also how it appears and operates across your website and connected channels.
Help Center Section
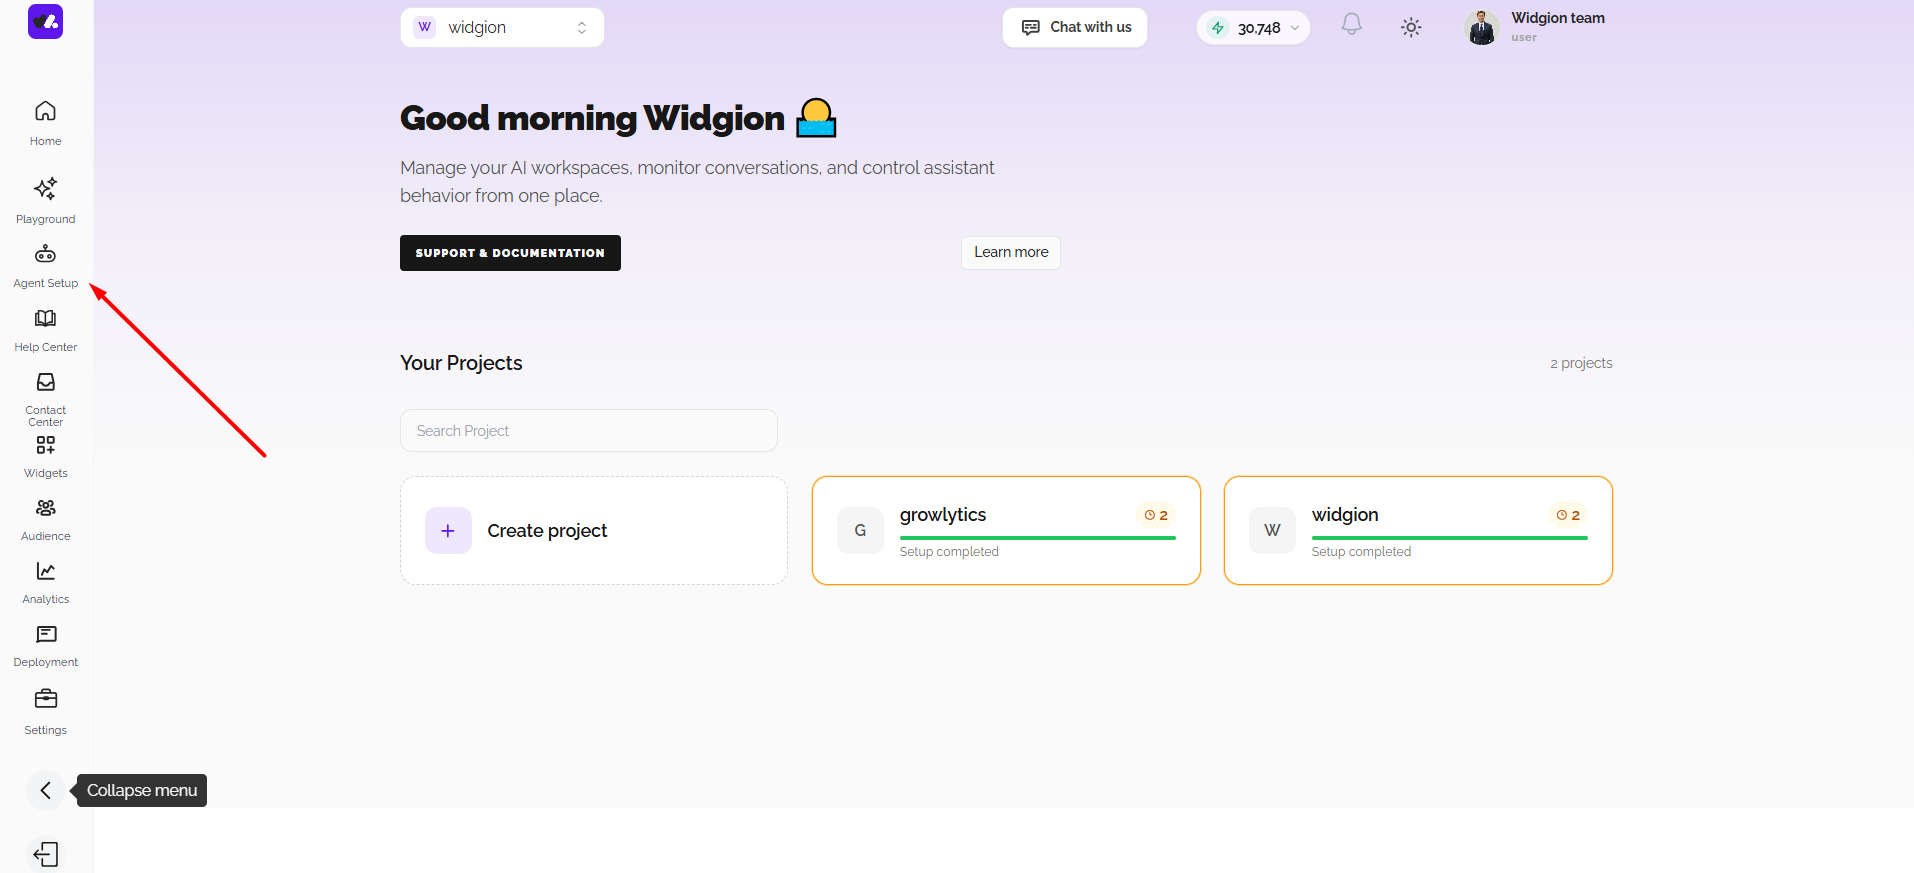
The Help Center is where your knowledge base is created, organized, and managed. It allows you to structure your support content into collections and categories, making it easier for users to find answers independently.
Within this section, the Articles & Collections area is used to create and group your content, while Customization allows you to adjust how your help center appears. Additional options such as Settings, Custom Code, and Languages provide control over configuration, behavior, and localization, allowing you to build a structured and accessible support experience.
The Contact Center Workspace
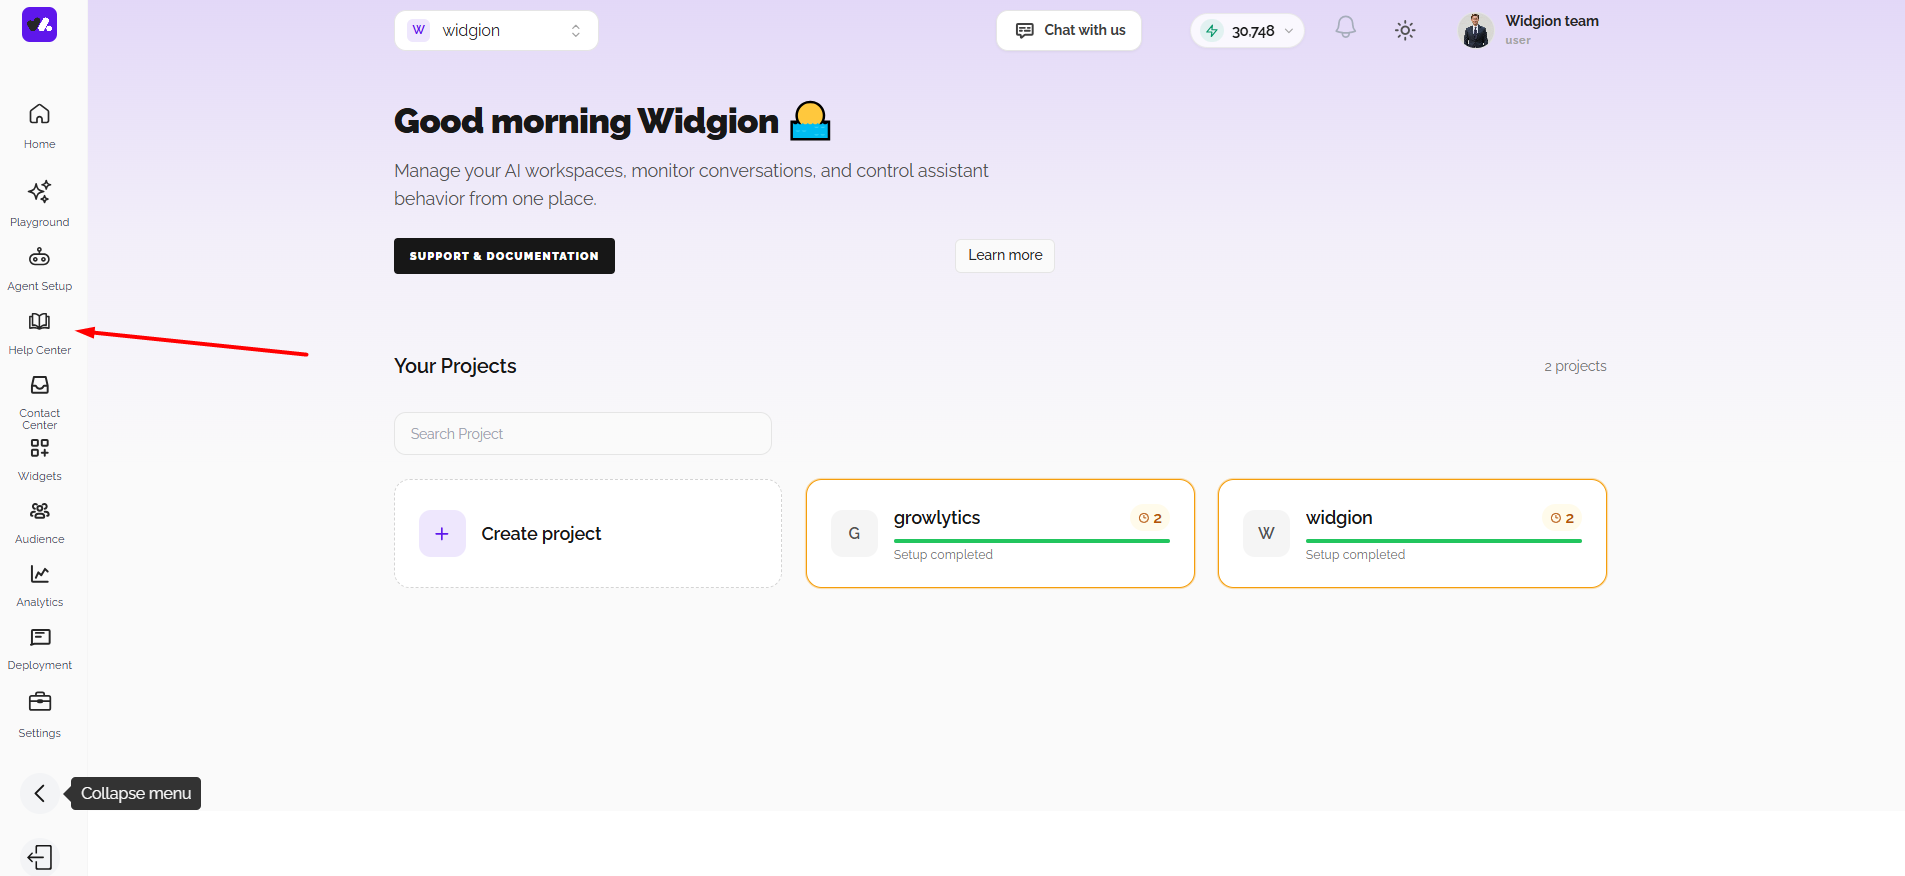
The main workspace changes depending on the section you're viewing. Within the Contact Center, it displays conversations and activity, giving you a central place to see who's on your site, review messages, track interactions, and follow up on user requests as they come in.
This area is organized into tabs, where Visitors shows who is currently active on your website in real time, New Requests shows incoming messages waiting for a human agent, and Assigned displays conversations that have been allocated to a team member. The All Conversations tab lets you review your full conversation history, with an AI badge marking conversations currently being handled by your assistant.
Widgets Section
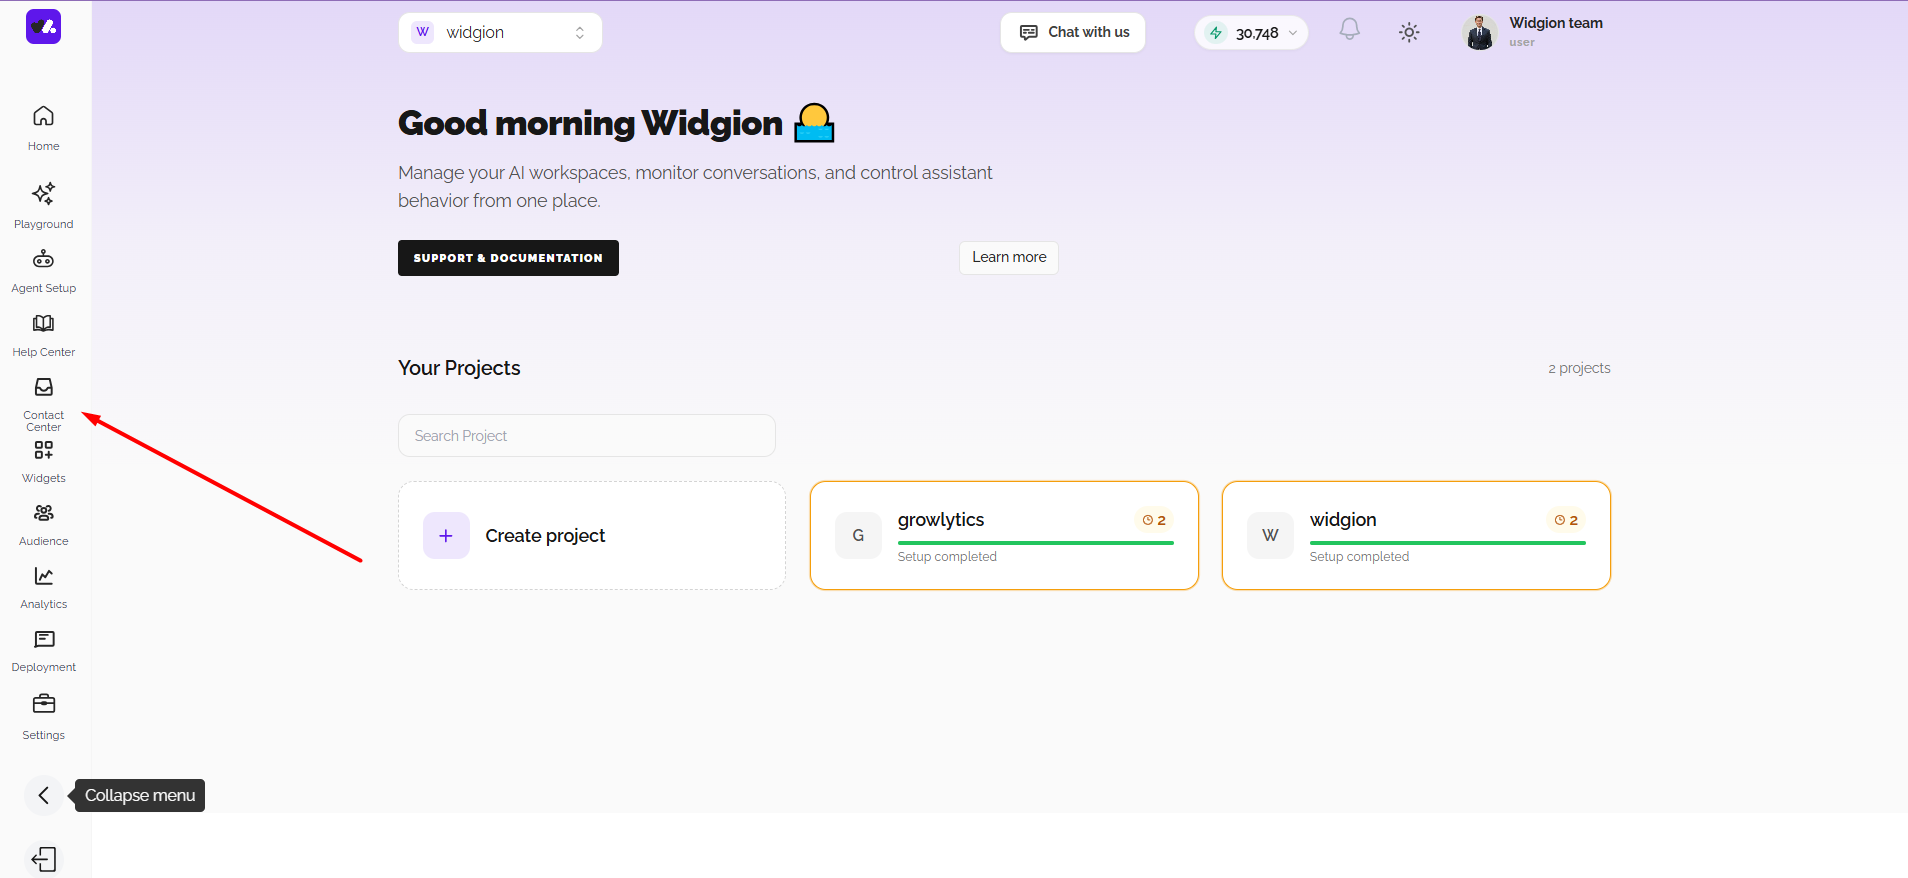
The Widgets section is where you access the tools users interact with directly on your website. Clicking Widgets in the sidebar opens a menu where you can choose which widget to manage: Knowledgebase, FAQs, or News & Release notes.
Knowledgebase gives users a centralized help center with guides, how-tos, and quick answers embedded into your site. FAQs let you organize common questions into clear, searchable answers. News & Release notes let you share product updates and announcements to keep your users informed. Together, these widgets allow you to organize content, answer common questions, and share updates, helping you deliver a more complete and accessible support experience.
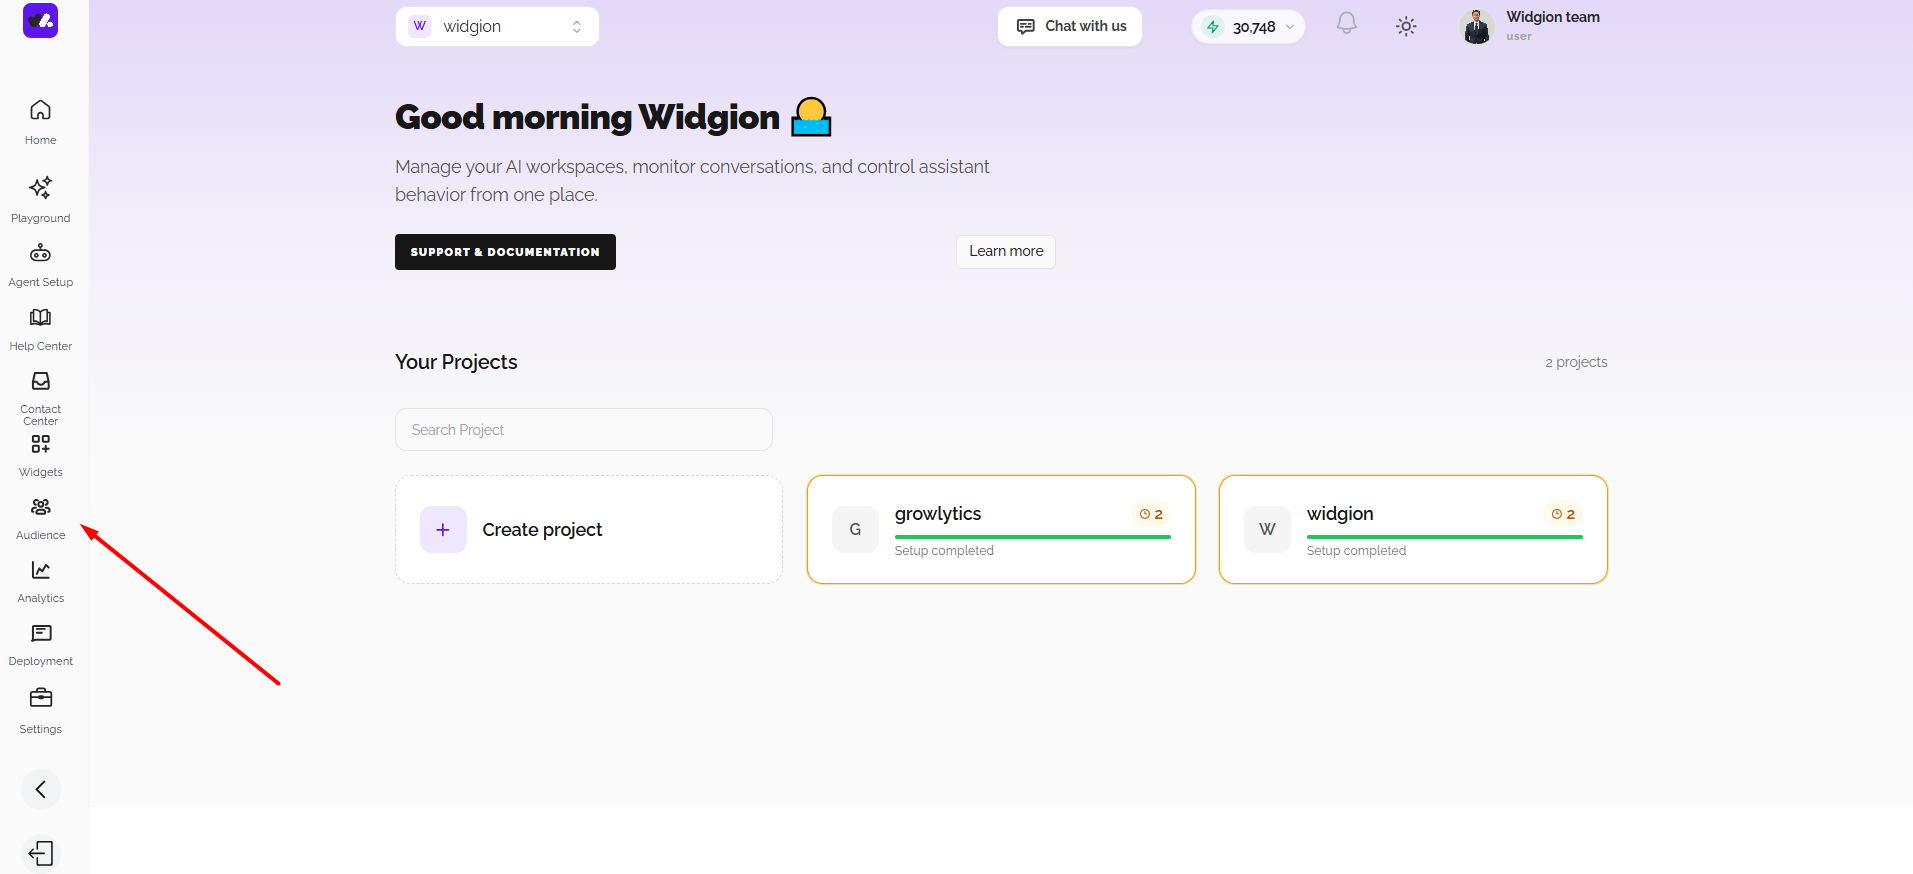
Audience Section
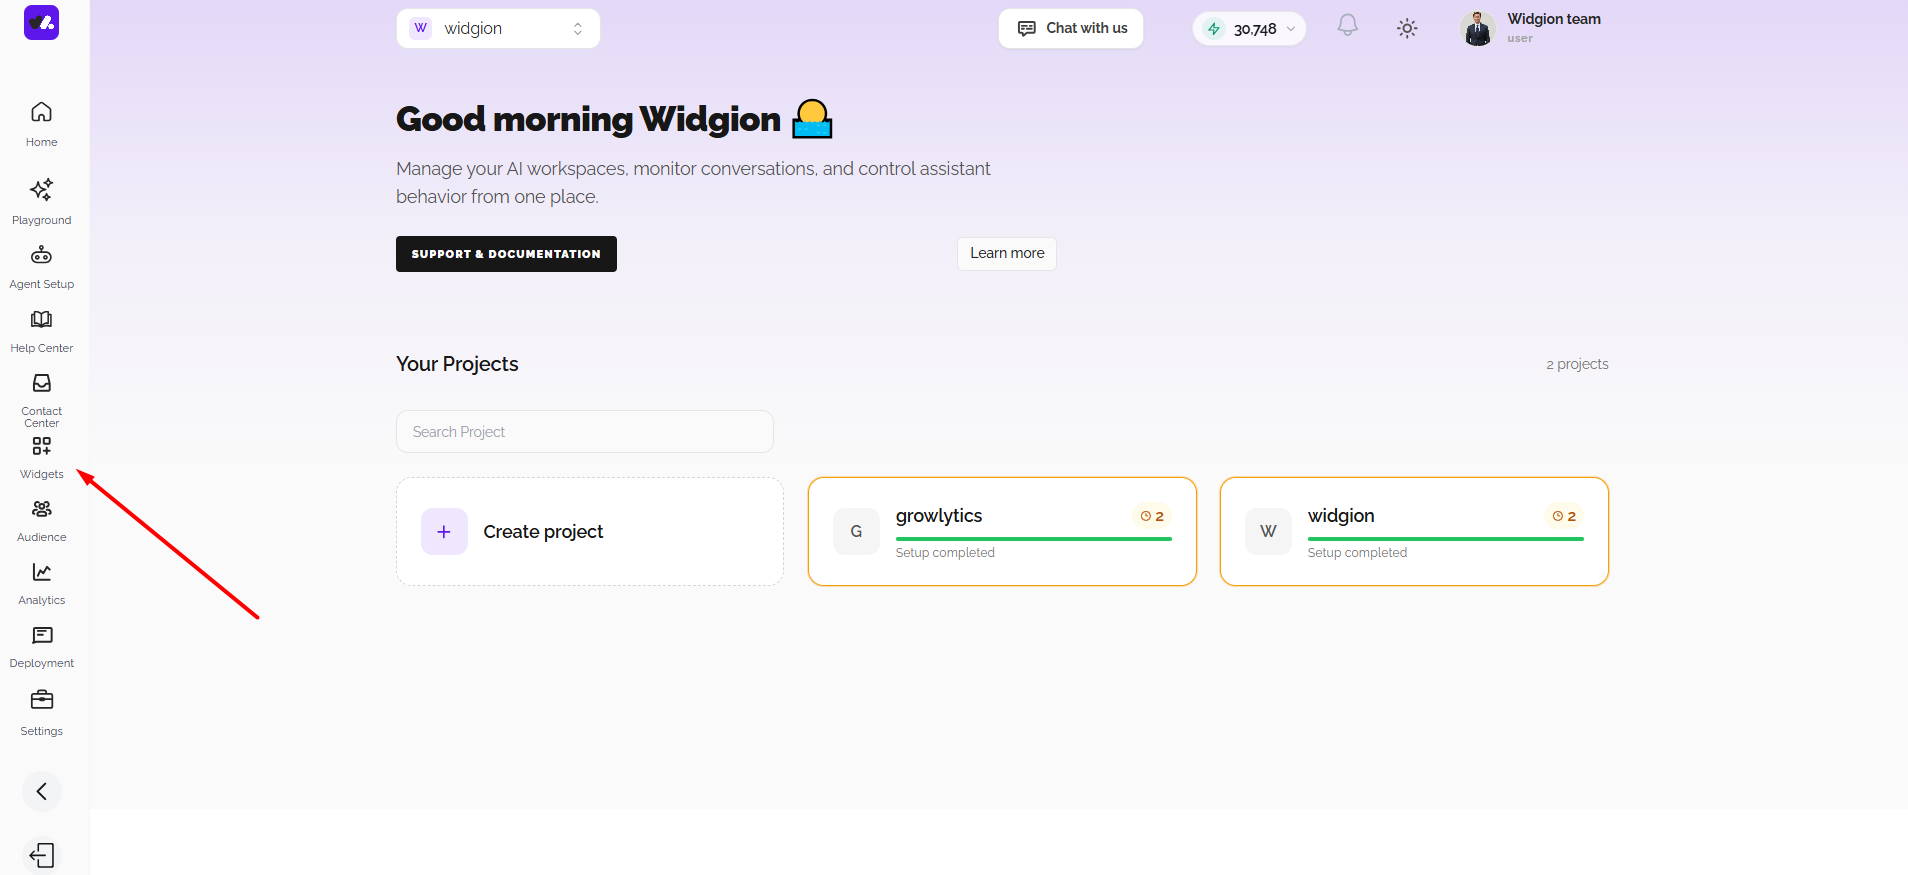
The Audience section is where all contacts collected through your widgets are stored and managed. It provides a structured view of your users, including details such as names, email addresses, phone numbers, and other relevant information captured during interactions.
Within this section, you can search, filter, and organize your contacts using options like user type, date range, and custom lists. It also allows you to add new contacts, export data, and track user activity over time, giving you a clearer understanding of who is engaging with your system.
Analytics Section
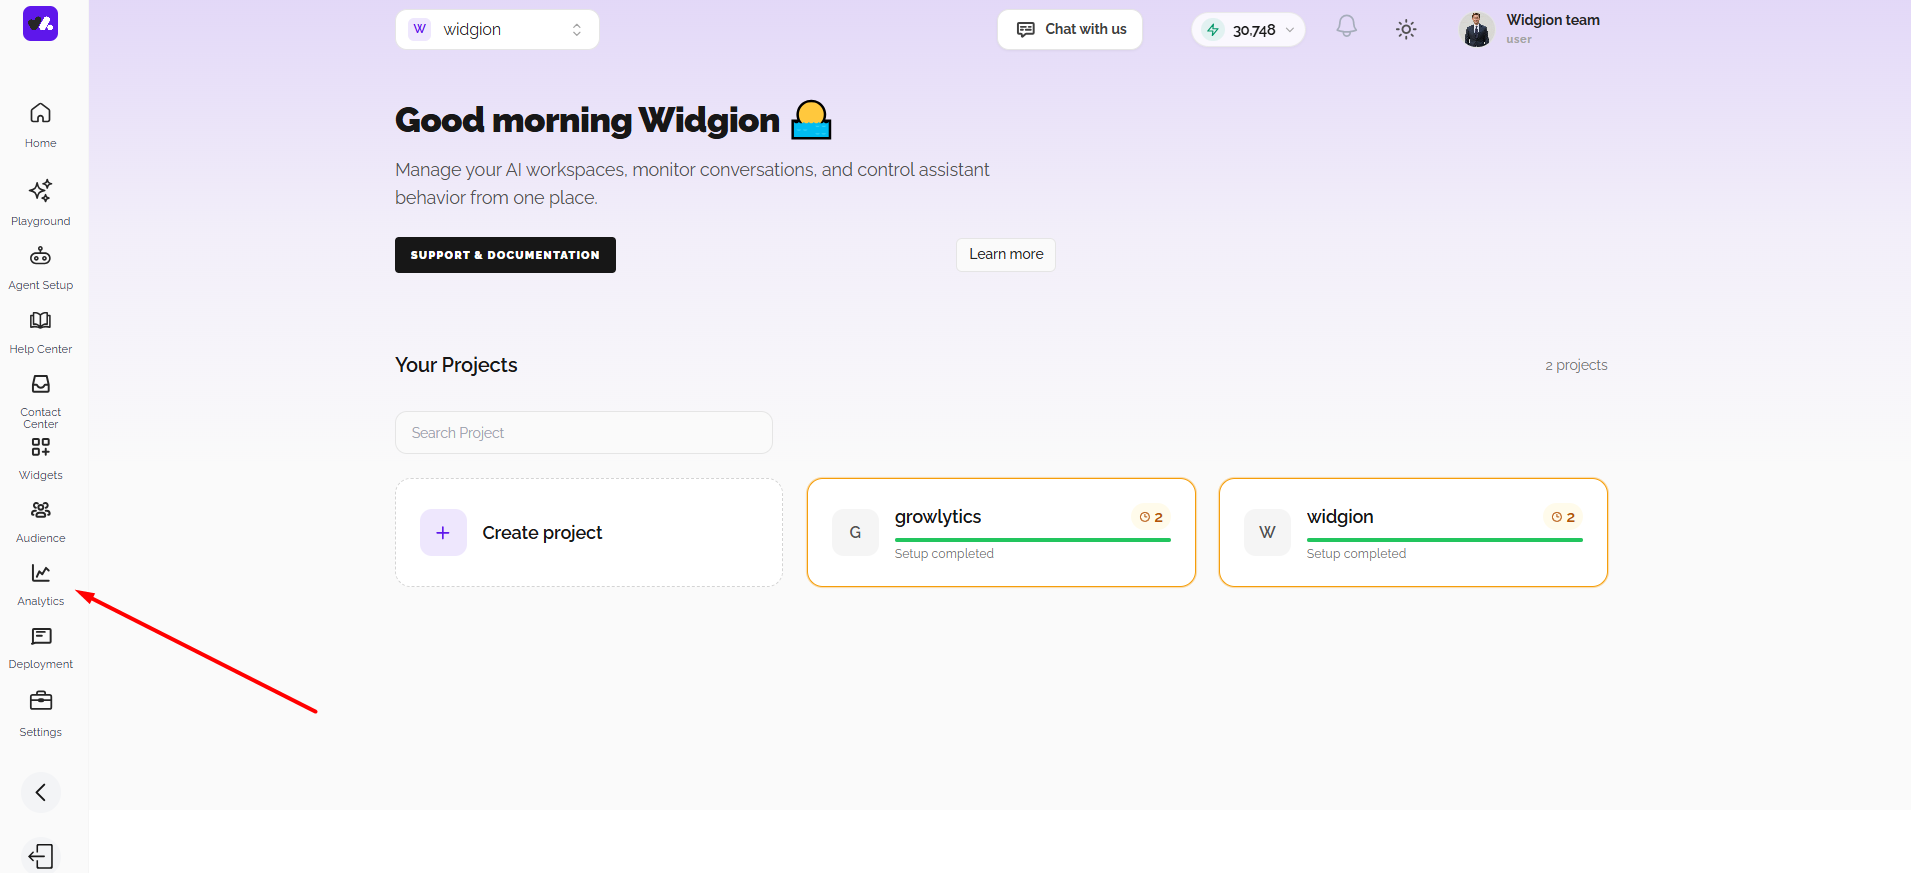
The Analytics section provides a clear view of how your support system is performing over time. It brings together key metrics such as total conversations, message activity, user feedback, and content usage, allowing you to understand how users are interacting with your system across different touchpoints.
Within this section, you can track trends through visual reports and summaries, including conversations over time, message engagement, and performance indicators like likes and dislikes. These insights allow you to monitor activity, identify patterns, and refine how your system responds based on real usage data.
Deployment Section
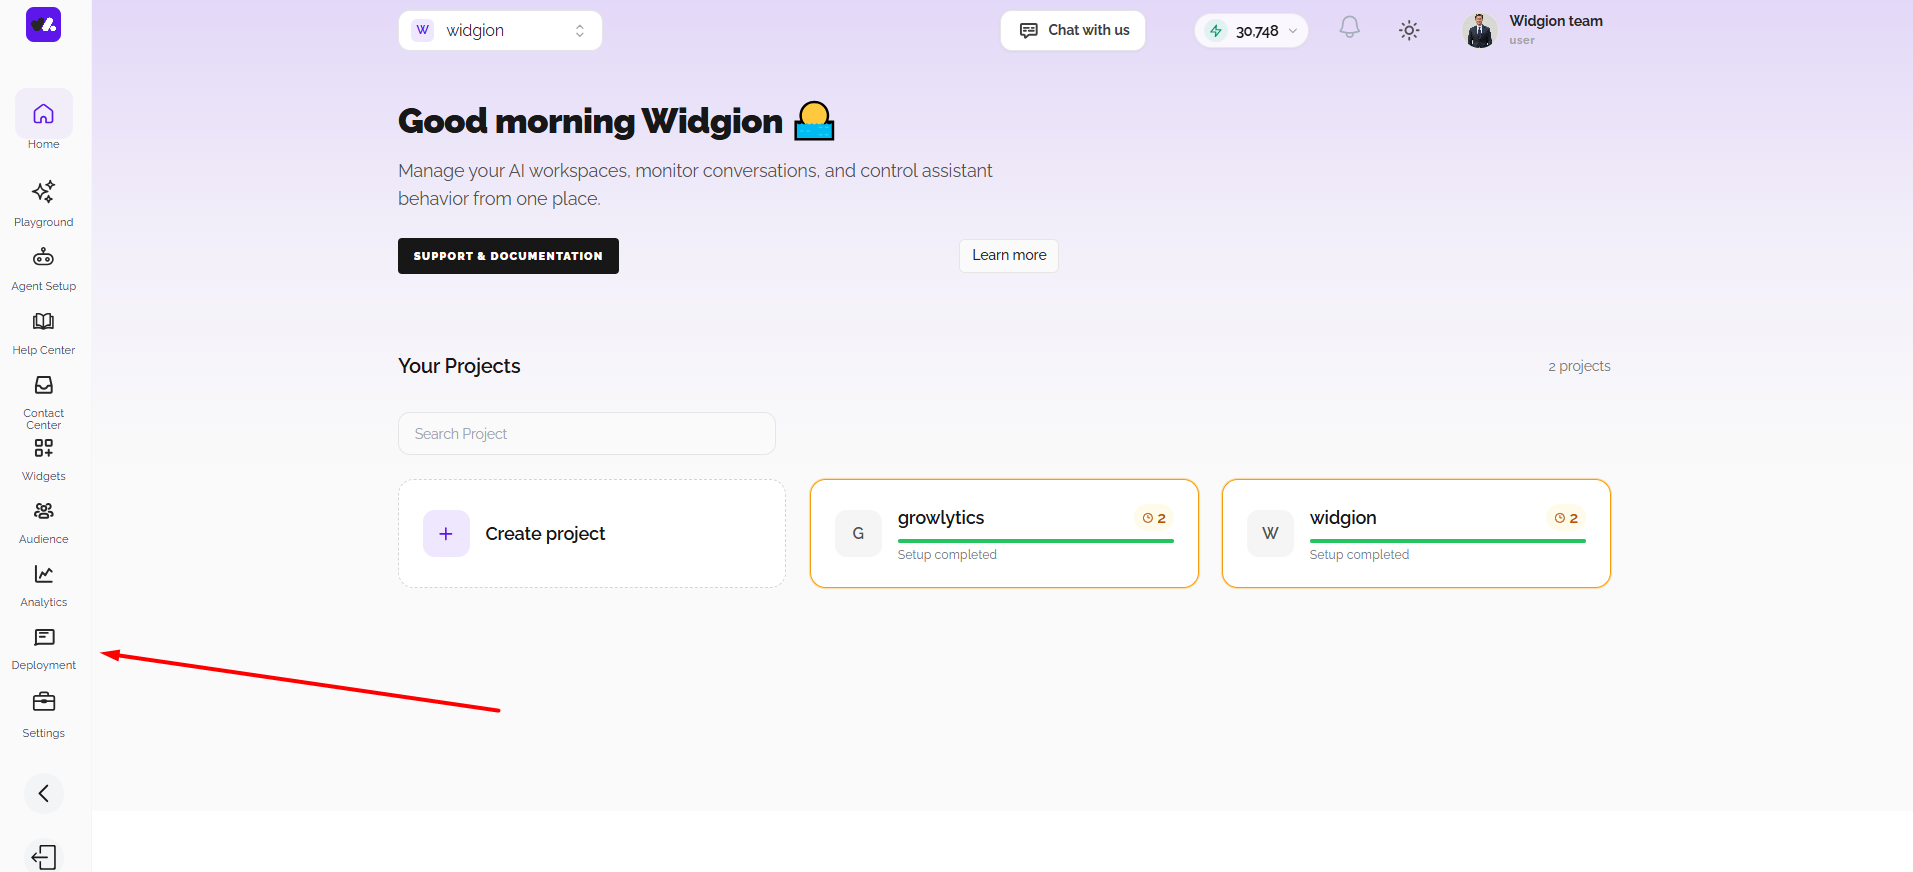
The Deployment section is where you install your widgets on your website. One project key installs every widget type, so instead of managing separate installations, you generate the install code you need from a single place.
Within this section, you can switch between Full Integration and API depending on how you want to connect your widget. Full Integration is organized by widget type, Chat, FAQ, Help Center, and News, so you can generate the correct install code for the specific widget you're setting up. For each widget type, you can choose between a Widget Bubble for the full widget experience, an Iframe to embed the widget directly inside your page layout, or a Direct Link to share standalone access without embedding anything. Whichever option you choose, Deployment gives you the corresponding code or link to copy and add to your site.
Settings Section
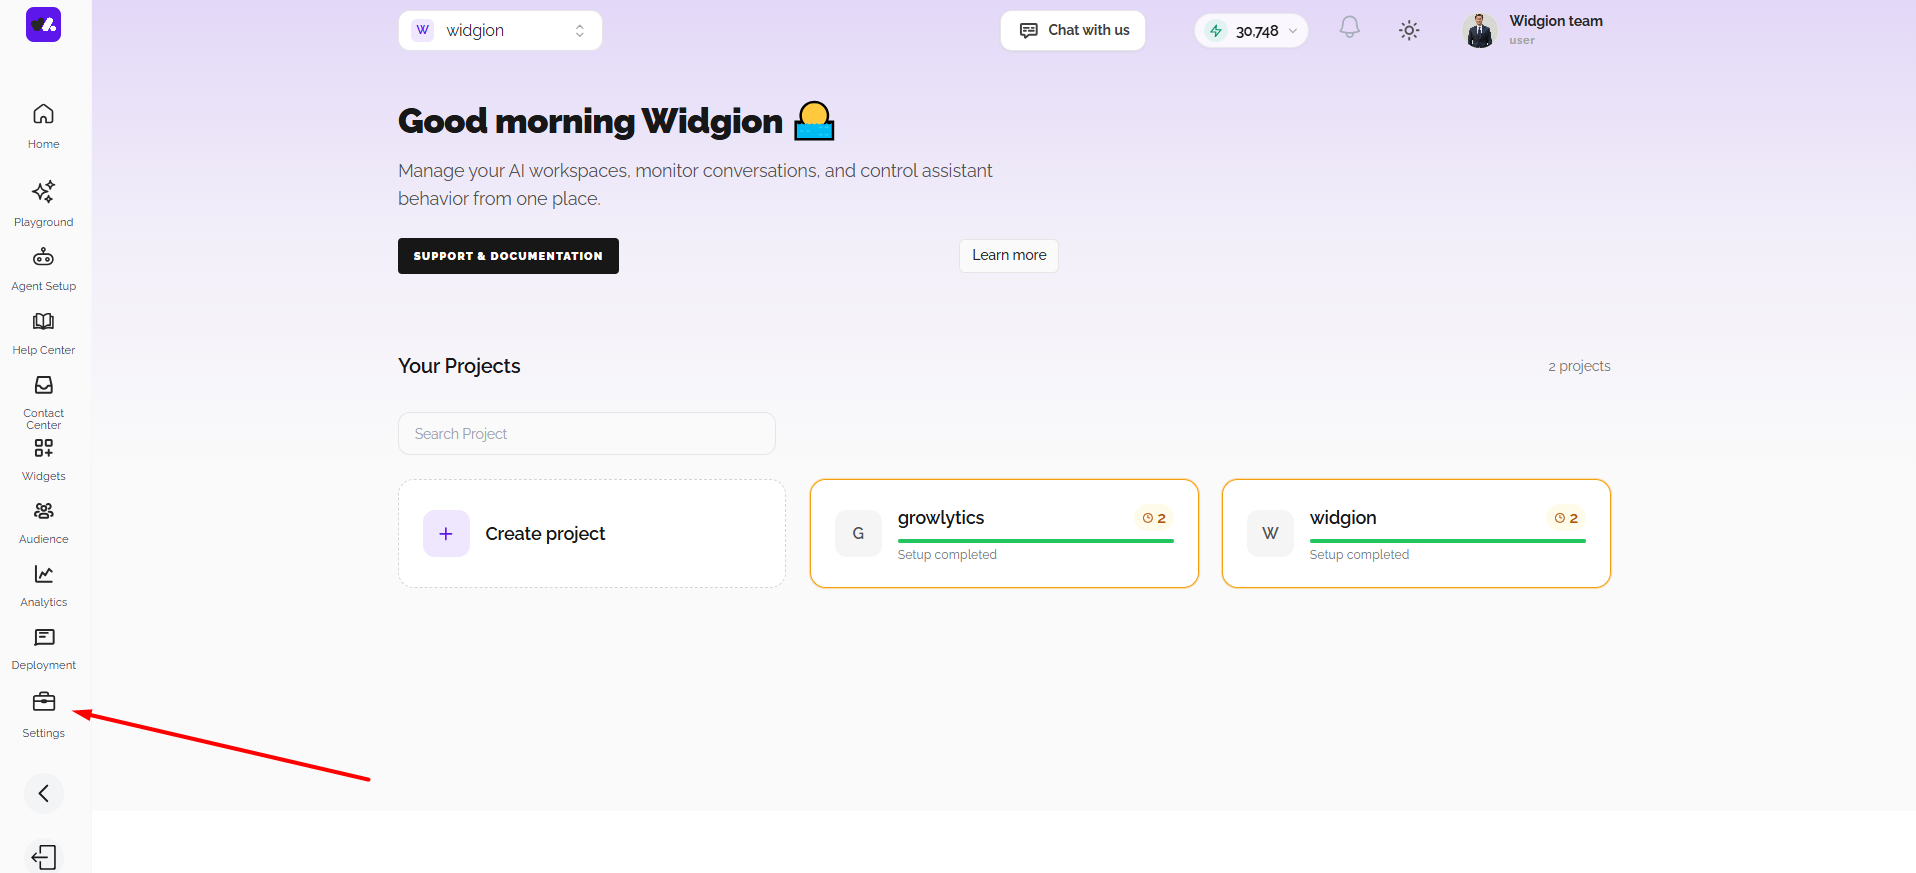
The Settings section is where your project configuration is managed. It brings together key setup elements such as your project name, contact center tags, and AI model selection, allowing you to define how your system is structured and how it operates.
Within this section, you can update project details, organize conversations using tags, assign your AI configuration, and manage operational settings such as team members and working hours. It also includes advanced controls, such as deleting your project when needed, giving you full control over how your environment is maintained and managed.
How It All Connects
The dashboard reflects how Widgion works as a connected system, with each section contributing to a single workflow. Playground gives you a starting point and a quick view of progress, content is managed through Agents and Help Center, widgets use that content to interact with users, and conversations appear in the Contact Center.
Analytics then provides visibility into how everything is performing, allowing you to refine your system over time. This structure ensures that all parts of your support experience remain connected and easy to manage from one place.
What This Means
Once you're familiar with the dashboard, navigating Widgion becomes more intuitive. Each section has a clear role, and together they provide a complete view of how your support system is set up, how users interact with it, and how it performs over time.
Did this answer your question?
What was missing or unclear?
Thank you for your feedback!
Your input helps us make this article better.
Still need help?
Contact support →Related articles
What is Widgion?
A complete introduction to Widgion, including its purpose, key features, and how it replaces multiple support tools with one unified platform.
How Widgion Works
Learn how Widgion’s core components—projects, widgets, AI training, and analytics—work together to power your customer support system.
Creating Your First Project
Step-by-step instructions to create your first project and prepare it for deploying widgets and training AI.
Installing the Chat Widget on Your Website
Step-by-step guide to embedding the chat widget on your website.
On this page