
Installing the Chat Widget on Your Website
Step-by-step guide to embedding the chat widget on your website.
Once your widget is configured, the next step is getting it live on your website. Widgion gives you three different ways to do this depending on how your site is built and where you want the widget to appear.
All of these options are available from the Installation & API page under Deploy.
Getting to the Installation Page
To find your installation options, navigate to Deploy in the left sidebar and click Installation & API. This opens the page where you can generate your installation code and choose how you want to embed your widget.
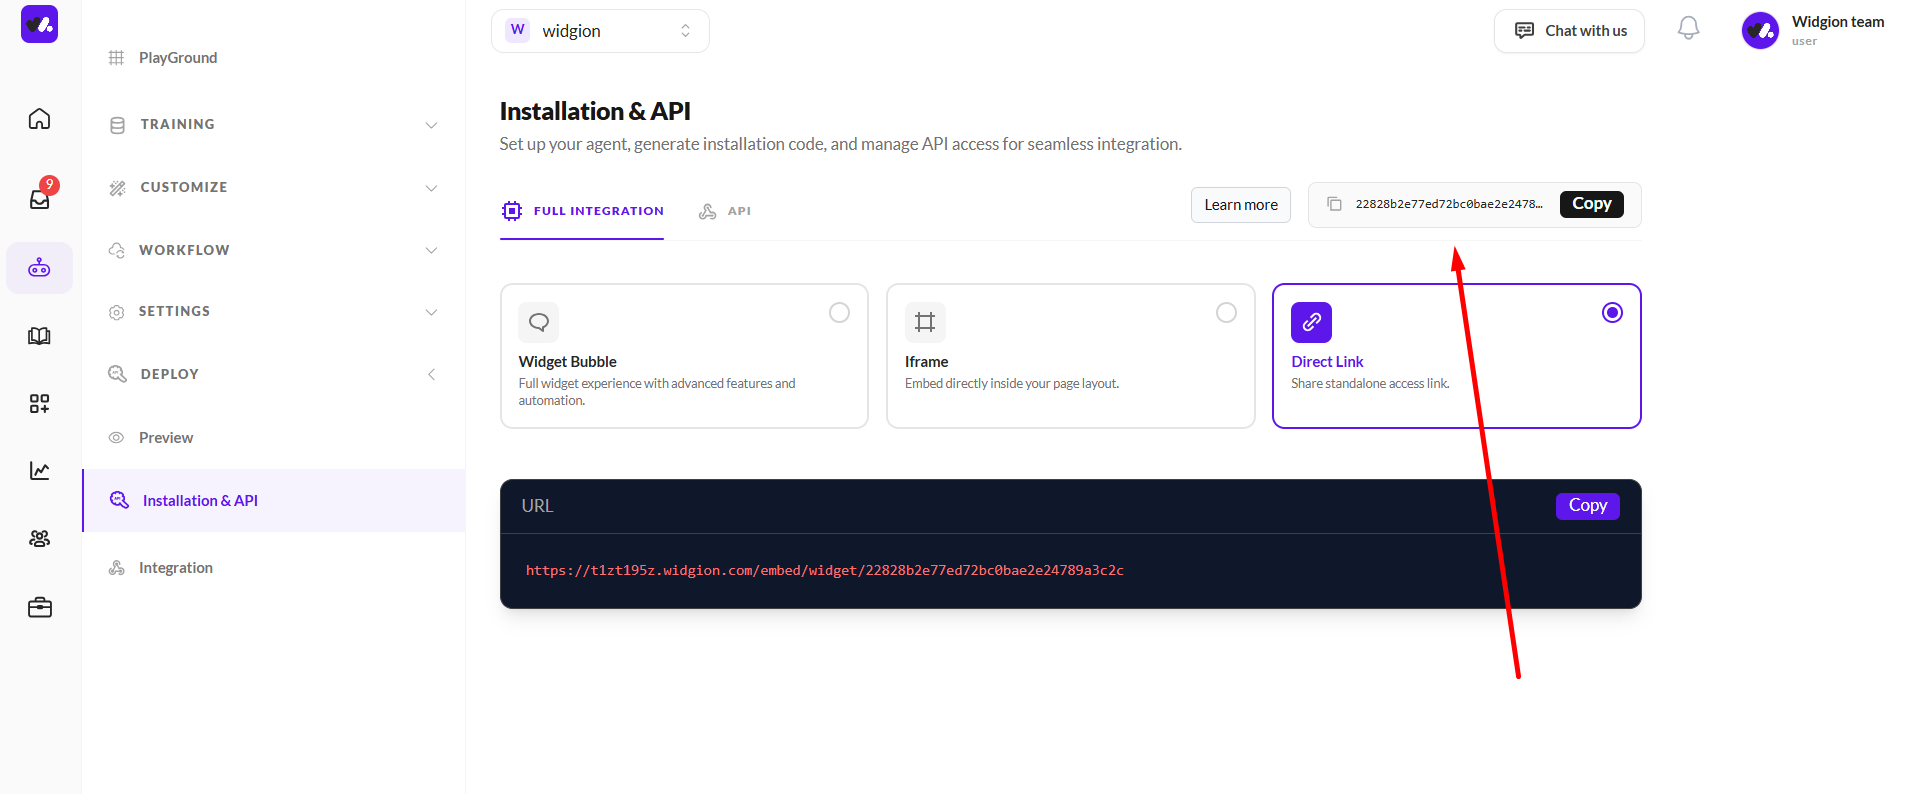
 Choosing Your Installation Method
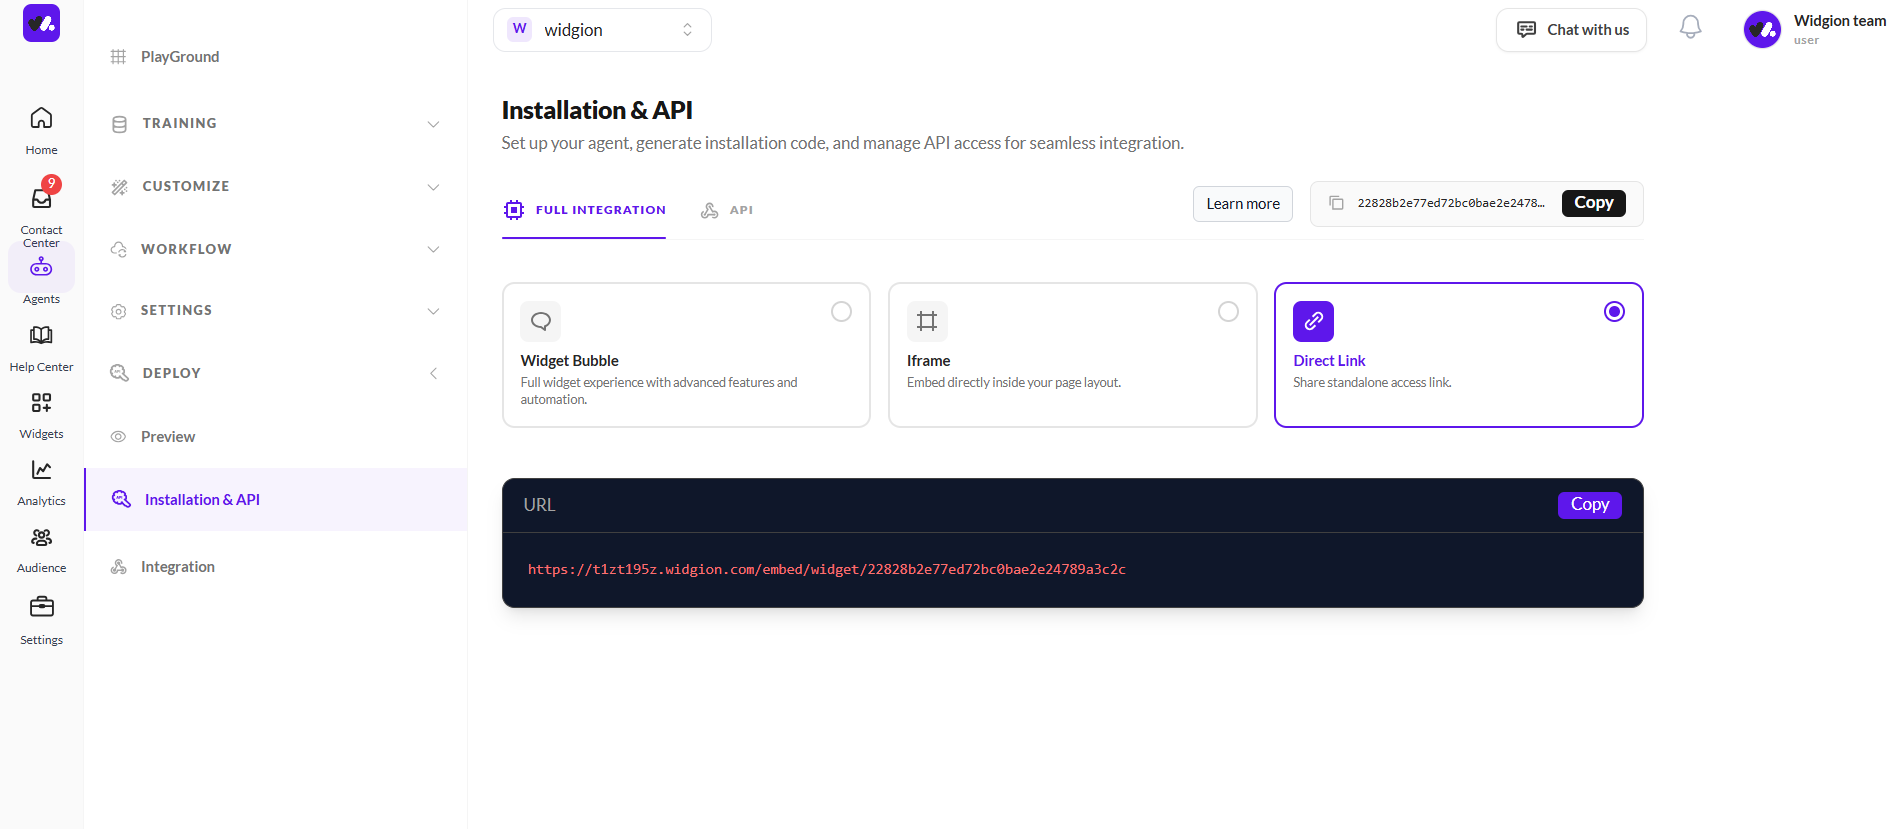
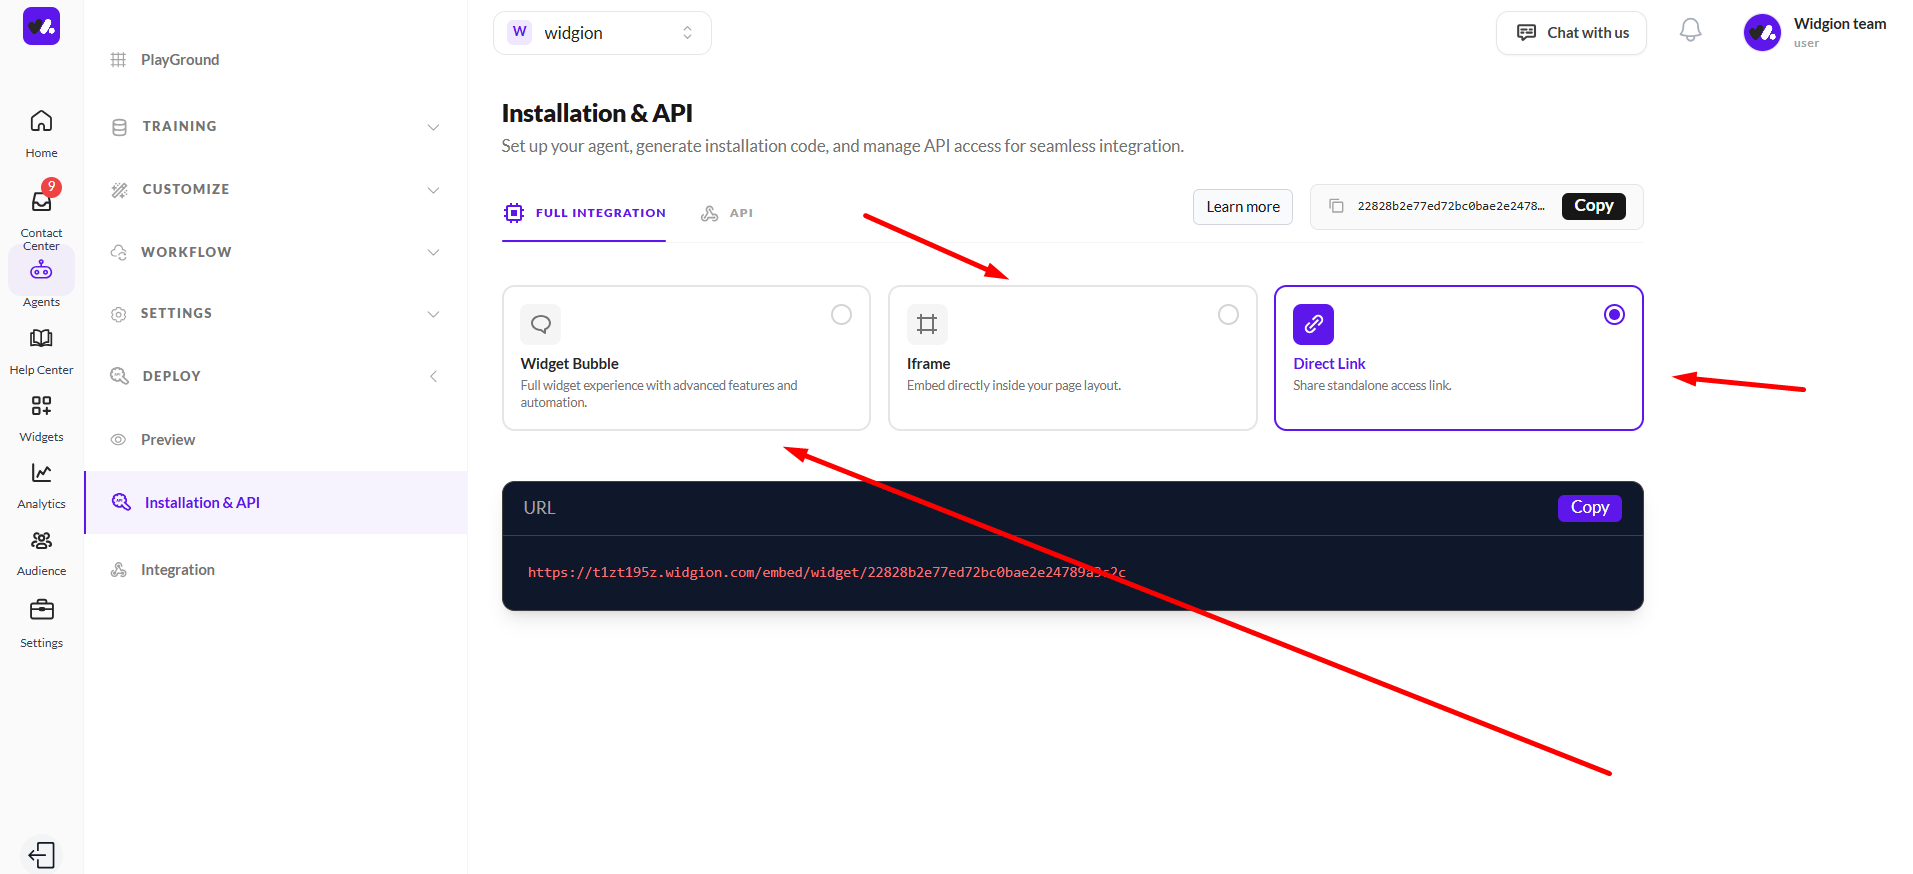
At the top of the page, you'll see the Full Integration tab is selected by default. Below it, there are three installation options to choose from — Widget Bubble, Iframe, and Direct Link.
Click on any of the cards to select it, and the corresponding code or URL will appear in the code block below.
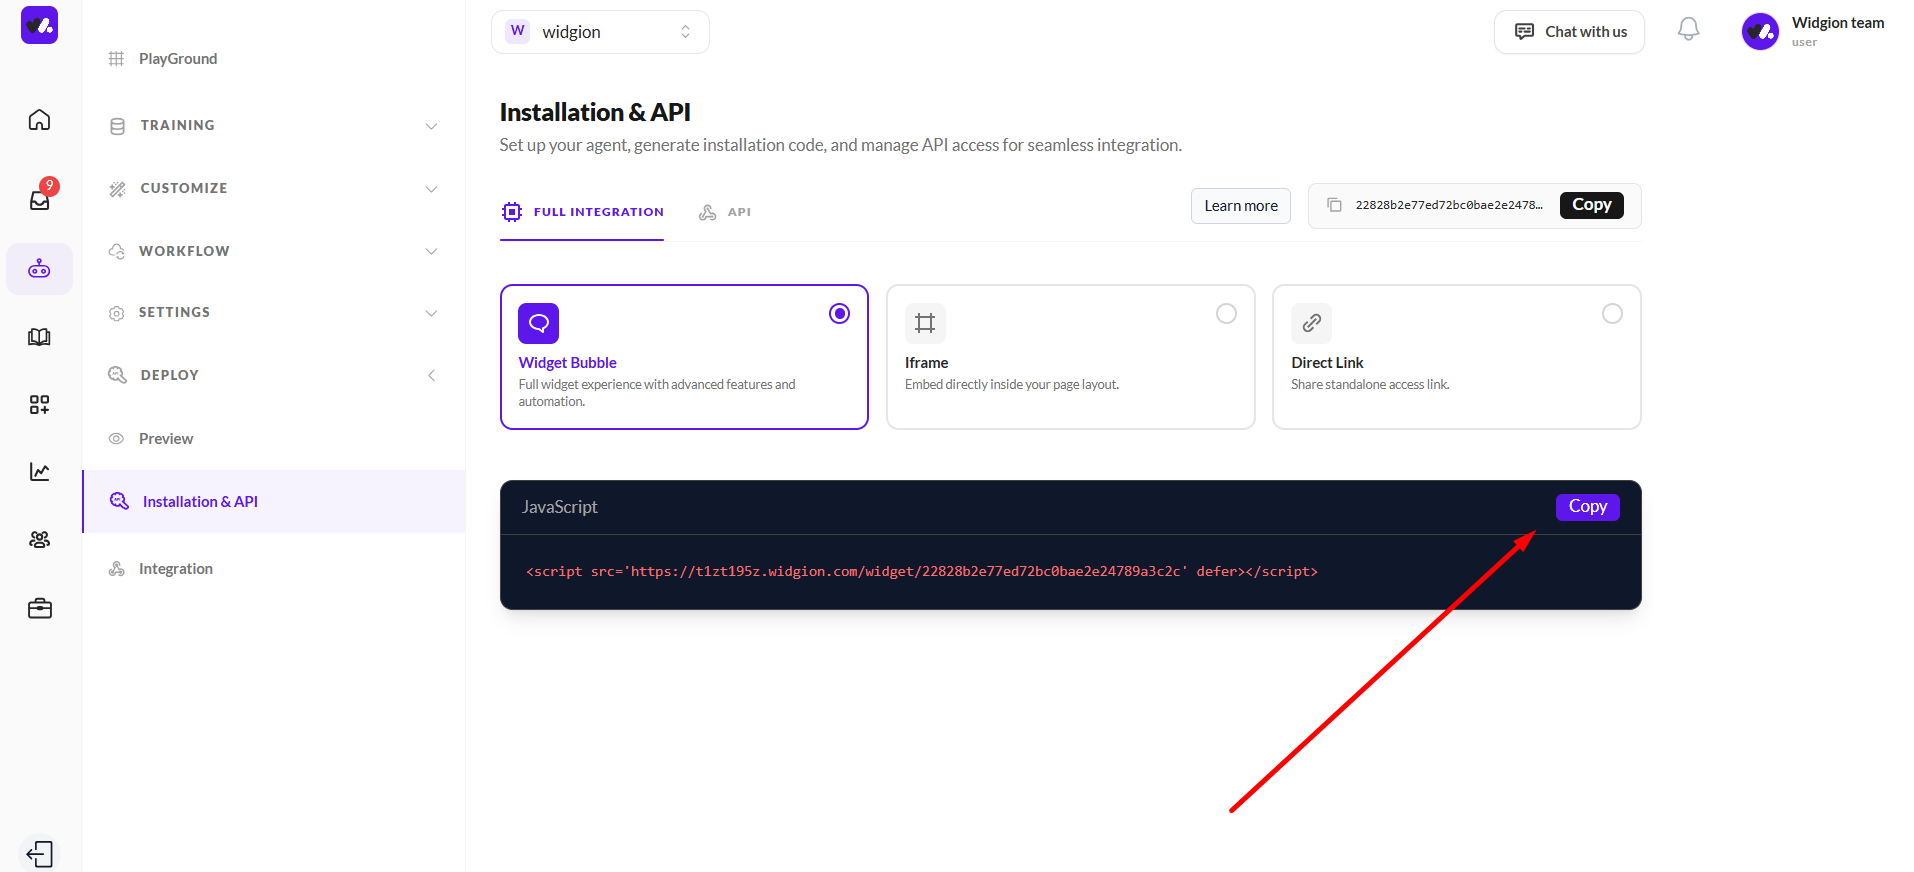
Widget Bubble
The Widget Bubble option gives you the full widget experience with advanced features and automation. Selecting this card generates a JavaScript snippet in the code block below.
Click the Copy button on the code block, then paste the script into the <head> or just before the closing </body> tag of your website's HTML.
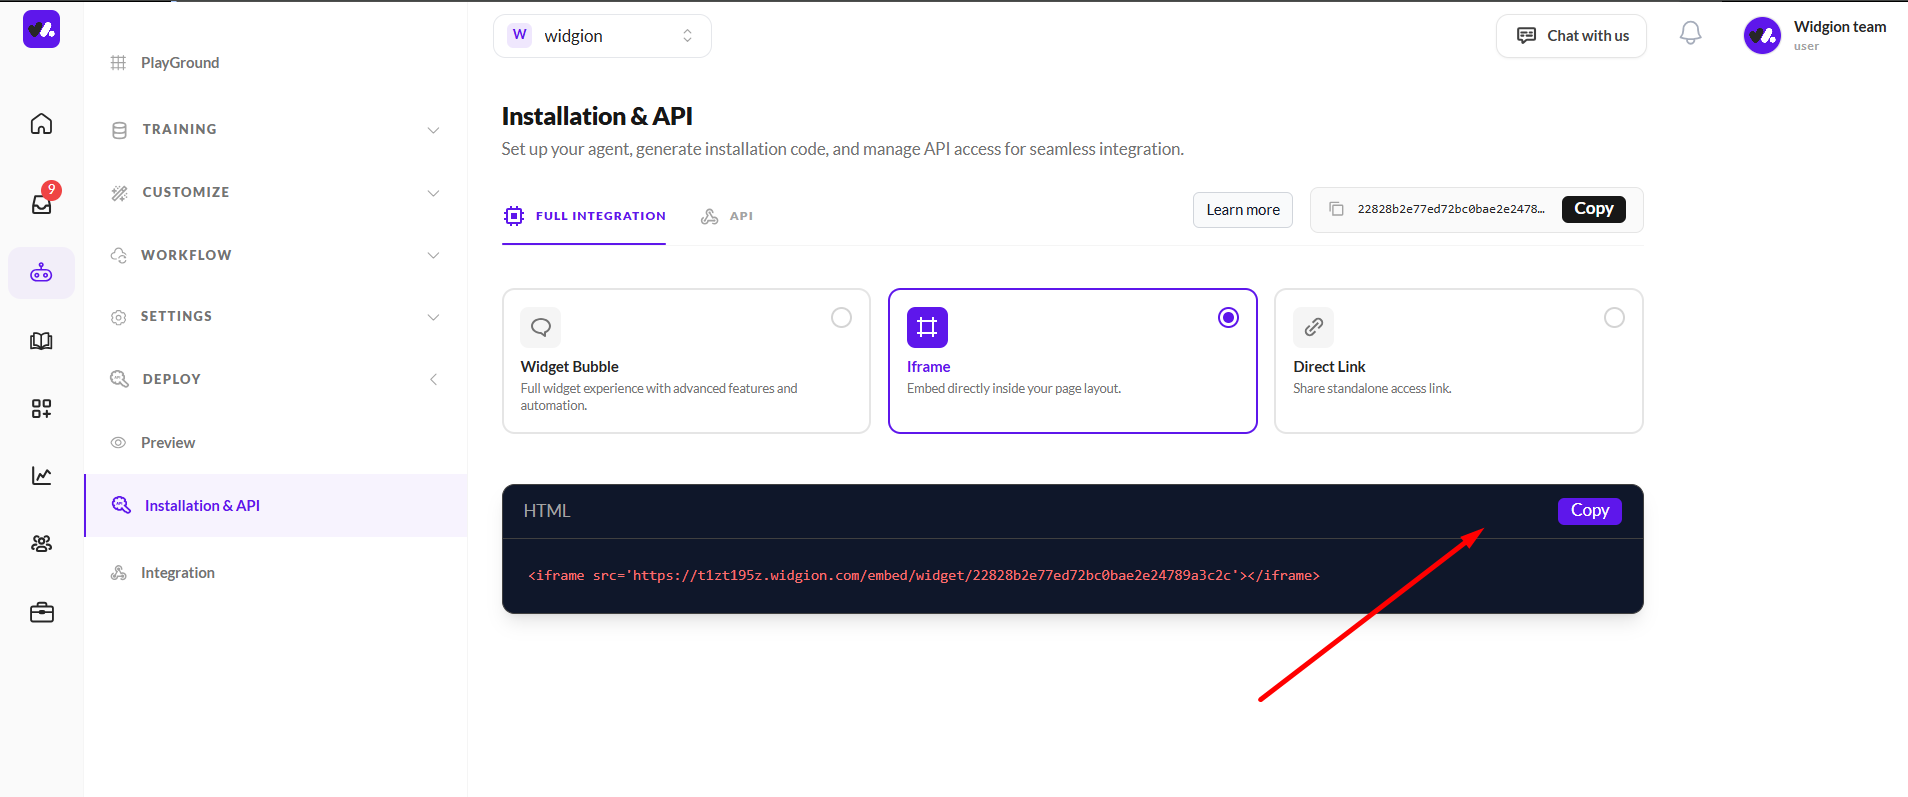
Iframe
The Iframe option lets you embed the widget directly inside a specific section of your page layout. Selecting this card generates an HTML iframe snippet. Click Copy and paste it into the part of your page where you want the widget to appear.
 Direct Link
The Direct Link option generates a standalone URL that you can share directly with users — no embedding required. This is useful if you want to point visitors to the widget without installing anything on your site. Click Copy to grab the URL and use it however you need.
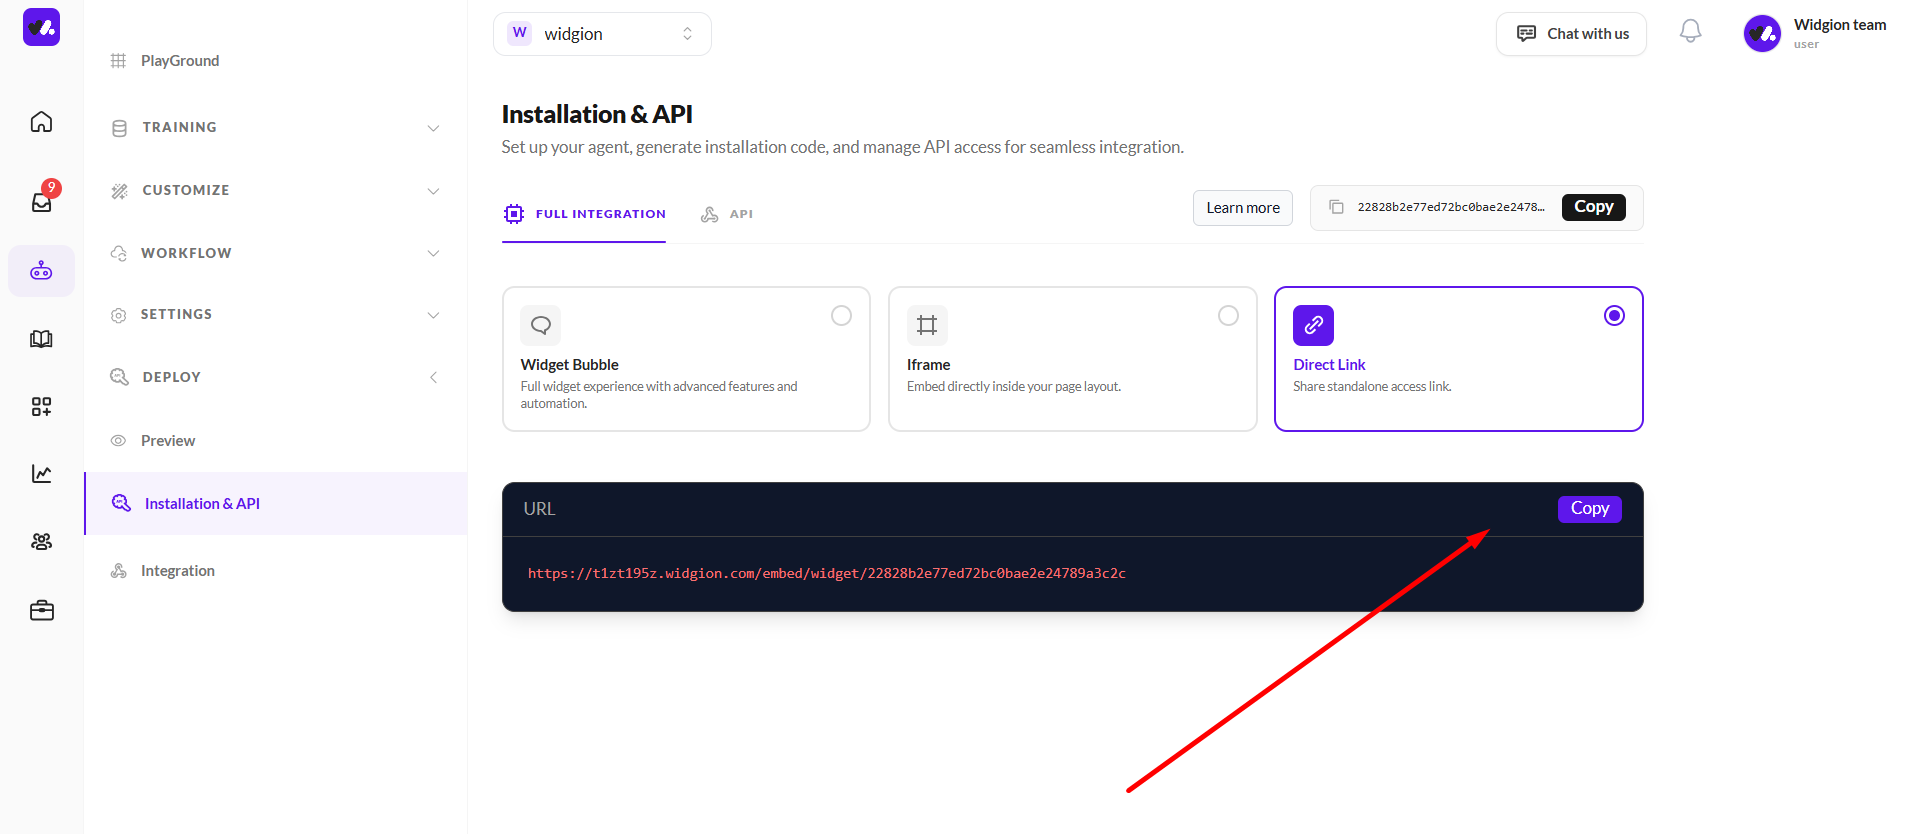 Your Widget ID
At the top right of the page, you'll also notice a shortened widget ID displayed next to a Copy button. This is your unique widget identifier and can be useful when setting up API access or integrations that reference your specific widget.
 One Click Away from Going Live
Whichever installation method you choose, the process is the same — select your preferred option, copy the code or link, and place it where it needs to go.
Your widget will be live and ready to engage visitors as soon as the changes are published on your site.
Did this answer your question?
0 Likes
0 Unlikes