
Customizing Widgets
Customize the appearance and behavior of your widgets.
The Look & Feel section allows you to customize how your Widgion Agent appears and behaves. You can adjust the widget's appearance, display type, typography, available actions, social media links, and the text displayed to users.
Colors & Appearance
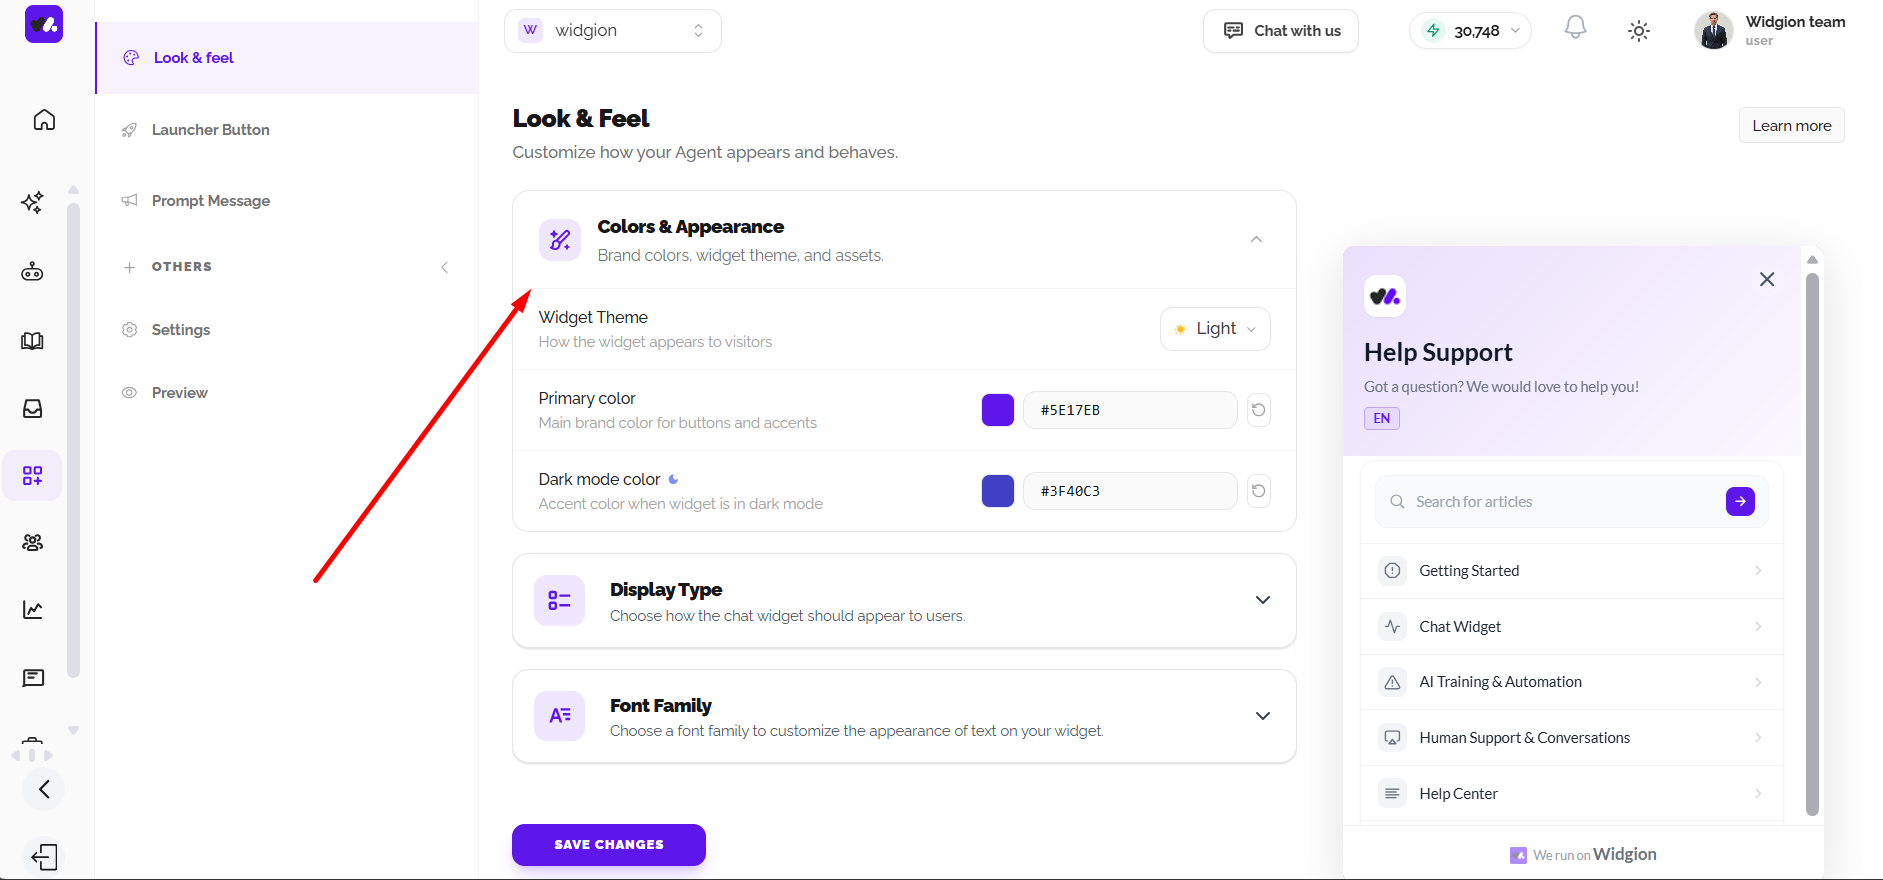
The Colors & Appearance section controls the visual appearance of your widget, including its theme and brand colors. You can choose the widget theme and define the primary and dark mode colors used throughout the widget interface.
The Widget Theme determines how the widget appears to visitors, while the Primary Color defines the main brand color used for buttons and accents. You can enter a custom HEX value for the primary color. The Dark Mode Color defines the accent color used when the widget is displayed in dark mode and also accepts a custom HEX value.
Display Type
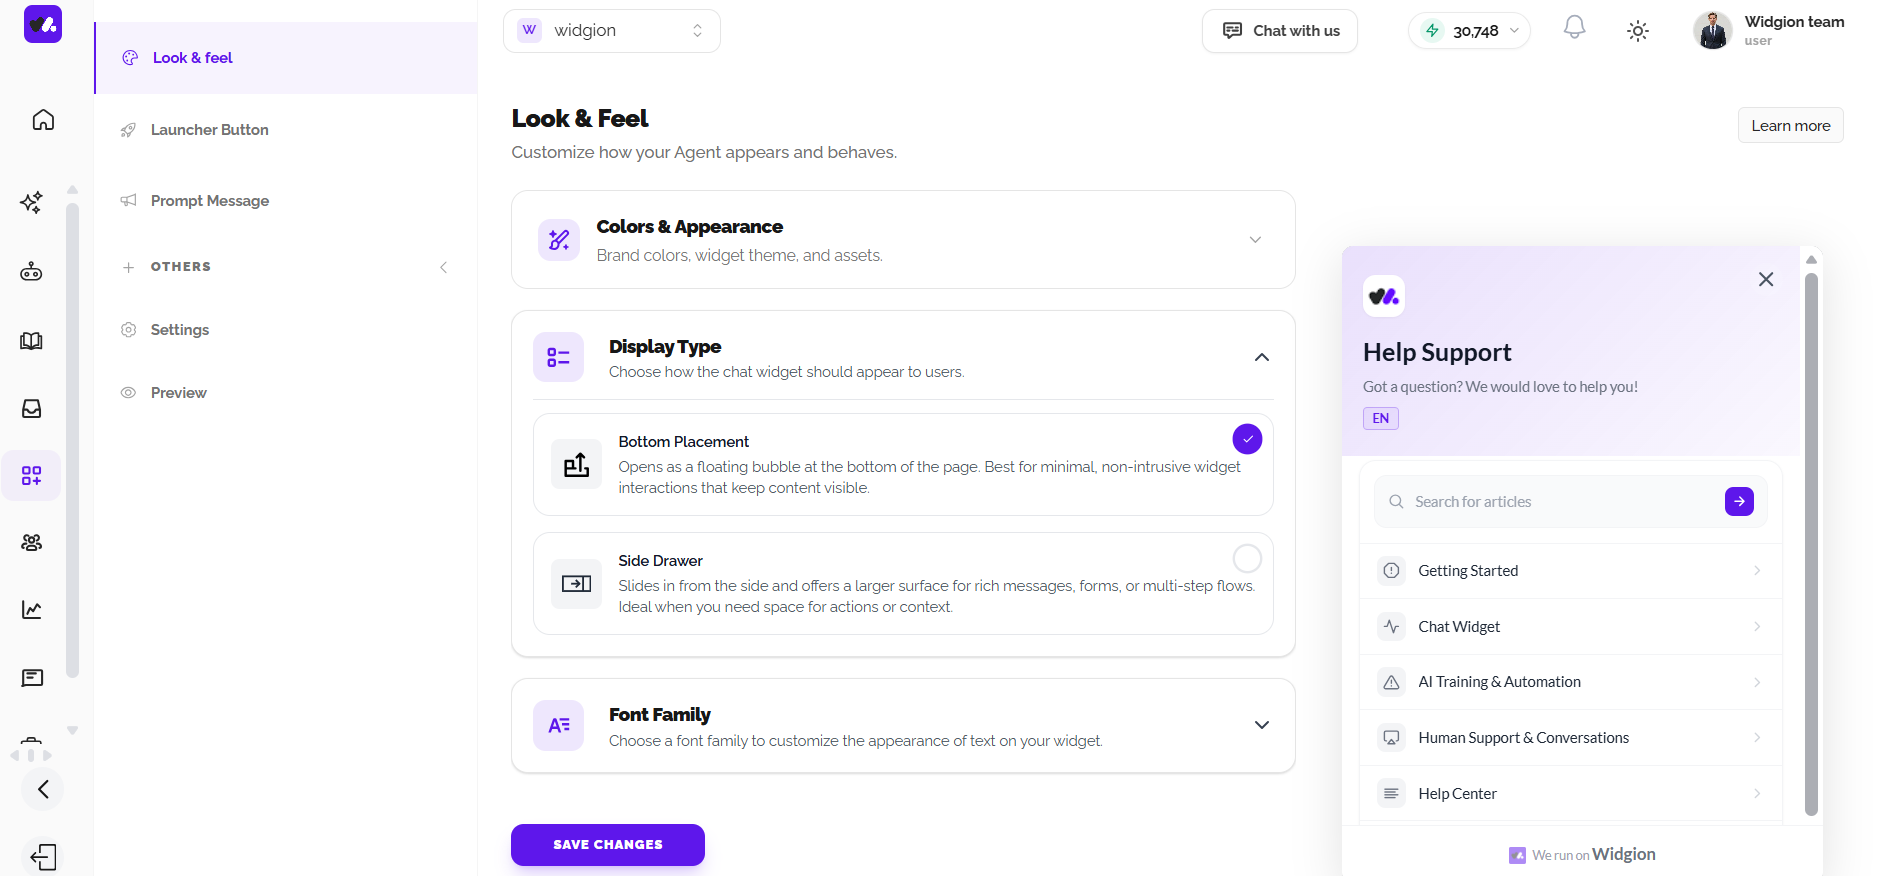
The Display Type section controls how the chat widget appears to users. Widgion provides two display options, Bottom Placement and Side Drawer, allowing you to determine how the widget is presented on your website.
Bottom Placement opens the widget as a floating bubble at the bottom of the page and is intended for minimal, non-intrusive interactions that keep the page content visible. Side Drawer slides in from the side and provides a larger surface for rich messages, forms, multi-step flows, actions, or additional context.
Font Family
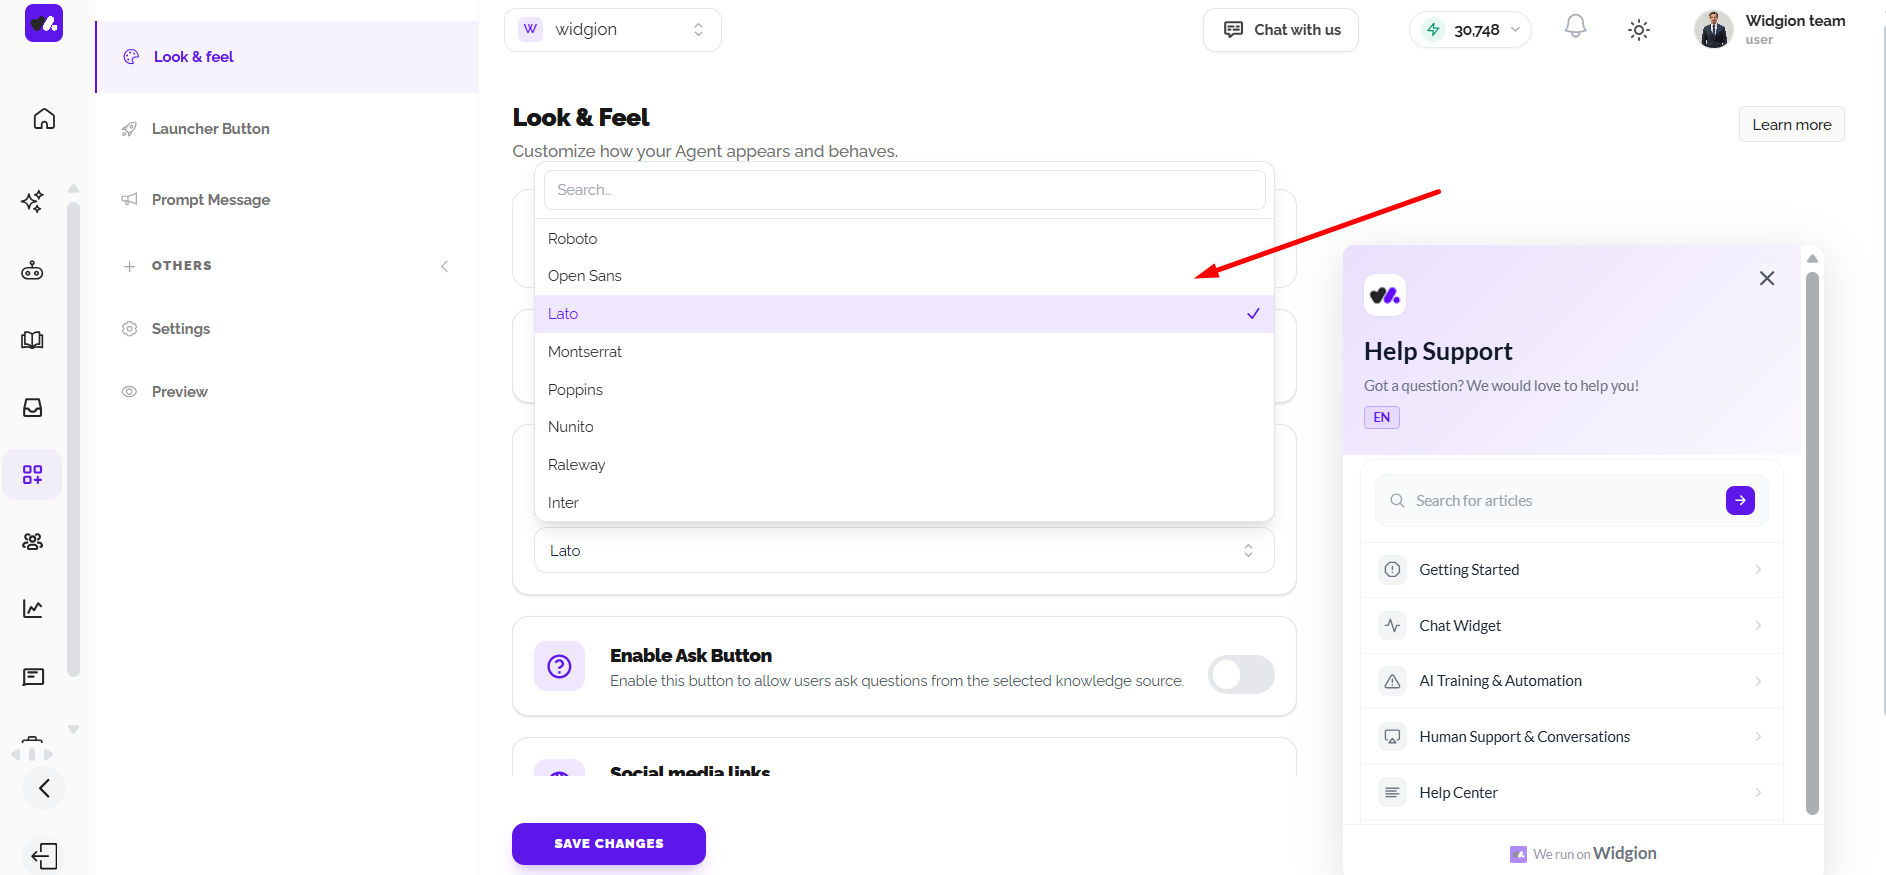
The Font Family section allows you to customize the appearance of text throughout your widget. You can select a font family from the available options to control the typography used within the widget interface.
The screenshot shows Lato selected as the font family. Once selected, the chosen font is used for the text displayed within the widget.
Enable Ask Button
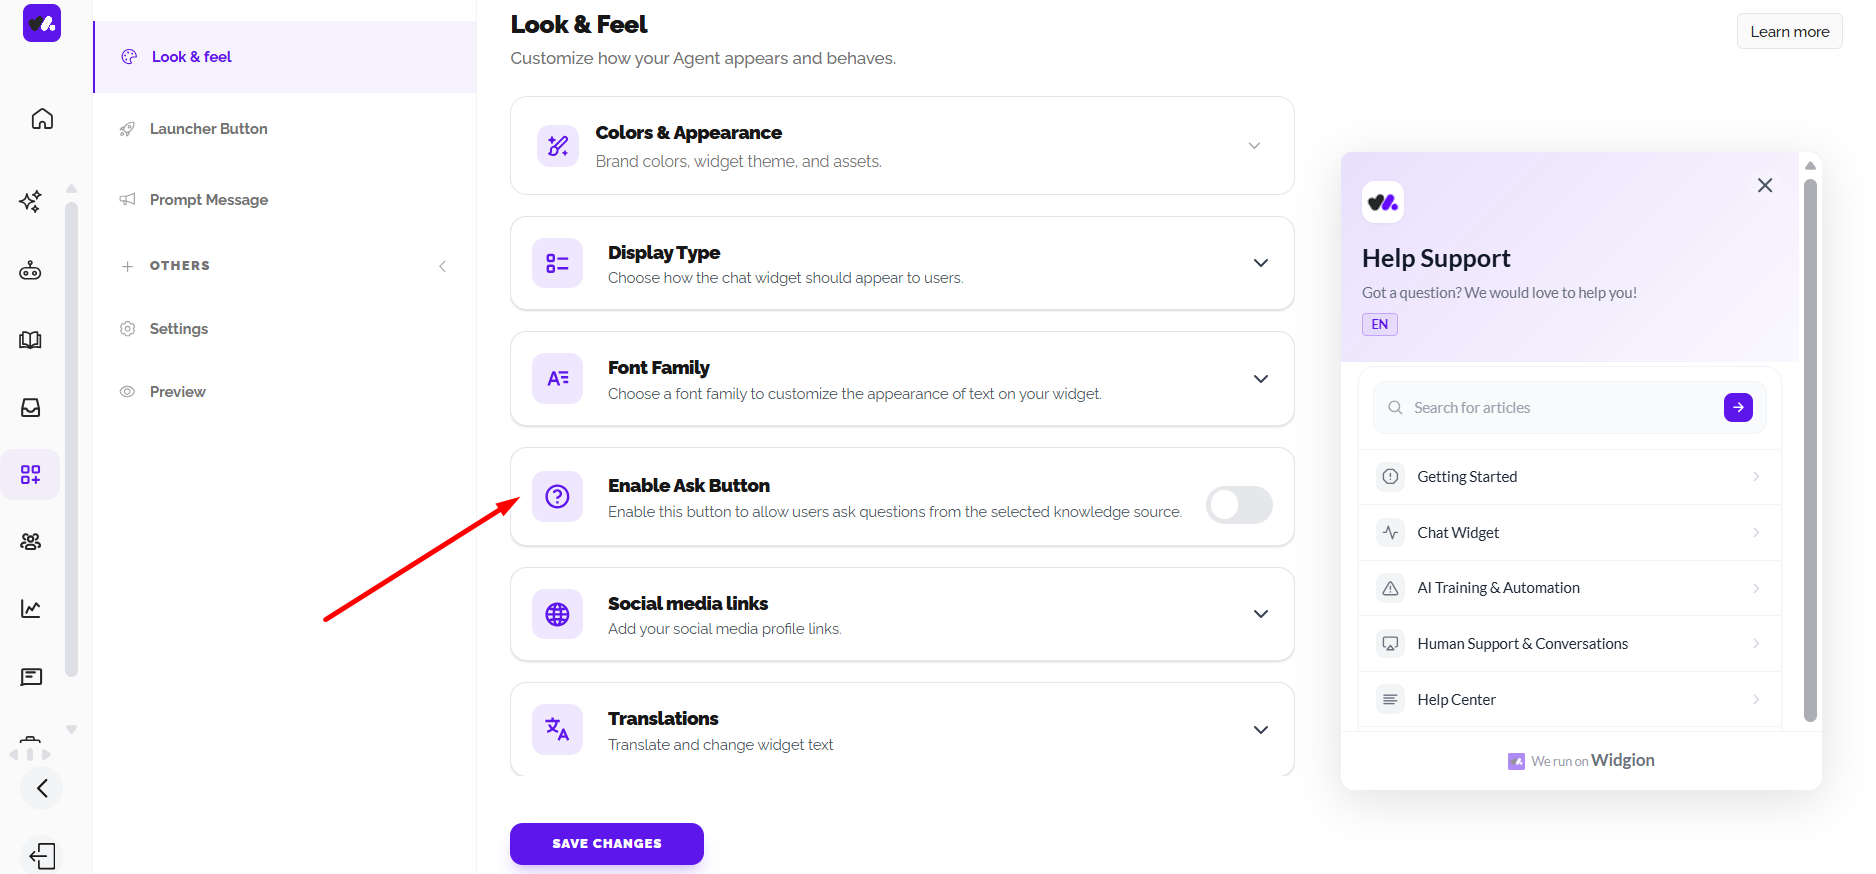
The Enable Ask Button option allows users to ask questions from the selected knowledge source. The setting is controlled using a toggle, giving you the ability to enable or disable the Ask button within the widget.
When enabled, the Ask button becomes available to users so they can ask questions from the selected knowledge source. When disabled, the Ask button is not enabled within the widget.
Social Media Links
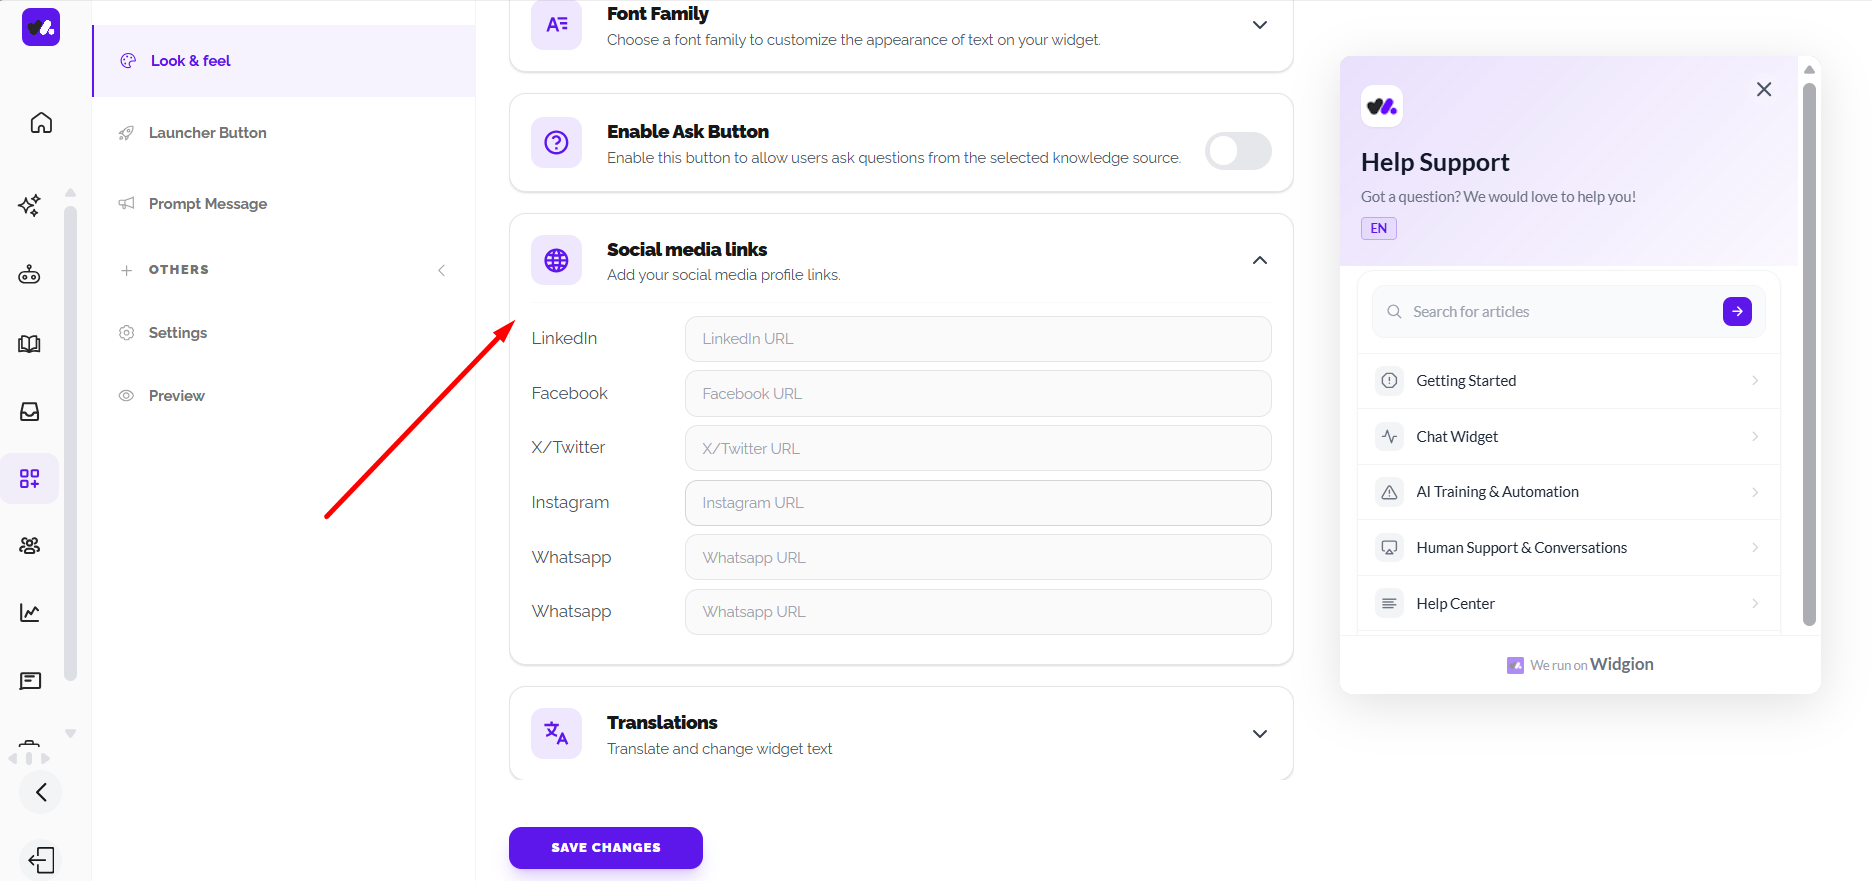
The Social media links section allows you to add your social media profile links to the widget. When expanded, it provides fields where you can enter the URLs for your social profiles.
The available fields shown in the interface include LinkedIn, Facebook, X/Twitter, Instagram, and WhatsApp. Each field provides an input where you can enter the corresponding profile or contact URL.
Translations
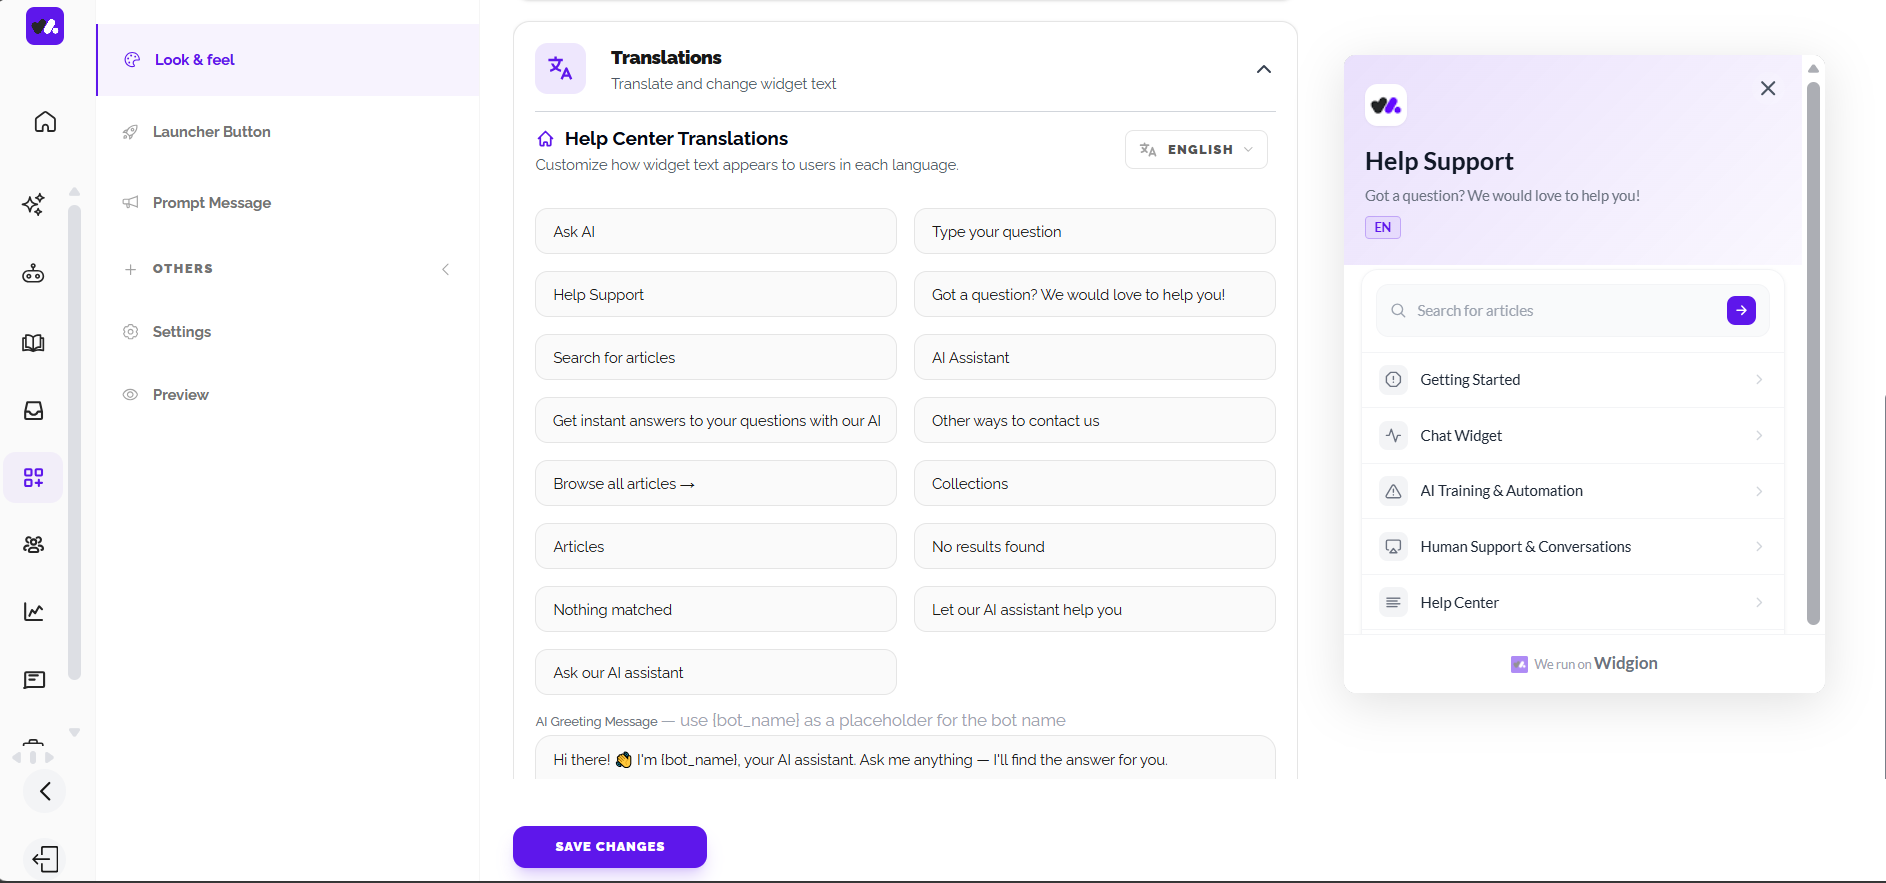
The Translations section allows you to translate and change the text displayed throughout your widget. The Help Center Translations area lets you customize how widget text appears to users in each language, with a language selector available for choosing the language you want to edit.
The available fields shown include Ask AI, Type your question, Help Support, Got a question? We would love to help you!, Search for articles, AI Assistant, Get instant answers to your questions with our AI, Other ways to contact us, Browse all articles, Collections, Articles, No results found, Nothing matched, Let our AI Assistant help you, and Ask our AI assistant. These fields can be edited to replace the default wording displayed in the widget.
AI Greeting Message
The AI Greeting Message field allows you to customize the message shown when interacting with the AI assistant. The field supports the {bot_name} placeholder, which can be used to display the configured bot name within the greeting.
The screenshot provides the example, “Hi there! 👋 I'm {bot_name}, your AI assistant. Ask me anything — I'll find the answer for you.” You can customize this message while retaining {bot_name} where you want the bot's name to appear.
Save Changes
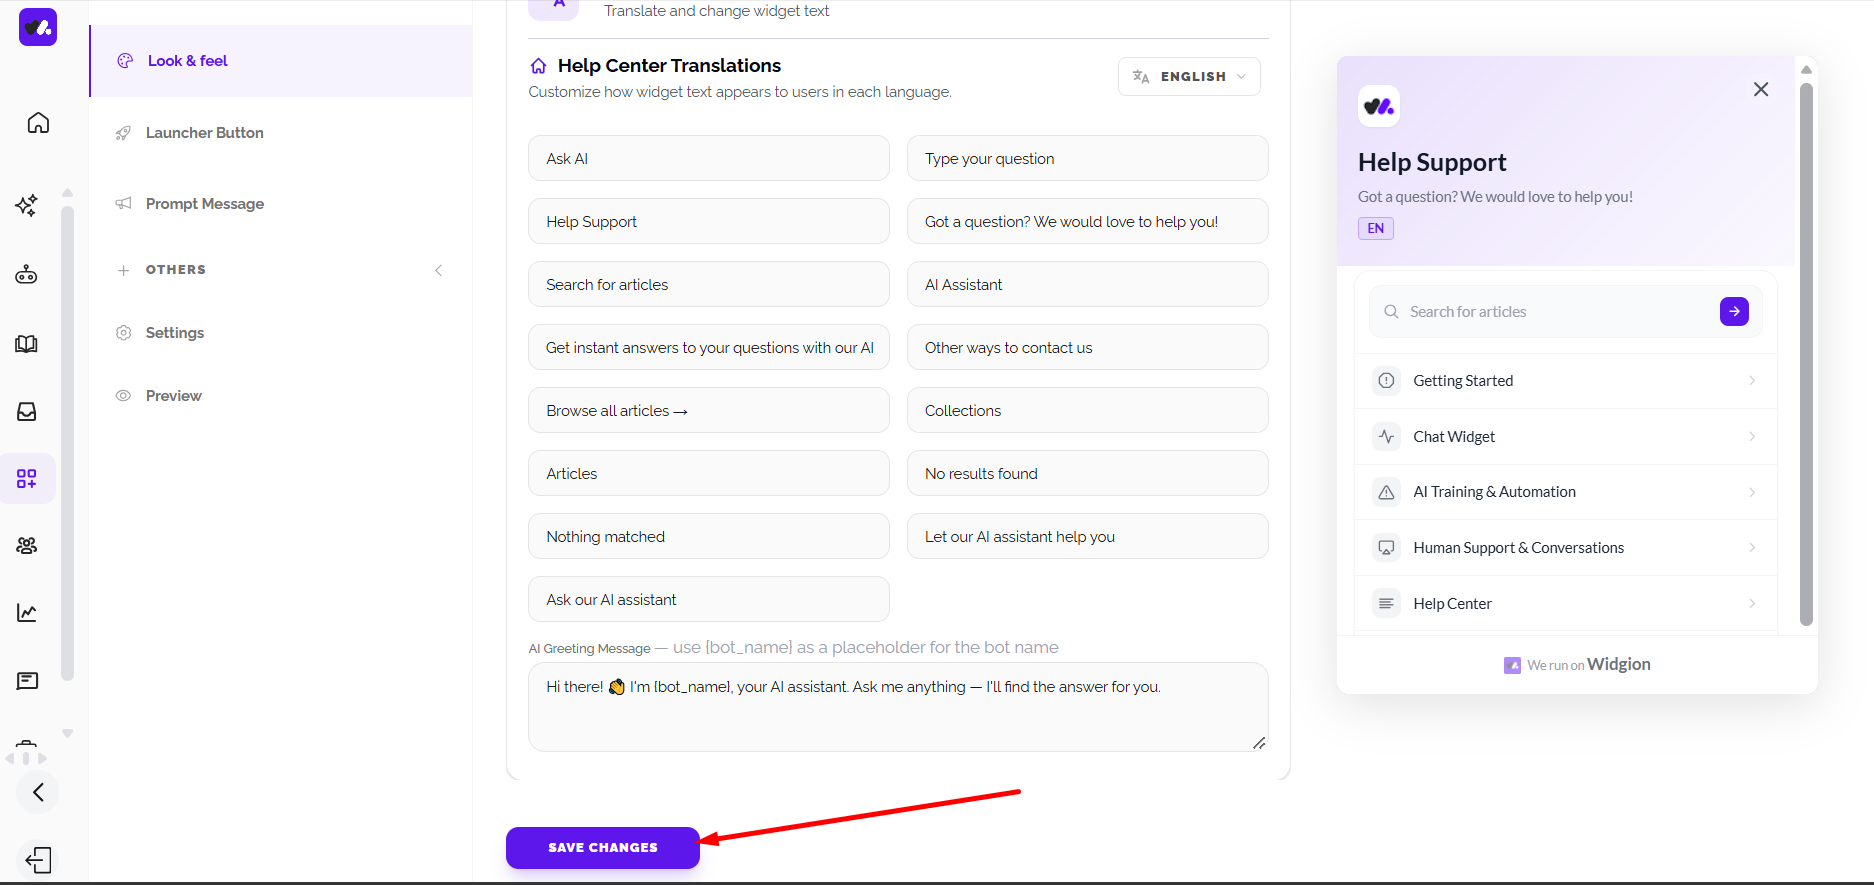
After making changes to your widget customization settings, use the SAVE CHANGES button to apply your configuration. This saves the settings you've modified within the Look & Feel section.
While your changes are being processed, the button changes to SAVING.... Once the saving process is complete, your updated customization is applied to the widget.
Did this answer your question?
What was missing or unclear?
Thank you for your feedback!
Your input helps us make this article better.
Still need help?
Contact support →Related articles
Adding, Editing, and Managing Contact Data
Handles actions like adding contacts, editing details, deleting, and exporting.
Understanding Contact Types (Users, Guests, and Custom Lists)
Explains the difference between Users, Guests, and Custom Lists, and how each is used within the platform.
Installing the Chat Widget on Your Website
Step-by-step guide to embedding the chat widget on your website.
Classic vs Modern Chat Widget
Compare both widget types and choose the best option for your business needs.
On this page