
Integrating Widgion with Your Website
Learn how to integrate Widgion with your website using the available deployment options and prepare your AI assistant to interact with website visitors.
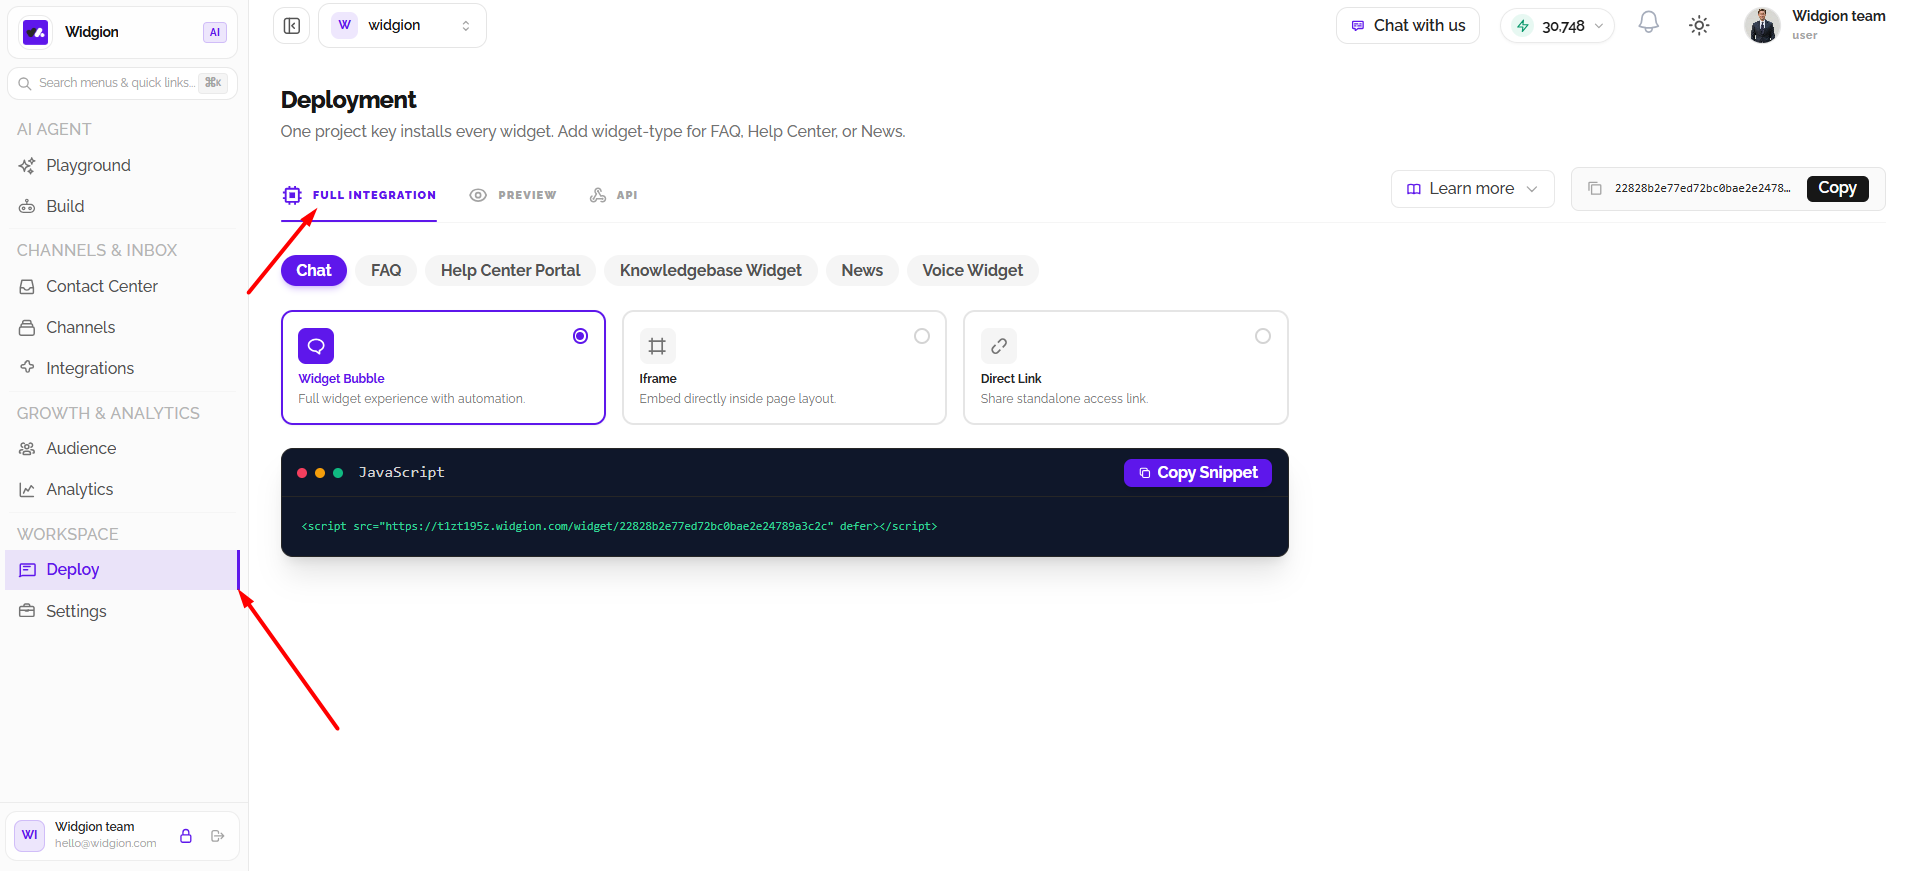
The Full Integration section in Widgion’s Deploy workspace provides the code and integration options needed to add Widgion to your website. From here, you can choose the widget you want to deploy and select how it should appear on your site.
Accessing Full Integration
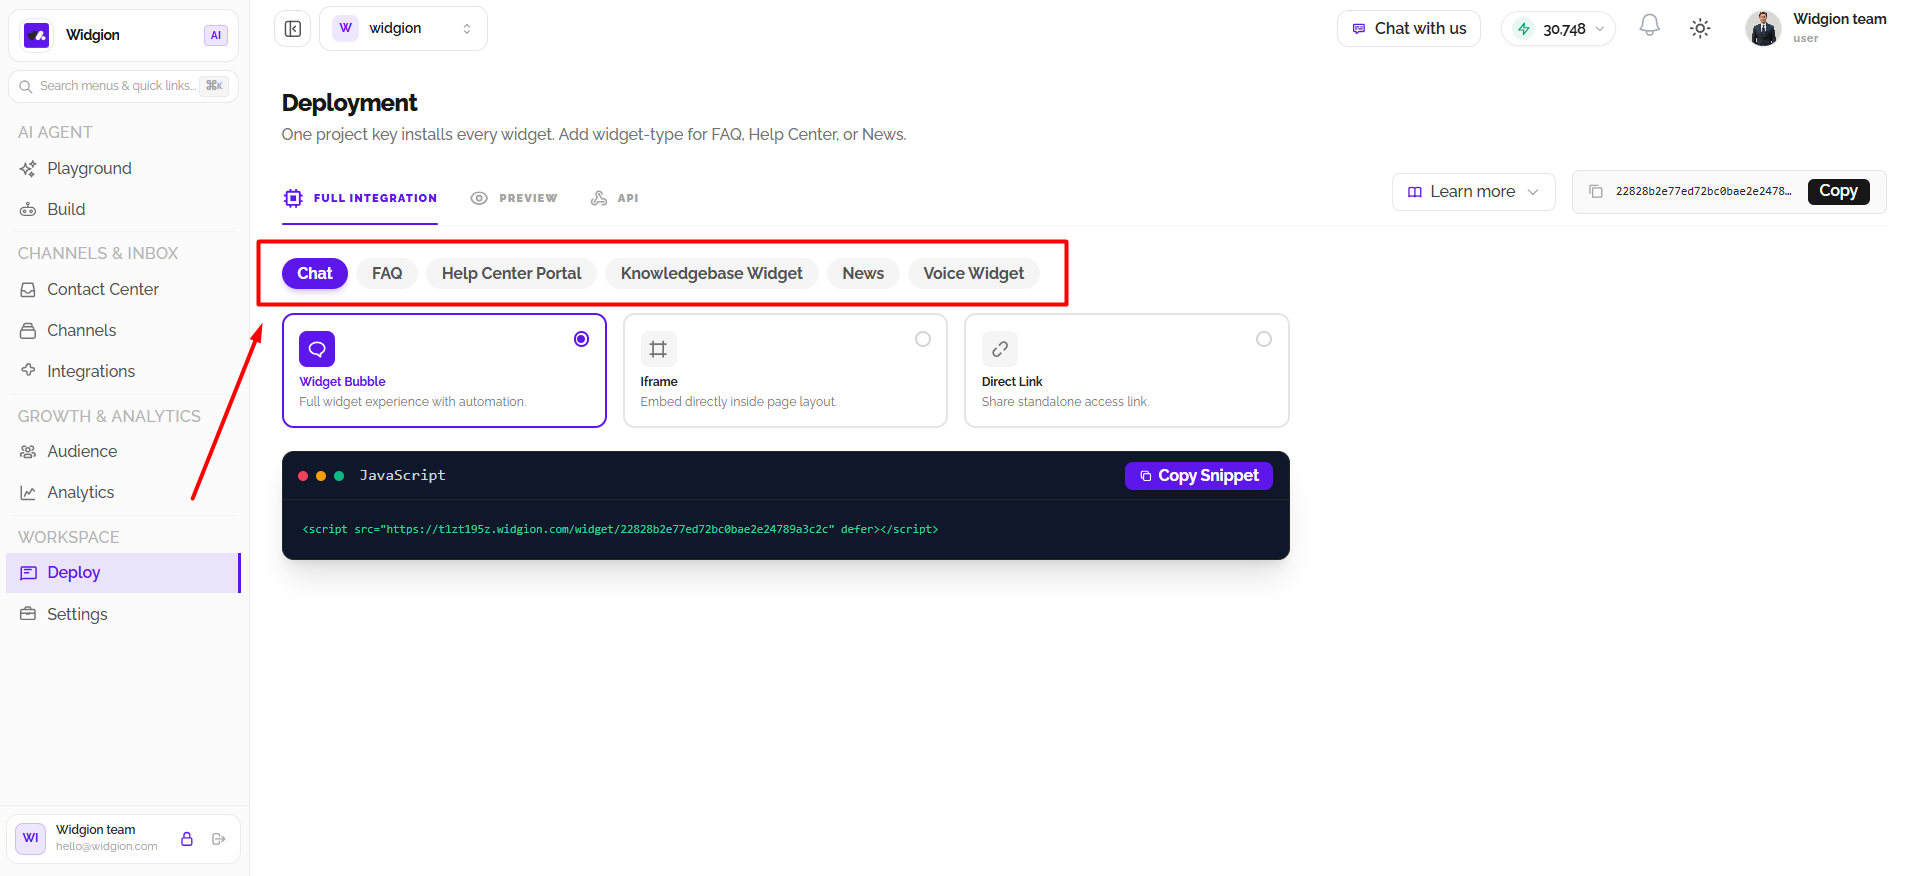
Navigate to Deploy from the sidebar and select the Full Integration tab. Widgion uses a single project key to install its widgets. You can select the widget type you want to integrate, including Chat, FAQ, Help Center Portal, Knowledgebase Widget, News, and Voice Widget.
Choosing a Widget Type
Select the widget you want to integrate from the available options. The selected widget type determines which integration options and code Widgion displays.
Selecting an Integration Method
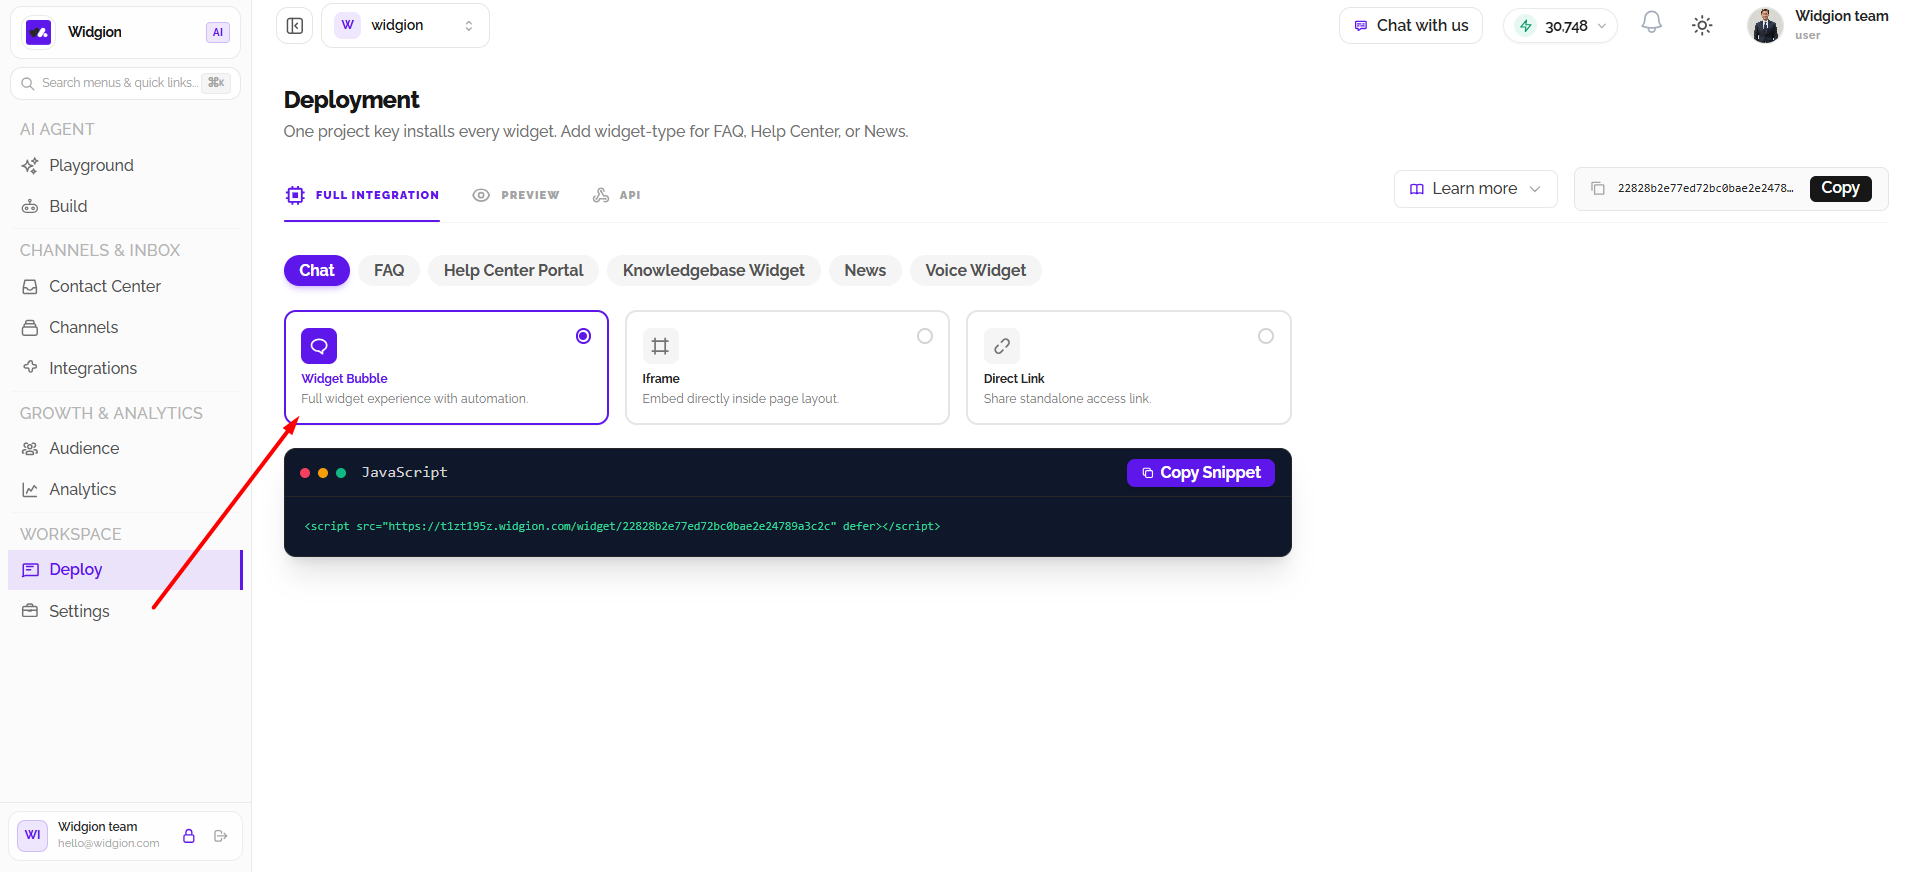
Widgion provides different integration methods depending on how you want to display the widget on your website.
Widget Bubble
Choose Widget Bubble to add the full Widgion widget experience to your website, including its automation capabilities. This option is suitable when you want visitors to access the widget through a floating interface.
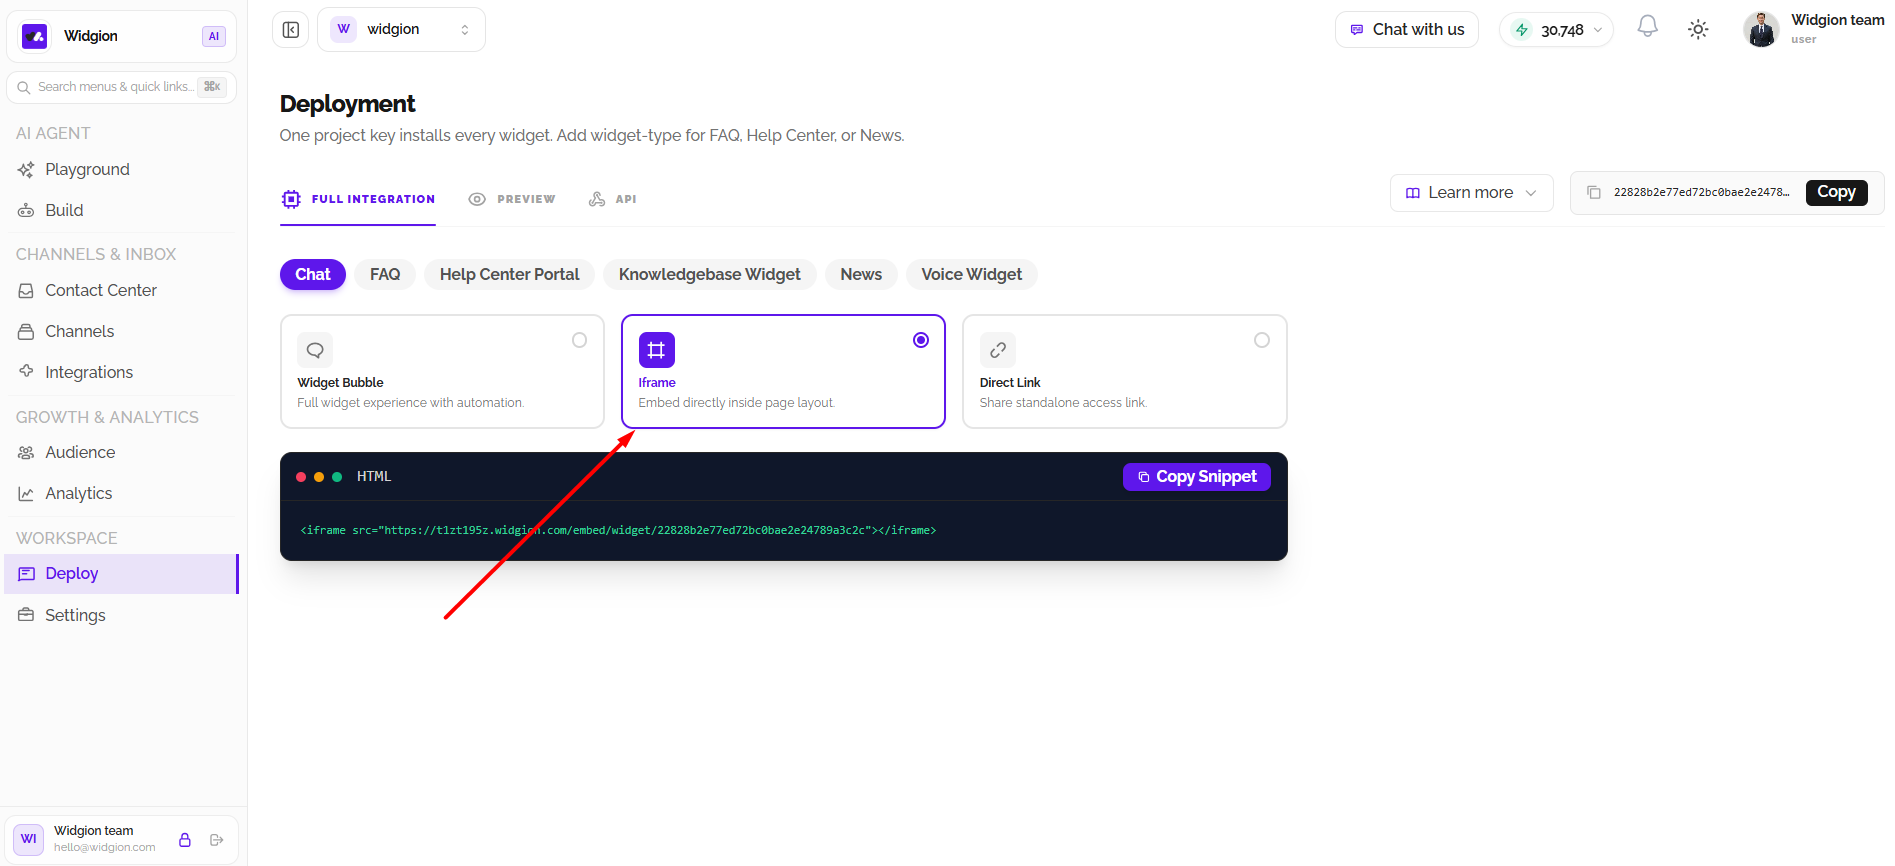
Iframe
Select Iframe to embed Widgion directly within a specific area of your website’s page layout. This allows the widget to appear as part of the page rather than as a floating bubble.
Direct Link
Choose Direct Link to generate a standalone URL that you can share with visitors. This provides access to the selected widget without embedding it directly into your website.
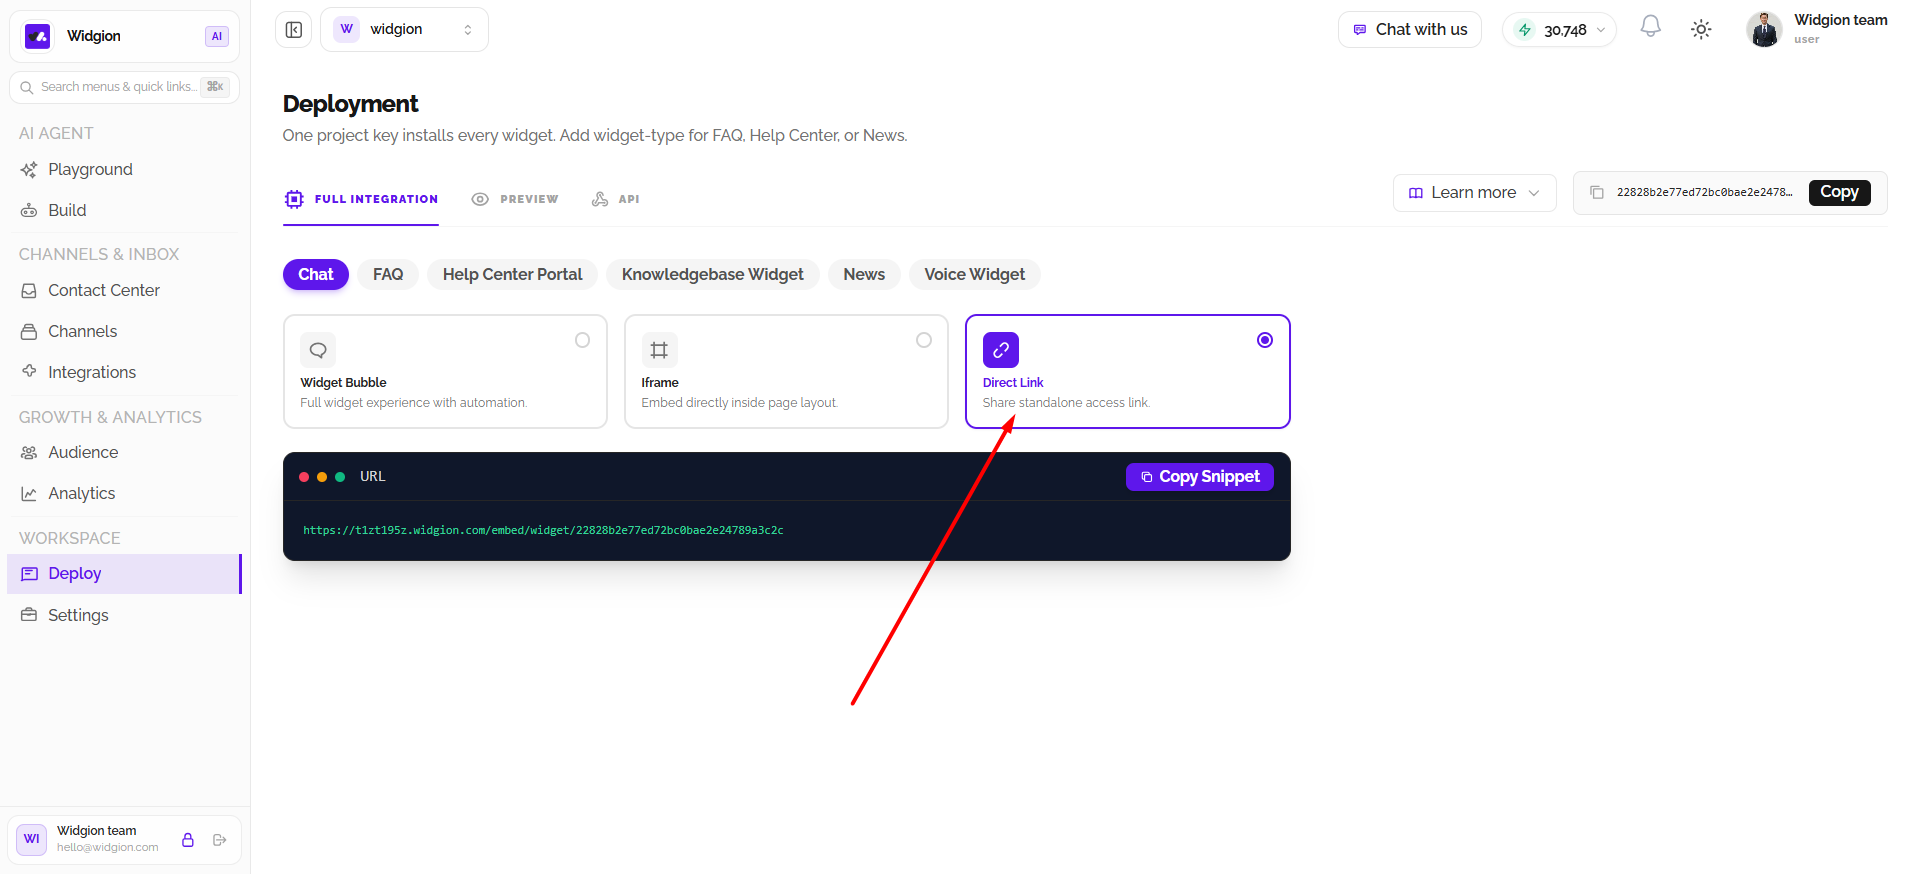
Copying the Integration Code
After selecting your widget type and integration method, Widgion displays the corresponding integration snippet or URL in the code panel. Use Copy Snippet to copy the displayed code or link for use on your website.
The project key is also displayed at the top of the page, with a Copy button available for copying it. Keep the selected widget and integration method in mind when copying the code, as the displayed snippet corresponds to your current selection.
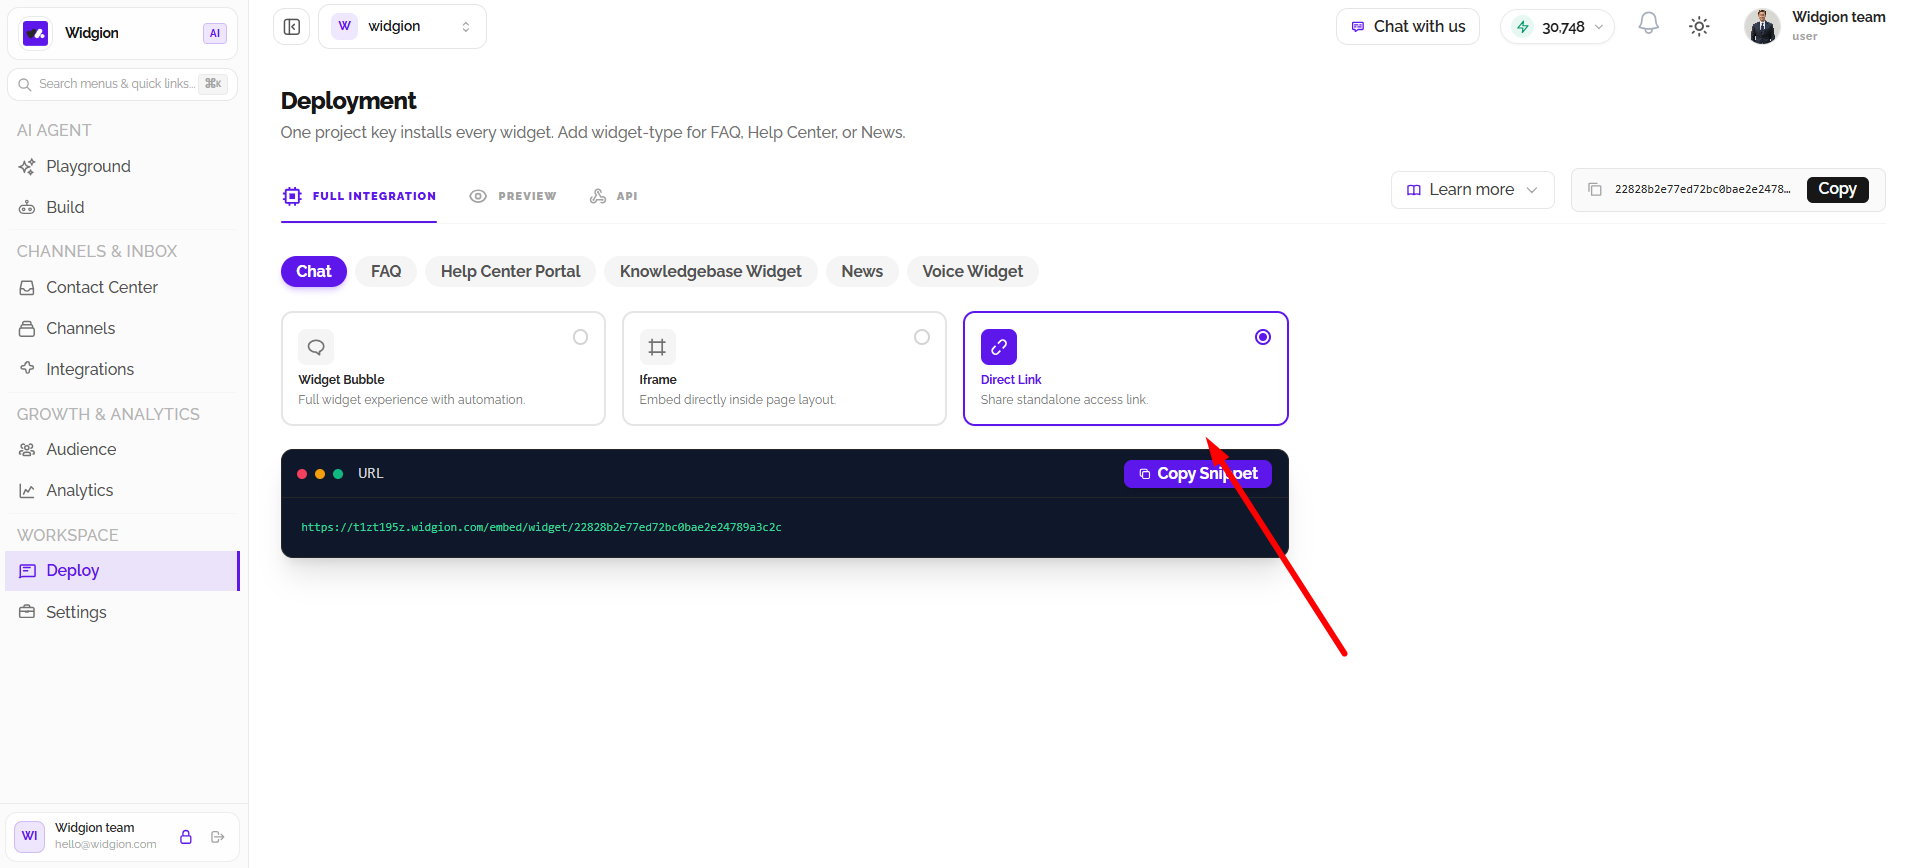
Accessing Deployment Guides
Use the Learn more dropdown to access available help guides. The menu includes documentation such as Installing the Chat Widget on Your Website, which can guide you through the installation process.
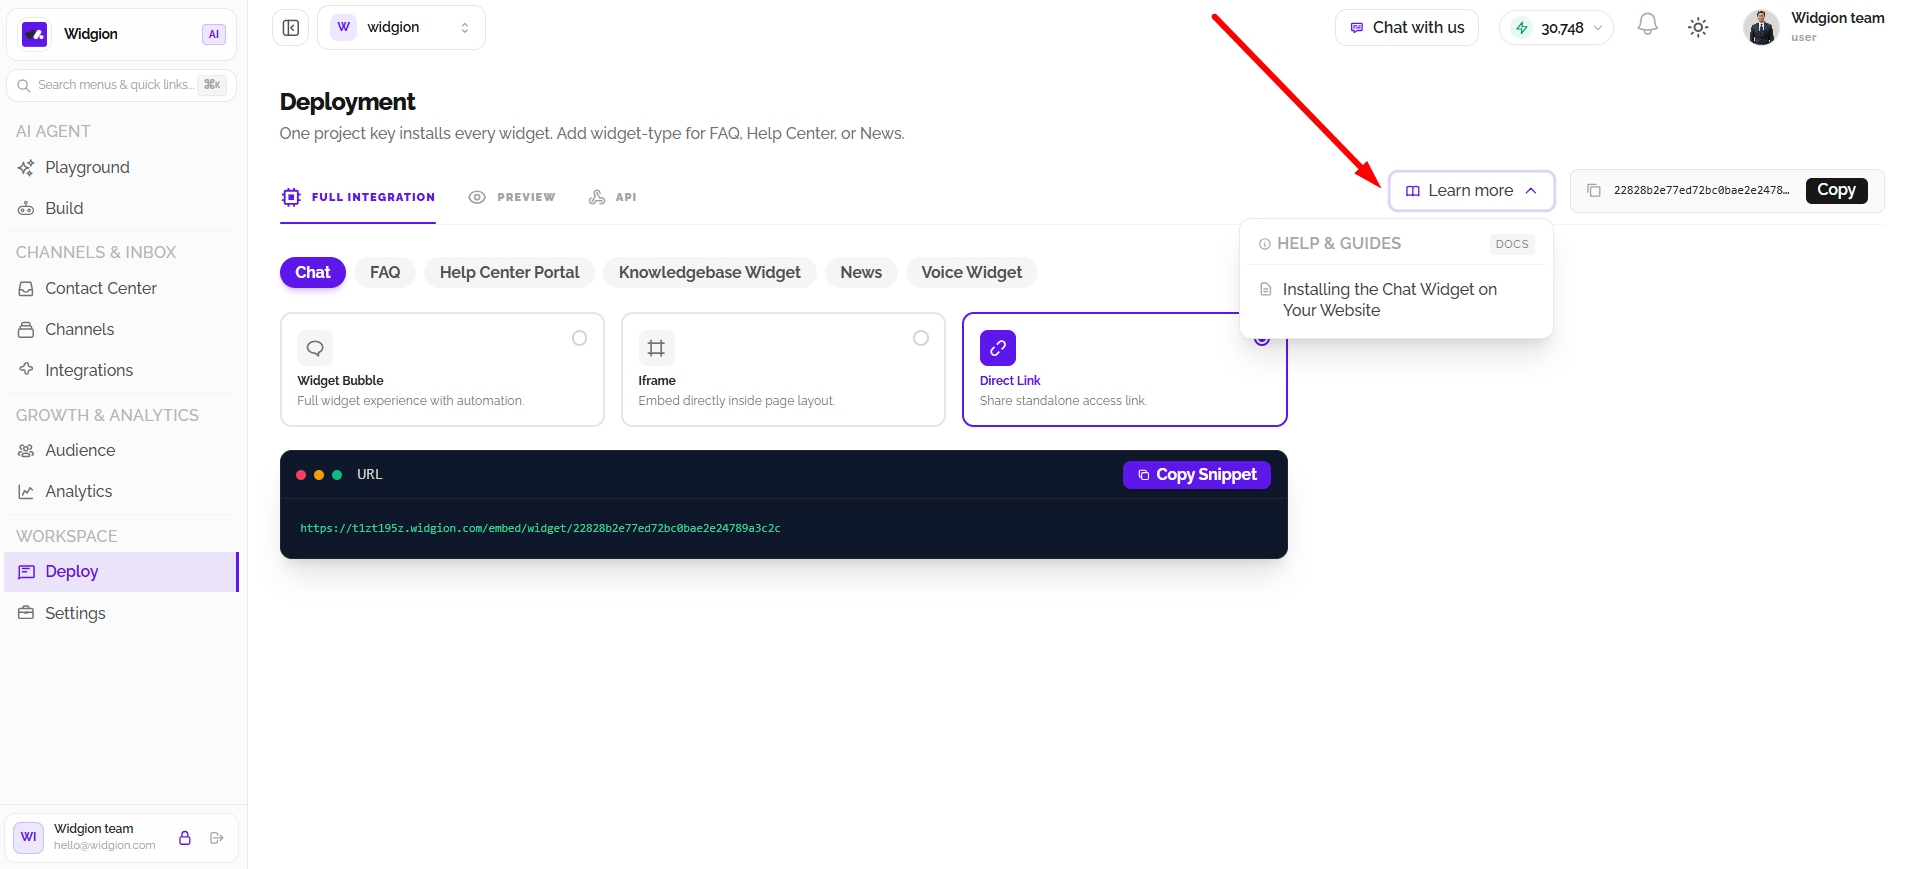
Completing Your Widgion Integration
Choose the widget and integration method that best suit your website, then copy the corresponding snippet or link. Follow the relevant deployment guide to complete the installation and make Widgion accessible to your visitors.
Did this answer your question?
What was missing or unclear?
Thank you for your feedback!
Your input helps us make this article better.
Still need help?
Contact support →Related articles
Connecting to Widgion Through the API
Explore Widgion’s API deployment options and learn how to connect your application to Widgion using the available API documentation, configuration details, and integration requirements.
Previewing Your Widgion Widgets
Learn how to preview your Widgion deployment, inspect how your AI assistant appears and behaves, and check the experience before making it available to website visitors.
Installing the Chat Widget on Your Website
Step-by-step guide to embedding the chat widget on your website.
Adding, Editing, and Managing Contact Data
Handles actions like adding contacts, editing details, deleting, and exporting.
On this page