
Managing AI Workflows
Learn how to create and manage Widgion workflows to automate conversations, route requests, handle leads, and trigger actions. Copy
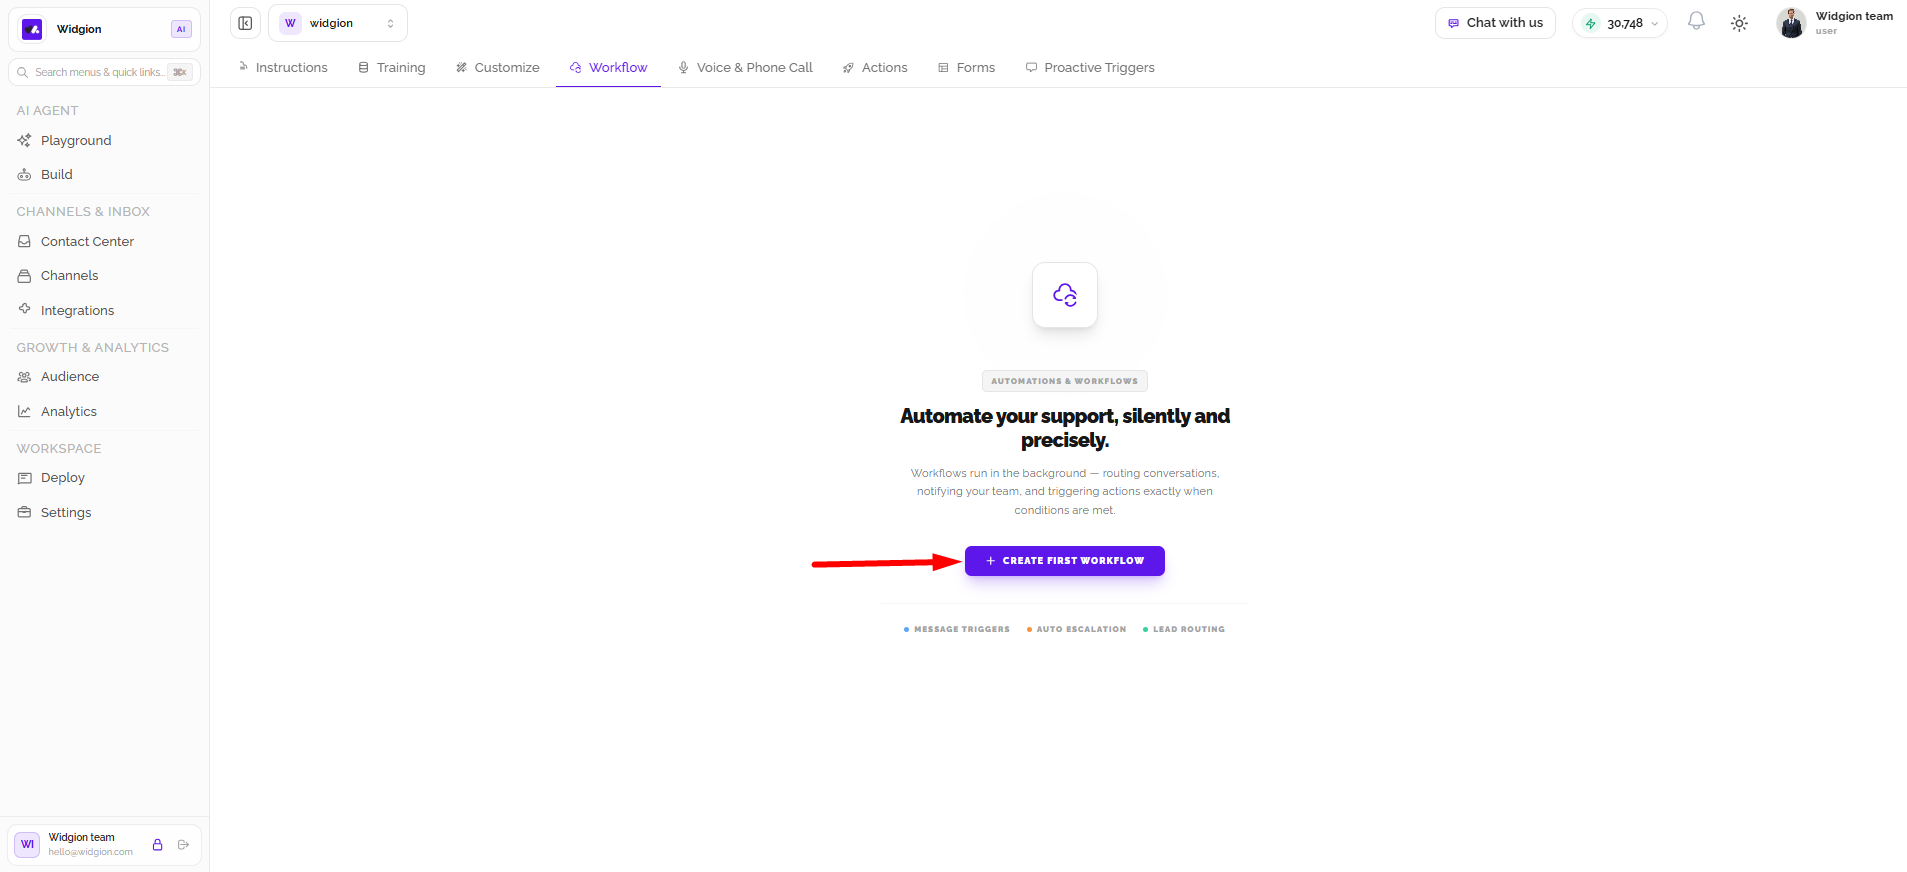
The Workflow section in Widgion allows you to automate customer support processes by defining how the AI assistant should respond to specific events and situations. Instead of handling every interaction manually, you can create workflows that automatically route conversations, notify team members, escalate customer requests, and perform other actions when certain conditions are met. To get started, select Create First Workflow from the Workflow page.
Exploring Workflow Templates
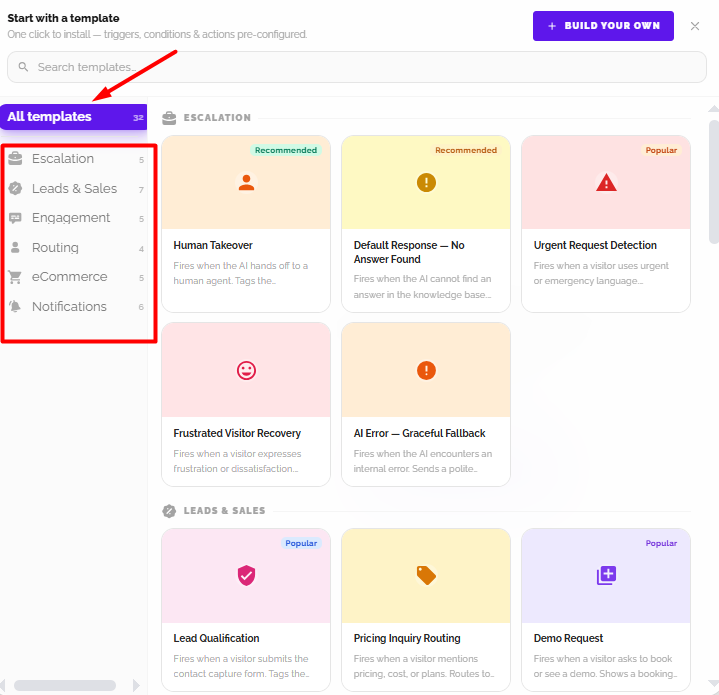
When you select Create First Workflow, Widgion opens the template library, where you can choose from ready-made workflows with preconfigured triggers, conditions, and actions. The templates are organised into categories, including Escalation, Leads & Sales, Engagement, Routing, eCommerce, and Notifications. You can browse all available templates, select a category to narrow your search, or use the search field to find a specific workflow.
Each template card provides its name and a short description of what it does, while labels such as Recommended and Popular help you identify suggested options. Some templates, particularly those in the eCommerce category, require a Shopify integration before they can be installed.
Understanding Workflow Triggers
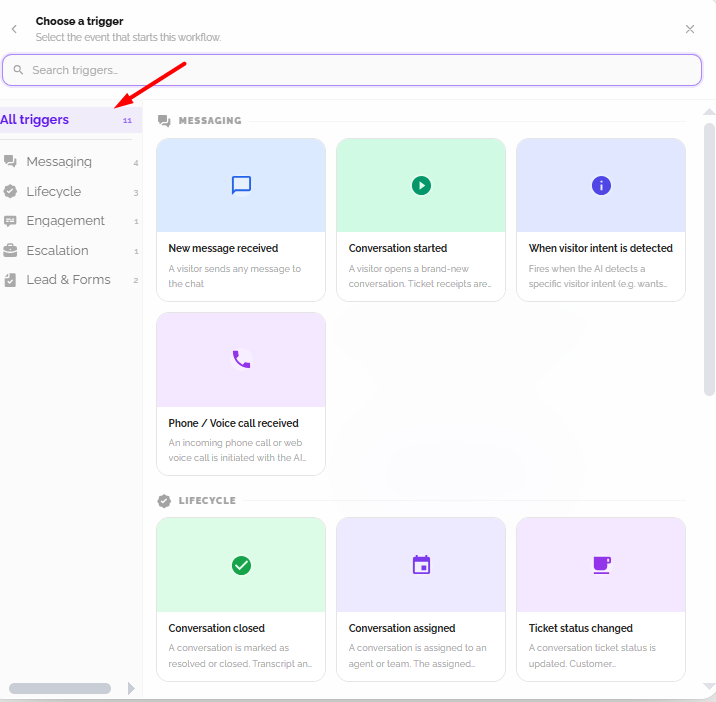
Every workflow begins with a trigger, which is the event that tells Widgion when to start an automation. When creating a workflow, you can choose from triggers organised into categories such as Messaging, Lifecycle, Engagement, Escalation, and Lead & Forms.
Available examples include New Message Received, Conversation Started, When Visitor Intent Is Detected, Phone / Voice Call Received, Conversation Closed, Conversation Assigned, and Ticket Status Changed. You can browse the categories or search for a specific trigger, then select the event that matches the process you want to automate.
Building a Workflow from Scratch
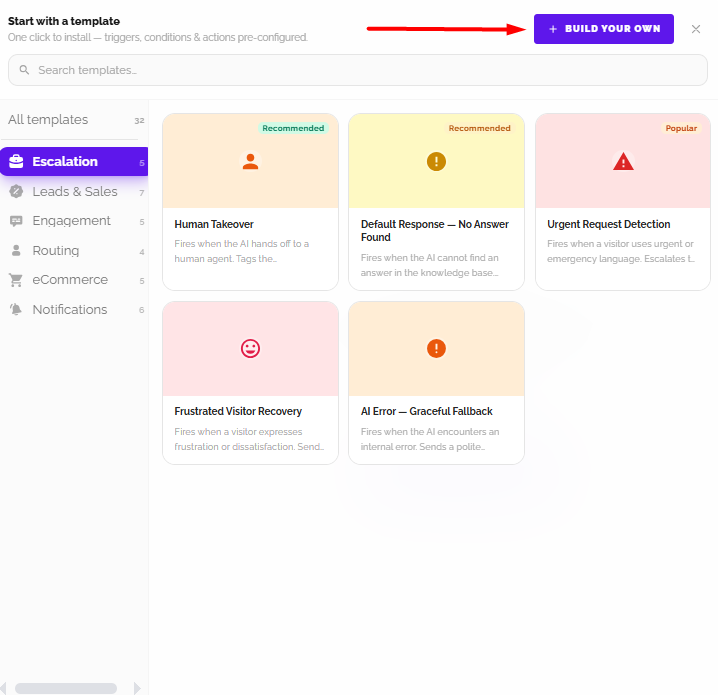
If the available templates do not match your requirements, select Build Your Own at the top of the template library to create a custom workflow. This option gives you control over how the automation operates, allowing you to define the trigger that starts it, the conditions that determine when it should proceed, and the actions Widgion should perform.
For example, you could create a workflow that starts when a visitor sends a message, checks whether the message indicates an urgent request, and then escalates the conversation to a human agent. This makes it possible to design automation processes around your business needs rather than relying only on predefined templates.
Summary
Widgion's Workflow section helps you automate customer interactions using ready-made templates or custom workflows. You can choose from different workflow categories, select triggers that determine when an automation starts, and build your own workflows by defining the conditions and actions that suit your business processes.
Did this answer your question?
What was missing or unclear?
Thank you for your feedback!
Your input helps us make this article better.
Still need help?
Contact support →Related articles
Understanding Agent Instructions
Learn how to configure Widgion agent instructions, define your AI assistant's behaviour, and guide its responses to customer questions.
Training Your AI Assistant
Learn how to train your Widgion AI assistant using websites, documents, text snippets, and other supported knowledge sources.
Installing the Chat Widget on Your Website
Step-by-step guide to embedding the chat widget on your website.
Adding, Editing, and Managing Contact Data
Handles actions like adding contacts, editing details, deleting, and exporting.
On this page